14-48
Summary of Important Settings
Chapter 14
5.
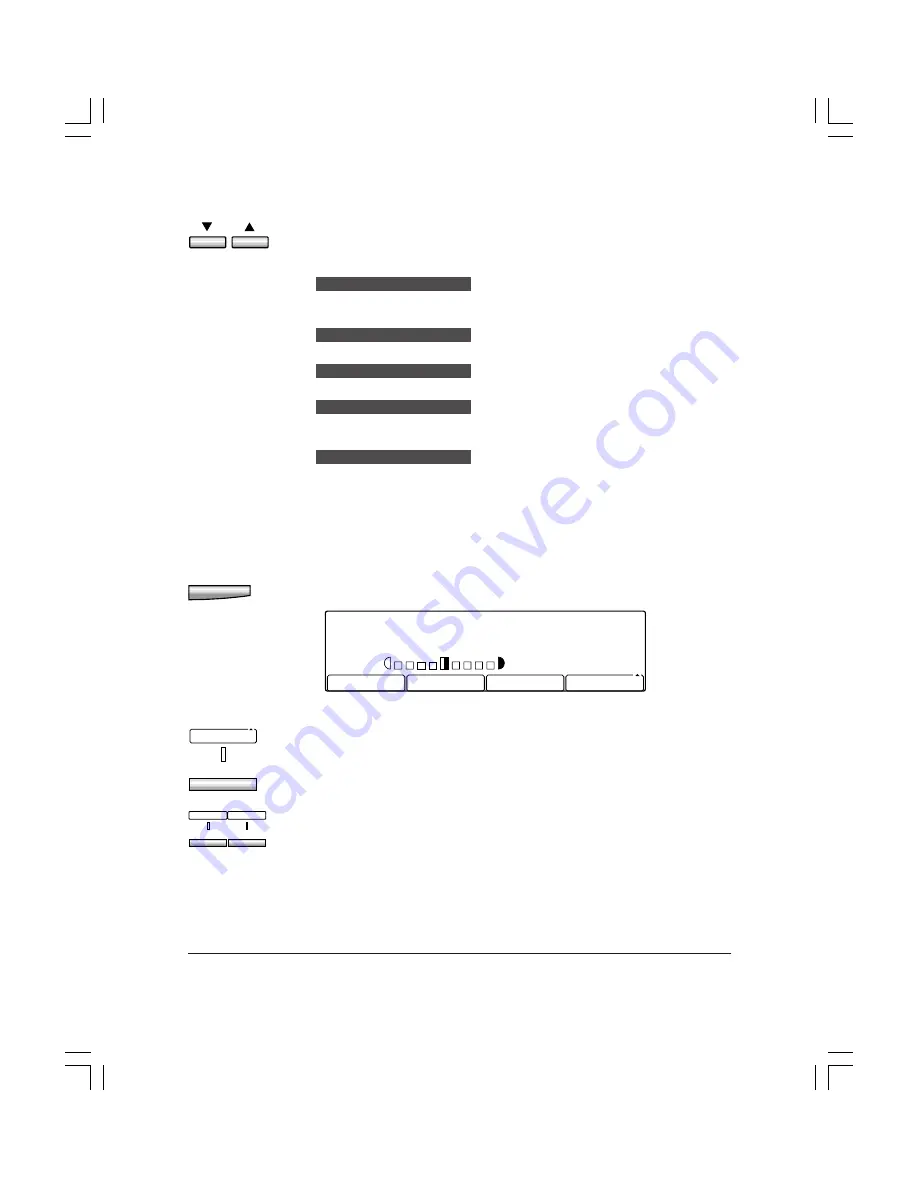
Use the search buttons (
d
,
u
) to select the setting you want.
You can select from the following:
01 STD IMAGE QUAL/EXP
Set the default image quality and exposure for copying. (To set this
setting
1
below)
02 STD ZOOM RATIO
Set the default copying ratio. (To set this setting
1
p. 14-49)
03 STANDARD COPY QTY
Set the default quantity for copying. (To set this setting
1
p. 14-50)
04 FRAME ERASE WIDTH
Set the default frame erase width for copying. (To set this setting
1
p. 14-50)
05 AUTO SORT
Set the default setting for the auto sort feature (
OFF
or
ON
). (To set this
setting
1
p. 14-51)
Follow the appropriate instructions below depending on the
setting you selected.
If you selected 01 STD IMAGE QUAL/EXP in step 5 (above):
Set
6.
Press
Set
.
STANDARD SCAN MODE
IMAGEQUALITY
LIGHT
AUTO EXPOSUR
DARK
TEXT
F4
IMAGEQUALITY
7.
Press
F4
(
IMAGE QUALITY
) to select the image quality setting you
want to set as the default.
❏
You can select
TEXT
,
TEXT/PHOTO
, or
HALFTONE
.
F1
F3
LIGHT
DARK
8.
Use
F1
(
LIGHT
) or
F3
(
DARK
) to adjust the density you want to set
as the default.
❏
You can select from nine levels.
❏
You can also select
AUTO EXPOSUR
with the
F2
button. By
selecting
AUTO EXPOSUR
, the unit sets the density level
automatically and sets the image quality to
TEXT
.
Summary of Contents for Copia 9916
Page 1: ......
Page 29: ...Chapter 1 Introduction 1 15 Introduction...
Page 69: ...2 40 Getting Started Chapter 2...
Page 201: ...4 70 Sending Documents Chapter 4...
Page 299: ...7 20 Relay Broadcasting Chapter 7...
Page 408: ...12 16 Reports and Lists Chapter 12...
Page 430: ...13 22 Troubleshooting Chapter 13...
Page 490: ...14 60 Summary of Important Settings Chapter 14...
Page 496: ...A 6 Specifications Appendix A...


