Printer Interface Software
Introduction
The printer software is displayed on the LCD monitor. The interface has six main modules
that are accessed by tabs located at the bottom of the display. Click on these tabs to access
the modules. Print Job Control is the default module displayed when the software has
finished loading after the printer is switched on or reset.
The Print Job Control display is divided into functional and status areas. The functional
areas supports all operator input necessary to operate, maintain and service the printer.
The status areas are used to report printer status.
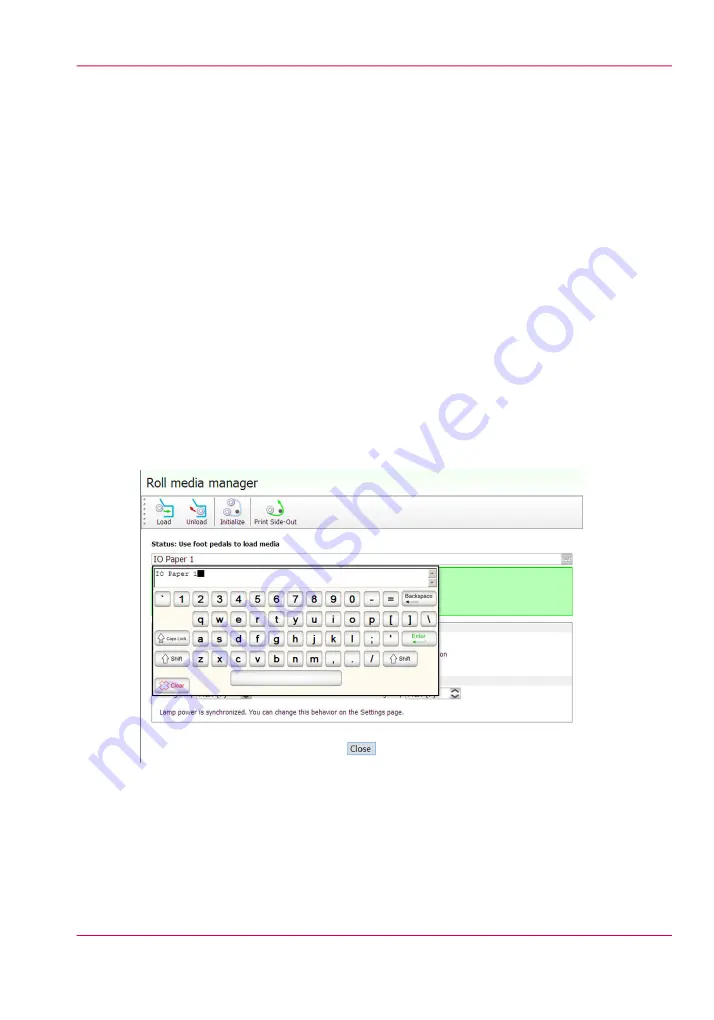
Onscreen Keyboard & Numeric Keypad
A mouse is used as the input device to navigate the menu-based interface. For operations
that require operator input, the mouse is used to select either numeric characters from a
virtual keypad or alphanumeric charaters from a virtual keyboard. These virtual input
screens are displayed on the interface LCD monitor when data entry is required.
Illustration
[43] Virtual Keyboard
Chapter 4 - How to Navigate the User Interface
49
Printer Interface Software
Summary of Contents for Arizona 550 GT
Page 1: ...Océ Arizona 550 GT User Manual Version 1 0 Revision B Océ User Manual ...
Page 6: ...6 Contents ...
Page 7: ...Chapter 1 Introduction ...
Page 15: ...Chapter 2 Product Overview ...
Page 19: ...Chapter 3 Safety Information ...
Page 43: ...Chapter 4 How to Navigate the User Interface ...
Page 71: ...Chapter 5 How to Operate the Océ Arizona 550 GT ...
Page 101: ...Chapter 6 How to Operate the Roll Media Option ...
Page 135: ...Chapter 7 How to Use the Static Suppression Upgrade Kit ...
Page 139: ...Chapter 8 How to Work With White Ink ...
Page 179: ... 145 Parameters Chapter 8 How to Work With White Ink 179 How to Use Media Models ...
Page 196: ...Chapter 8 How to Work With White Ink 196 How to Create and Use Quick Sets ...
Page 197: ...Chapter 9 Ink System Management ...
Page 205: ...Chapter 10 Error Handling and Trou bleshooting ...
Page 209: ...Chapter 11 Printer Maintenance ...


