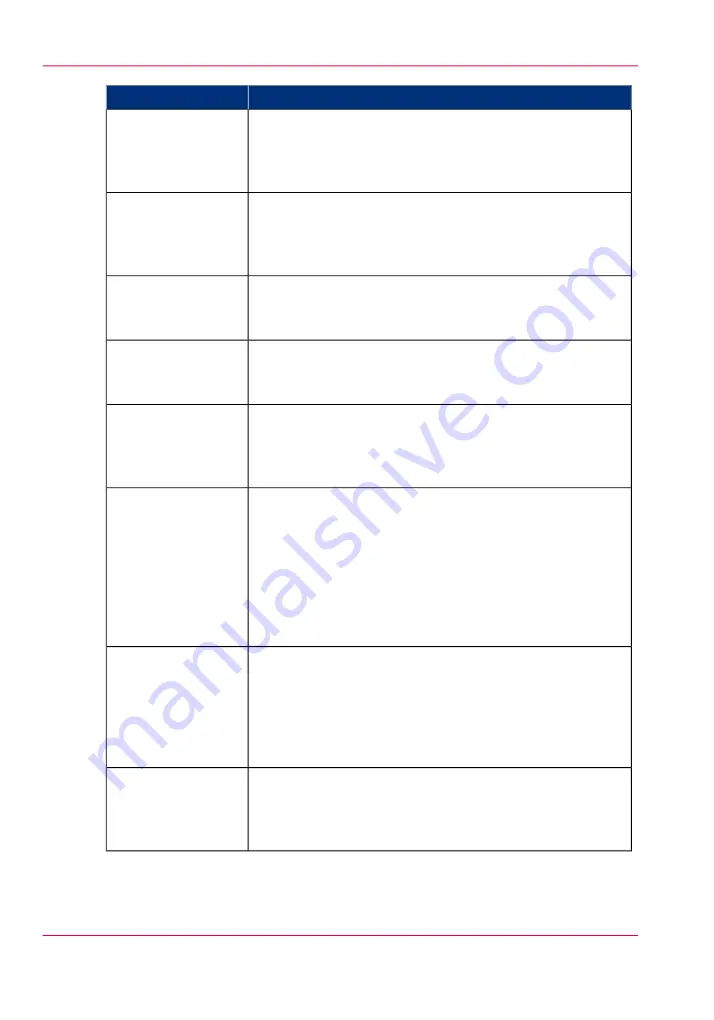
Function
Component
The three vacuum zone control handles determine which of
the three print zones on the printer table will have vacuum
applied when the vacuum pump is switched on. The vacuum
zones are opened or closed by the handles.
3) Vacuum Zone
Control
A vacuum foot pedal switch is provided to facilitate the process
of securing the media on the vacuum table. The foot pedal
toggles the table vacuum on/off. The vacuum must be turned
on prior to starting a print.
4) Vacuum Table
Foot Pedal
A bleed valve can be adjusted to reduce or increase the amount
of vacuum suction on the media. Less vacuum reduces artifacts
caused by suction when imaging on flexible media.
5) Vacuum Bleed
Valve & Gague
The print button is located at the corner where media is
loaded on the table. After positioning the media and activating
the vacuum, press the button to start the print.
6) Print Button
The green colored beacon light is mounted on the top surface
of the carriage. The purpose of the light is to indicate basic
machine status to the operator. See the table after this section
for the significance of the different states of the light.
7) Printer Status
Light
If a situation requires an immediate shutdown of all printer
activity, press one of the three Emergency Stop buttons. To
recover from an emergency shutdown, resolve the problem
that prompted the shutdown and then release the Emergency
Stop by twisting it slightly clockwise. Restoring functionality
to all disabled systems can only occur through an operator
command at the Control Station. See below for the parts of
the hardware interface affected by an Emergency Stop.
8) Emergency Stops
Daily printhead maintenance consists of an ink purge and
suction cleaning of the printheads. The maintenance station
cover is slid open to access the printheads and the suction
nozzle. The maintenance station is located under the carriage.
Maintenance is performed when the carriage is parked at the
end of the gantry.
9) Maintenance Sta-
tion
The coolant reservoir is mounted in the carriage. The operator
has the ability to refill the reservoir and to monitor the level
of coolant at this location. See Maintenance section for instruc-
tions.
10) Coolant Reser-
voir
Chapter 4 - How to Navigate the User Interface
46
Operator Interface Hardware
Summary of Contents for Arizona 550 GT
Page 1: ...Océ Arizona 550 GT User Manual Version 1 0 Revision B Océ User Manual ...
Page 6: ...6 Contents ...
Page 7: ...Chapter 1 Introduction ...
Page 15: ...Chapter 2 Product Overview ...
Page 19: ...Chapter 3 Safety Information ...
Page 43: ...Chapter 4 How to Navigate the User Interface ...
Page 71: ...Chapter 5 How to Operate the Océ Arizona 550 GT ...
Page 101: ...Chapter 6 How to Operate the Roll Media Option ...
Page 135: ...Chapter 7 How to Use the Static Suppression Upgrade Kit ...
Page 139: ...Chapter 8 How to Work With White Ink ...
Page 179: ... 145 Parameters Chapter 8 How to Work With White Ink 179 How to Use Media Models ...
Page 196: ...Chapter 8 How to Work With White Ink 196 How to Create and Use Quick Sets ...
Page 197: ...Chapter 9 Ink System Management ...
Page 205: ...Chapter 10 Error Handling and Trou bleshooting ...
Page 209: ...Chapter 11 Printer Maintenance ...


