How to Activate the Static Suppression Ionizer Bar
1.
Press the Settings tab on the printer interface screen.
2.
Click on the Printer icon.
3.
If the Ionizer Bar option is set to Off, set it to ON (this option is not displayed if the
ionizer bar is not installed).
Note:
Once you have set it to On, it will always automatically turn on at the beginning of a
flatbed job. Unless you use media that you are certain does not require static reduction,
there is no need to turn if Off as the bar is only active when the printer is printing.
How to Change the Height of the Bar
The Ionizer bar is mounted by default to accommodate media up 13mm (0.5 inches) in
height. If you need to use media that has a thickness of greater than 13mm you will have
to reverse the mounting brackets. When the brackets are reversed the maximum thickness
of media that can be used with the ionizer bar is 38mm (1.5 inches).
1.
Turn off the printer power switch.
2.
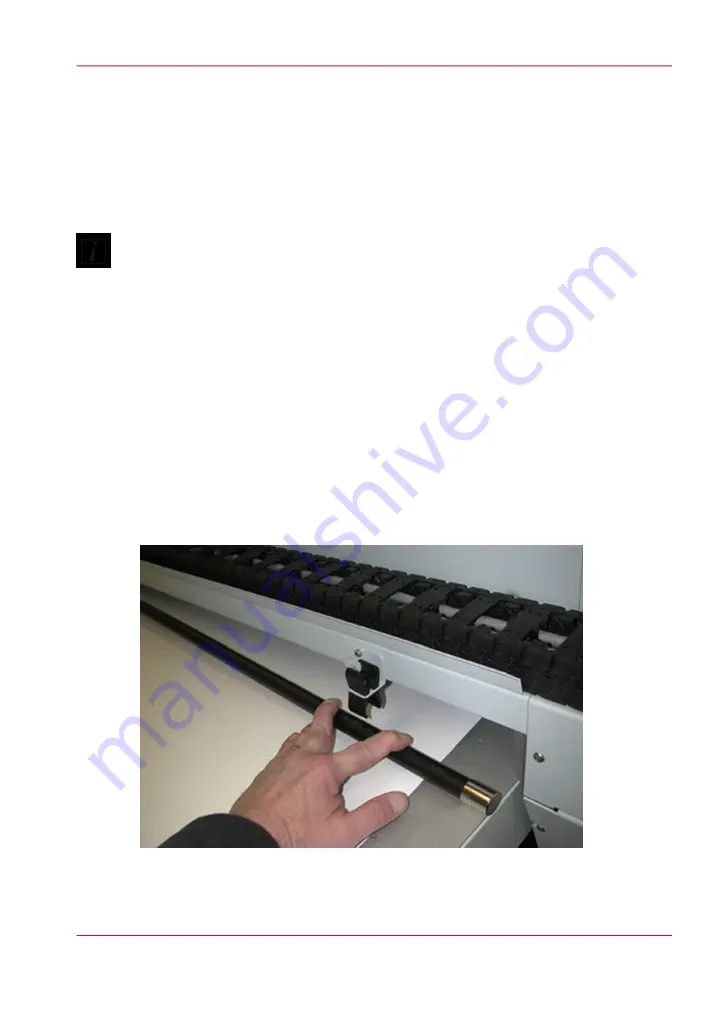
Press down on the ionizer bar first from one end and then the other to release the bar
from all four brackets.
[88] Remove Static Bar
Chapter 7 - How to Use the Static Suppression Upgrade Kit
137
Reduce Static with a Static Suppression Kit
Summary of Contents for Arizona 550 GT
Page 1: ...Océ Arizona 550 GT User Manual Version 1 0 Revision B Océ User Manual ...
Page 6: ...6 Contents ...
Page 7: ...Chapter 1 Introduction ...
Page 15: ...Chapter 2 Product Overview ...
Page 19: ...Chapter 3 Safety Information ...
Page 43: ...Chapter 4 How to Navigate the User Interface ...
Page 71: ...Chapter 5 How to Operate the Océ Arizona 550 GT ...
Page 101: ...Chapter 6 How to Operate the Roll Media Option ...
Page 135: ...Chapter 7 How to Use the Static Suppression Upgrade Kit ...
Page 139: ...Chapter 8 How to Work With White Ink ...
Page 179: ... 145 Parameters Chapter 8 How to Work With White Ink 179 How to Use Media Models ...
Page 196: ...Chapter 8 How to Work With White Ink 196 How to Create and Use Quick Sets ...
Page 197: ...Chapter 9 Ink System Management ...
Page 205: ...Chapter 10 Error Handling and Trou bleshooting ...
Page 209: ...Chapter 11 Printer Maintenance ...


