


■
Name
– Enter the name “Spot 1”. This name is specifically reserved in RIP-Queue
for this type of workflow, using any other name requires more steps to make spot in-
formation addressed by the Rip software.
Note: For instructions on how to use a naming convention other than Spot 1, refer
to the sub-section at the end of this section "Naming Your Spot Data".
■
Opacity
– Set the opacity to 10%
■
Edit the channel
COLOR
by double-clicking on the swatch. Set the spot color in
PhotoShop to a color similar to the spot ink in your printer. Since white can be hard
to distinguish, this COLOR can be any value that will help you see the design better.
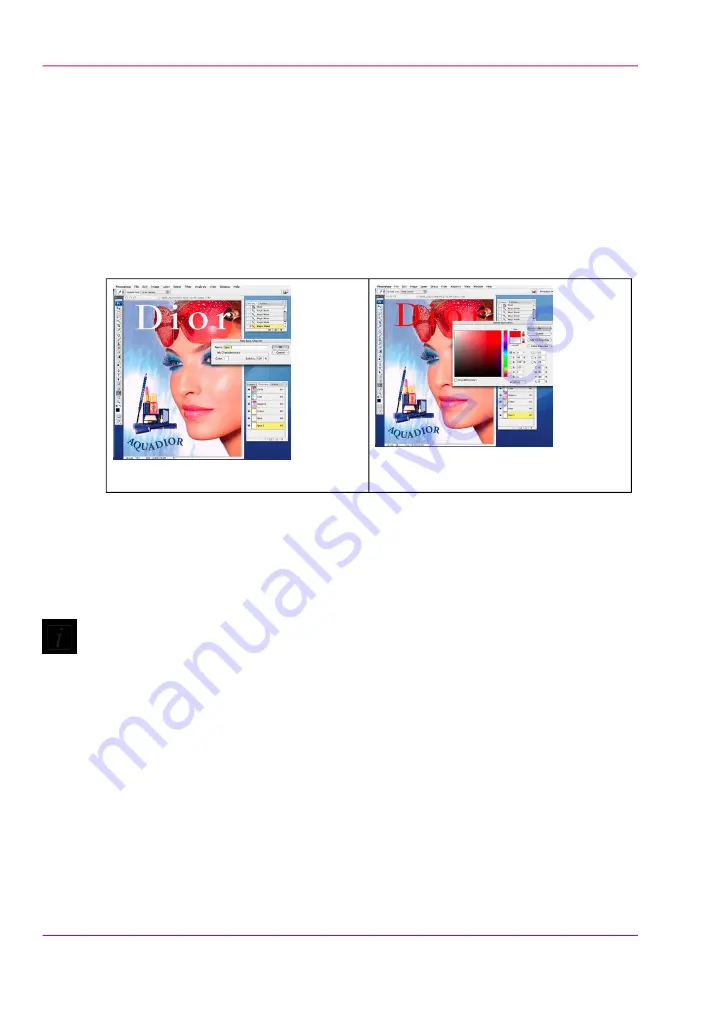
#
[101] Change Spot Color
[100] Select Spot Color
7.
Click OK to save your changes and close the Add Spot Channel dialog.
8.
You can create a flood layer in the same way by selecting the entire workspace (Select All)
and then add the spot channel as described above. The example below shows what your
workspace may look like with a 50% and 100% flood fill. If you need to see your image
for editing purposes, simply turn off the visibility of the Spot Channel.
Note:
When processing this file in ProductionHouse, media layers must be set up using a spot
layer to represent this data, as program identifies this as a Spot layer, rather than a flood.
Chapter 8 - How to Work With White Ink
156
How to Create White Spot Data in Photoshop
Summary of Contents for Arizona 550 GT
Page 1: ...Océ Arizona 550 GT User Manual Version 1 0 Revision B Océ User Manual ...
Page 6: ...6 Contents ...
Page 7: ...Chapter 1 Introduction ...
Page 15: ...Chapter 2 Product Overview ...
Page 19: ...Chapter 3 Safety Information ...
Page 43: ...Chapter 4 How to Navigate the User Interface ...
Page 71: ...Chapter 5 How to Operate the Océ Arizona 550 GT ...
Page 101: ...Chapter 6 How to Operate the Roll Media Option ...
Page 135: ...Chapter 7 How to Use the Static Suppression Upgrade Kit ...
Page 139: ...Chapter 8 How to Work With White Ink ...
Page 179: ... 145 Parameters Chapter 8 How to Work With White Ink 179 How to Use Media Models ...
Page 196: ...Chapter 8 How to Work With White Ink 196 How to Create and Use Quick Sets ...
Page 197: ...Chapter 9 Ink System Management ...
Page 205: ...Chapter 10 Error Handling and Trou bleshooting ...
Page 209: ...Chapter 11 Printer Maintenance ...


