6.
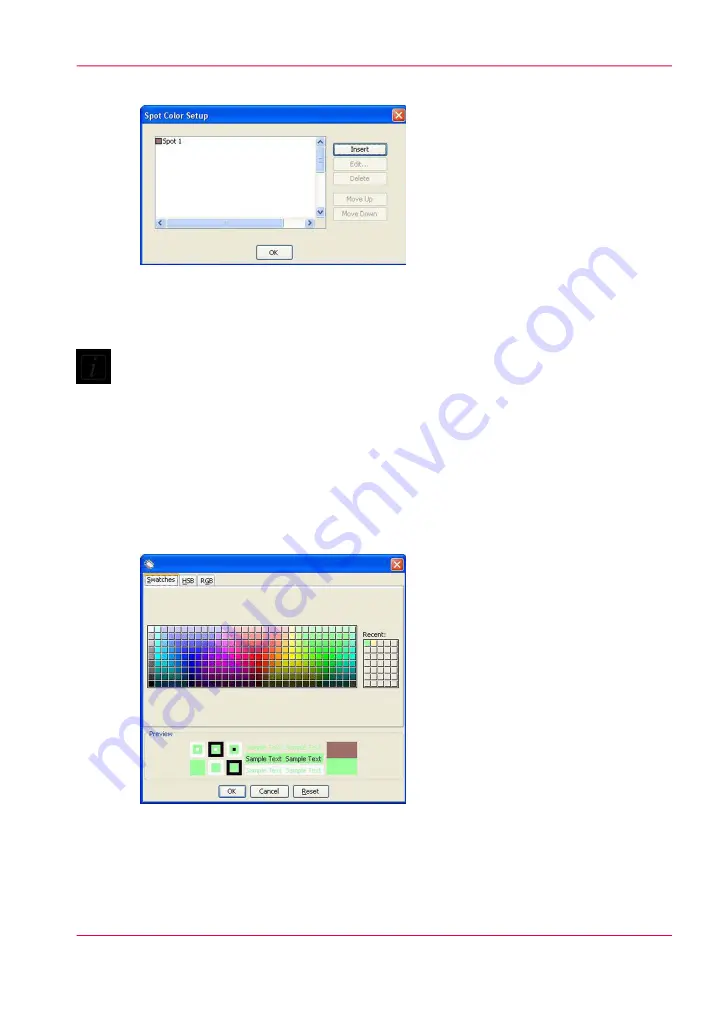
Click > Insert to add “Spot 1” to the Spot Color Setup dialog.
[148] Insert Spot1
7.
If you want to change the preview color of your spot layer, highlight “Spot 1” and click
> Edit .
Note:
If you change the name of your Spot color to anything other than Spot 1, the data file
you prepare for this media must also make use of the
exact same spot color name
. Also,
this name must be set up in Color Management/Edit Profiles/Spot Channel Replacement.
Do not use the name “White” as that name will prompt ProductionHouse to treat it in
a particular manner not desired for the white ink workflow.
The preview color chosen here will be used as an indication of Spot color layer usage in
the Preflight preview. We suggest that you select a color that is easily recognized as non-
image data, such as a fluorescent or pastel color. Also, if you use the same color for all
your media configurations it will provide quicker identification of the spot data in Preflight.
[149] Spot Preview Color
Chapter 8 - How to Work With White Ink
183
How to Create a Media for White Ink Print Jobs
Summary of Contents for Arizona 550 GT
Page 1: ...Océ Arizona 550 GT User Manual Version 1 0 Revision B Océ User Manual ...
Page 6: ...6 Contents ...
Page 7: ...Chapter 1 Introduction ...
Page 15: ...Chapter 2 Product Overview ...
Page 19: ...Chapter 3 Safety Information ...
Page 43: ...Chapter 4 How to Navigate the User Interface ...
Page 71: ...Chapter 5 How to Operate the Océ Arizona 550 GT ...
Page 101: ...Chapter 6 How to Operate the Roll Media Option ...
Page 135: ...Chapter 7 How to Use the Static Suppression Upgrade Kit ...
Page 139: ...Chapter 8 How to Work With White Ink ...
Page 179: ... 145 Parameters Chapter 8 How to Work With White Ink 179 How to Use Media Models ...
Page 196: ...Chapter 8 How to Work With White Ink 196 How to Create and Use Quick Sets ...
Page 197: ...Chapter 9 Ink System Management ...
Page 205: ...Chapter 10 Error Handling and Trou bleshooting ...
Page 209: ...Chapter 11 Printer Maintenance ...


