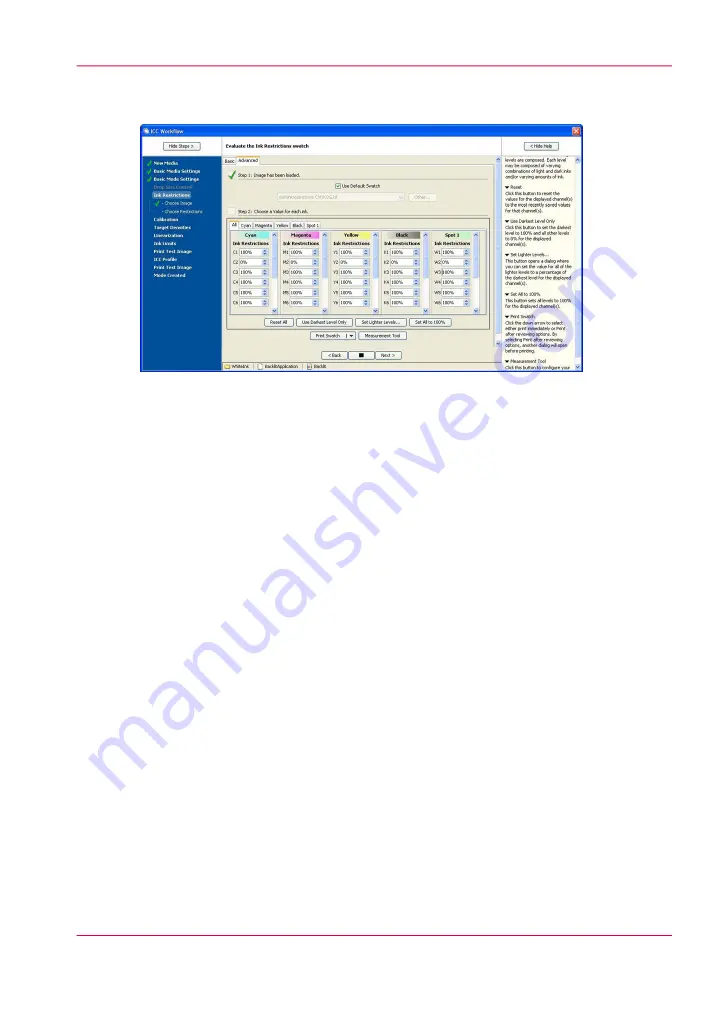
in the Advanced tab in the Spot field. In testing, we have found this value is usually ac-
ceptable if left at 100%.
[157] Set Ink Restrictions
3.
If you are printing on clear materials make sure the opacity is acceptable as well as exhibit-
ing no over-inking artifacts. You may find that you will need to configure multiple layers
as described earlier to get the coverage you desire. Determine the ink restriction values
for your color channels as usual using either the density or chroma method. Depending
on the swatch you reprint to verify your results, the spot channel may not be printed.
4.
Click > Next to continue.
Calibration/Linearization
To print the calibration swatch:
1.
Click > Print Swatch and select a manual hand-held strip device or spot color sampling
device and click > Print.
Chapter 8 - How to Work With White Ink
189
How to Create a Media for White Ink Print Jobs
Summary of Contents for Arizona 550 GT
Page 1: ...Océ Arizona 550 GT User Manual Version 1 0 Revision B Océ User Manual ...
Page 6: ...6 Contents ...
Page 7: ...Chapter 1 Introduction ...
Page 15: ...Chapter 2 Product Overview ...
Page 19: ...Chapter 3 Safety Information ...
Page 43: ...Chapter 4 How to Navigate the User Interface ...
Page 71: ...Chapter 5 How to Operate the Océ Arizona 550 GT ...
Page 101: ...Chapter 6 How to Operate the Roll Media Option ...
Page 135: ...Chapter 7 How to Use the Static Suppression Upgrade Kit ...
Page 139: ...Chapter 8 How to Work With White Ink ...
Page 179: ... 145 Parameters Chapter 8 How to Work With White Ink 179 How to Use Media Models ...
Page 196: ...Chapter 8 How to Work With White Ink 196 How to Create and Use Quick Sets ...
Page 197: ...Chapter 9 Ink System Management ...
Page 205: ...Chapter 10 Error Handling and Trou bleshooting ...
Page 209: ...Chapter 11 Printer Maintenance ...


