Note:
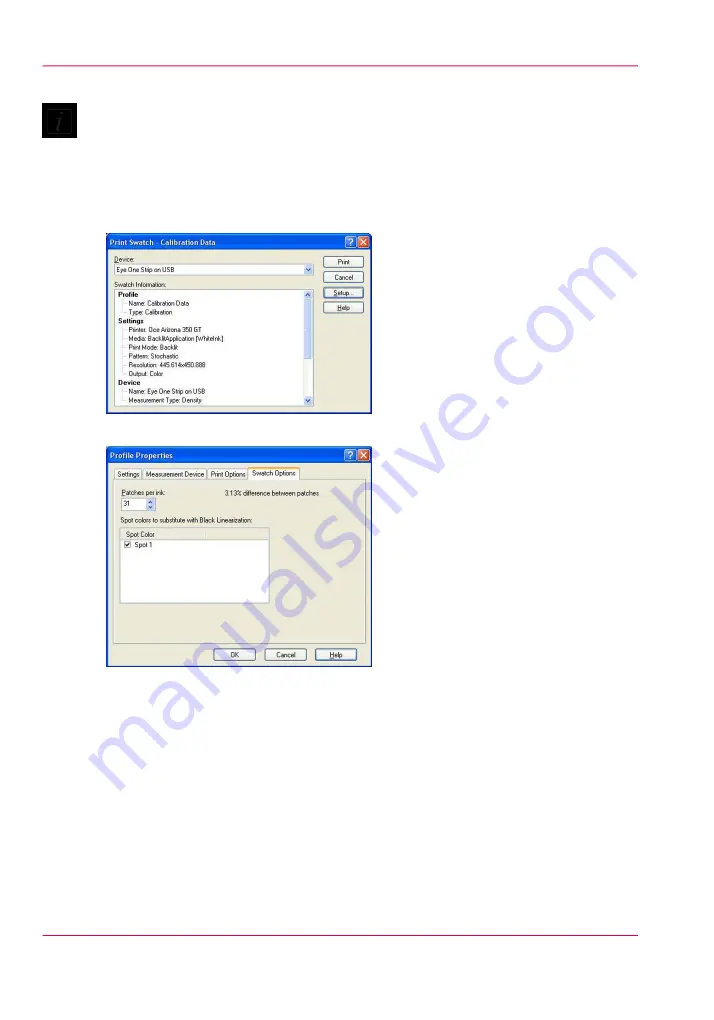
If you use a strip device such as the Gretag-MacBeth EyeOne, you may get invalid readings
for the white data. To ensure that you get usable spot data points for each measurement,
you will need to use the data from the black channel. To do this, click on Setup in the
Print Swatch Dialog. In the Swatch Options tab, click select Spot 1 to substitute with
the black linearization information.
[158] Print Swatch
[159] Substitute White for Black
2.
Once the swatch is dry, click > Read Swatch and Read Swatch again to open the calibration
data table.
3.
Follow the Strip letter and Patch number. If you have substituted the Black Channel for
your white ink there are no additional steps necessary.
4.
Click > OK to accept readings and click > Next to continue.
5.
Click > Build Linearization as usual. Note your Spot Channel curve is now represented
bearing the same curve as black. Continue on to the Ink Limits step.
Chapter 8 - How to Work With White Ink
190
How to Create a Media for White Ink Print Jobs
Summary of Contents for Arizona 550 GT
Page 1: ...Océ Arizona 550 GT User Manual Version 1 0 Revision B Océ User Manual ...
Page 6: ...6 Contents ...
Page 7: ...Chapter 1 Introduction ...
Page 15: ...Chapter 2 Product Overview ...
Page 19: ...Chapter 3 Safety Information ...
Page 43: ...Chapter 4 How to Navigate the User Interface ...
Page 71: ...Chapter 5 How to Operate the Océ Arizona 550 GT ...
Page 101: ...Chapter 6 How to Operate the Roll Media Option ...
Page 135: ...Chapter 7 How to Use the Static Suppression Upgrade Kit ...
Page 139: ...Chapter 8 How to Work With White Ink ...
Page 179: ... 145 Parameters Chapter 8 How to Work With White Ink 179 How to Use Media Models ...
Page 196: ...Chapter 8 How to Work With White Ink 196 How to Create and Use Quick Sets ...
Page 197: ...Chapter 9 Ink System Management ...
Page 205: ...Chapter 10 Error Handling and Trou bleshooting ...
Page 209: ...Chapter 11 Printer Maintenance ...


