How to Replace the Lamp Bulb
Procedure
IMPORTANT
Wear cotton gloves. Avoid bare skin contact with the UV lamp bulbs. When heated,
compounds from the skin can form permanent etching on the surface of the UV bulb. A
contaminated bulb may fail prematurely.
1.
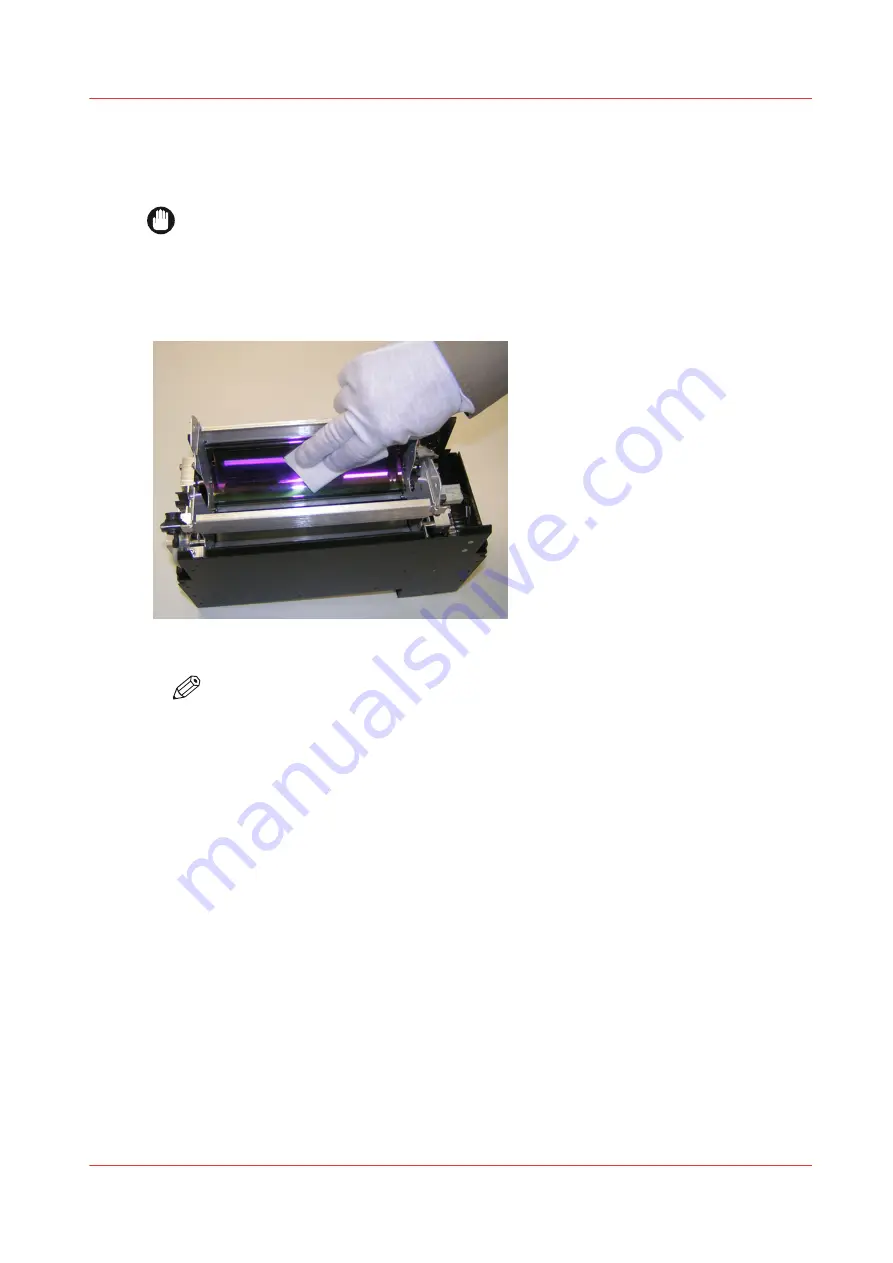
Before you insert the new UV bulb and replace the lamp housing, open the UV shutters and use a
lint-free cloth soaked in isopropyl alcohol to clean the reflector surfaces.
[157] Clean lamp housing reflectors
NOTE
If the reflectors are not cleaned at least with every bulb change, the curing ability of the
lamps will decrease (See Customer Application bulletin 38 for more details).
2.
Use the lint-free cloth soaked in isopropyl alcohol to clean both sides of the quartz window in the
bottom of the UV lamp housing bucket.
3.
Ensure that the UV shutters are still open (rotate the motor dampener if they are not).
4.
Prior to installing the UV lamp bulb, use the cleaning wipes provided in the replacement kit to
clean it.
5.
Pick up the new bulb by its ceramic ends.
6.
Insert the bulb into the retainer clips one at a time, ensuring that the bulb is centered and seated
firmly into the clips at both ends.
7.
Reconnect the bulb power connectors and tighten the screw locks.
8.
Rotate the two UV light shields clockwise back to the closed position so that they are parallel to
the end plate.
How to Replace the Lamp Bulb
Chapter 11 - Printer Maintenance
211
Summary of Contents for Arizona 365 GT
Page 1: ...Operation guide Oc Arizona 365 GT User Manual...
Page 6: ...Contents 6...
Page 7: ...Chapter 1 Introduction...
Page 11: ...Chapter 2 Product Overview...
Page 13: ...Chapter 3 Safety Information...
Page 38: ...Roll Media Safety Awareness 38 Chapter 3 Safety Information...
Page 39: ...Chapter 4 How to Navigate the User Interface...
Page 61: ...Chapter 5 How to Operate Your Oc Arizona Printer...
Page 76: ...How to Handle Media 76 Chapter 5 How to Operate Your Oc Arizona Printer...
Page 77: ...Chapter 6 How to Operate the Roll Media Option...
Page 109: ...Chapter 7 How to Use the Static Suppression Upgrade Kit...
Page 113: ...Chapter 8 How to Work With White Ink...
Page 164: ...How to Create and Use Quick Sets 164 Chapter 8 How to Work With White Ink...
Page 165: ...Chapter 9 Ink System Management...
Page 170: ...Change Ink Bags 170 Chapter 9 Ink System Management...
Page 171: ...Chapter 10 Error Handling and Troubleshooting...
Page 174: ...Troubleshooting Overview 174 Chapter 10 Error Handling and Troubleshooting...
Page 175: ...Chapter 11 Printer Maintenance...
Page 220: ...How to Remove Uncured Ink on the Capstan 220 Chapter 11 Printer Maintenance...
Page 221: ...Chapter 12 Regulation Notices...
Page 226: ...226 Chapter 12 Regulation Notices...
Page 227: ...Appendix A Application Information...
Page 233: ......


