Loading the Media - Standard Method
The standard way to load media is quick and efficient and ensures minimum waste of material.
However, for some longer print jobs or when you use media that is more flexible and therefore
harder to achieve good alignment, there is an alternate method that will be described in Section
D. Straight loading of roll media is very important to avoid wrinkles and banding in the print,
especially on longer print job runs. If you want to ensure that a media is loaded straight or if you
see an inverted light/dark banding across the media, we recommend the alternative method.
Procedure
1.
Select the Load icon from the Roll Media Manager.
2.
If you are going to print with "Print Side In", click the icon in the Roll Media manager ("Print Side
Out" is the default so you do not need to select it unless you have previously used Print Side In).
Note that the icon toggles from one choice to the other when you click it.
NOTE
For Print Side Out, the media unrolls from the bottom the supply shaft.
For Print Side In, the media unrolls from the top of the supply shaft.
3.
Wait for the gantry to move part way across the table.
4.
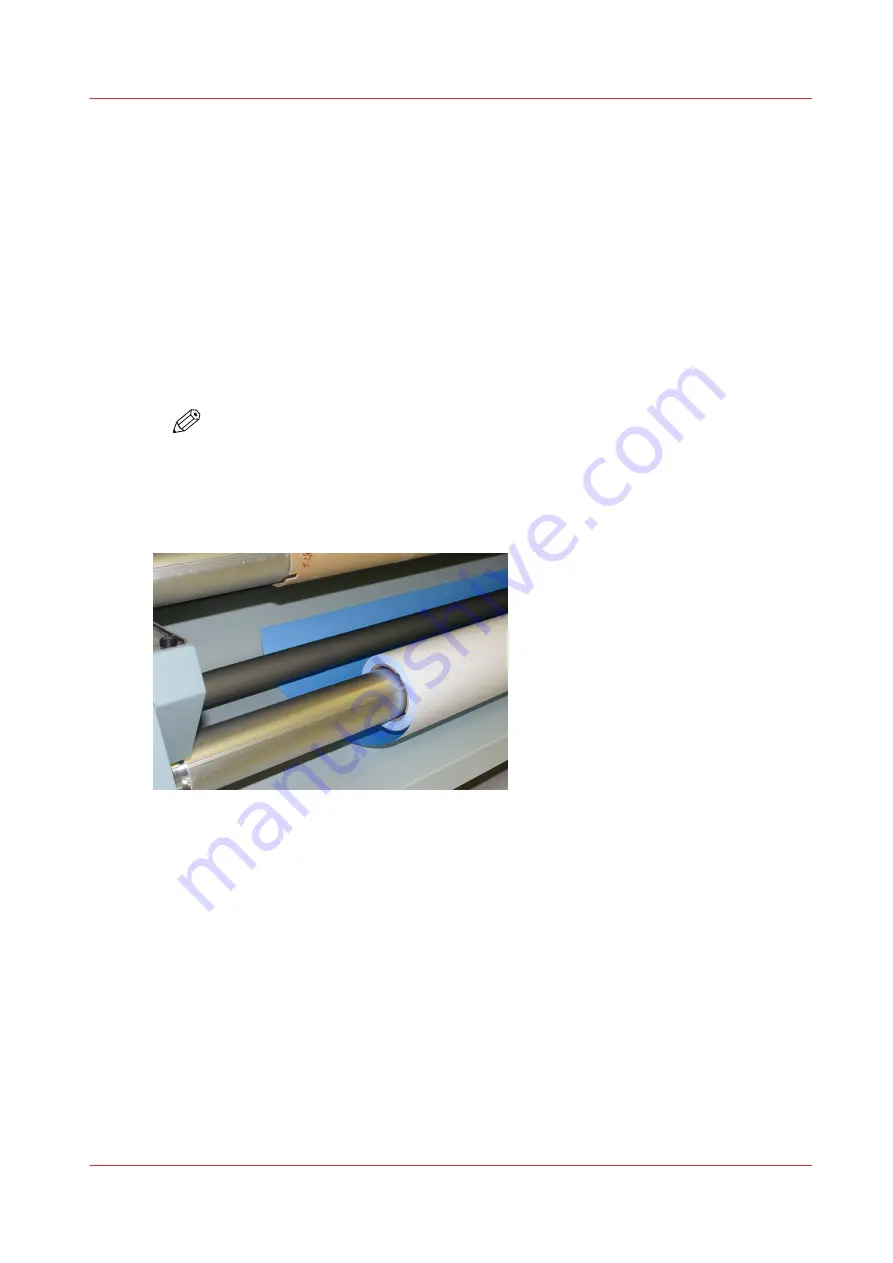
Thread the media under the media tension bar (Note that the media is threaded for Print Side Out
in the photo below). Pay out media with the foot pedal as required.
[46] Thread Media Under Tension Bar (Print side out)
Loading the Media - Standard Method
Chapter 6 - How to Operate the Roll Media Option
89
Summary of Contents for Arizona 365 GT
Page 1: ...Operation guide Oc Arizona 365 GT User Manual...
Page 6: ...Contents 6...
Page 7: ...Chapter 1 Introduction...
Page 11: ...Chapter 2 Product Overview...
Page 13: ...Chapter 3 Safety Information...
Page 38: ...Roll Media Safety Awareness 38 Chapter 3 Safety Information...
Page 39: ...Chapter 4 How to Navigate the User Interface...
Page 61: ...Chapter 5 How to Operate Your Oc Arizona Printer...
Page 76: ...How to Handle Media 76 Chapter 5 How to Operate Your Oc Arizona Printer...
Page 77: ...Chapter 6 How to Operate the Roll Media Option...
Page 109: ...Chapter 7 How to Use the Static Suppression Upgrade Kit...
Page 113: ...Chapter 8 How to Work With White Ink...
Page 164: ...How to Create and Use Quick Sets 164 Chapter 8 How to Work With White Ink...
Page 165: ...Chapter 9 Ink System Management...
Page 170: ...Change Ink Bags 170 Chapter 9 Ink System Management...
Page 171: ...Chapter 10 Error Handling and Troubleshooting...
Page 174: ...Troubleshooting Overview 174 Chapter 10 Error Handling and Troubleshooting...
Page 175: ...Chapter 11 Printer Maintenance...
Page 220: ...How to Remove Uncured Ink on the Capstan 220 Chapter 11 Printer Maintenance...
Page 221: ...Chapter 12 Regulation Notices...
Page 226: ...226 Chapter 12 Regulation Notices...
Page 227: ...Appendix A Application Information...
Page 233: ......


