Upgrading Your Server 9-19
Removal
Remove the DIMM in the following procedure.
NOTE:
To remove the defected DIMM, check the error message
appearing in POST or NEC ESMPRO to confirm the CPU blade on
which the detected DIMM is installed.
1.
After providing the shutdown processing for the CPU blade to be removed, turn off the
power of the CPU blade.
2.
Pull out the CPU blade from the Blade Enclosure.
Refer to the User's Guide of the Blade Enclosure.
3.
Place the CPU blade on anti-static sheet with little dust.
4.
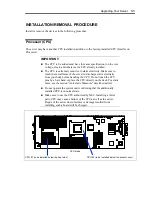
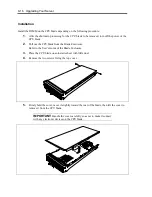
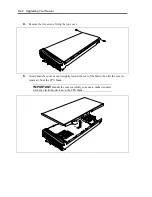
Remove the two screws fixing the top cover.
5.
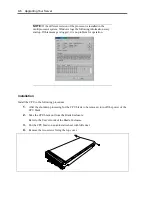
Firmly hold the cover, move it slightly toward the rear of the blade, then lift the cover to
remove it from the CPU blade.
6.
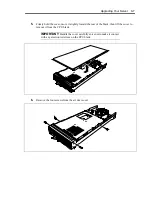
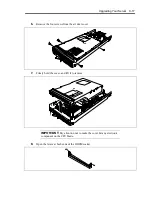
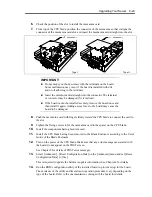
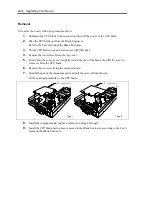
Remove the four screws from the air duct cover.
7.
Firmly hold the cover, and lift it to remove.
8.
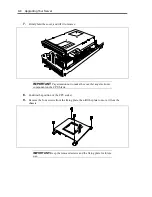
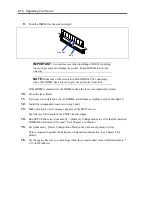
Open the levers at the both ends of the DIMM socket to be removed.
The lock is released to allow you to remove the DIMM.
NOTE:
If you are removing DIMM of unbuffered type, remove the
pairing DIMM from another DIMM connector.
9.
Install the components removed in steps 2 and 7.
10.
Turn on the power of the CPU blade. Make sure that no error message appears in POST.
If an error message appears, write down the message and see the error message list in
Chapter 8.
If the CPU blade is not started, the DIMM may not be installed on the socket correctly.
Install the DIMM again.
11.
Run SETUP, select [Yes] after selecting [Advanced] – [Memory Configuration] –
[Memory Retest] to restart the CPU blade, and clear the error information of the removed
DIMM (see Chapter 4).
12.
Set [Advanced] – [Reset Configuration Data] in the [Advanced] menu to [Yes].
This is required to update the hardware configuration information. See Chapter 4 for
details.
13.
Set the paging file size to a value larger than the recommended value (installed memory *
1.5) (for Windows).
Summary of Contents for N8400-086F
Page 14: ...viii This page is intentionally left blank...
Page 44: ...2 20 General Description This page is intentionally left blank...
Page 152: ...6 24 Installing and Using Utilities This page is intentionally left blank...
Page 158: ...7 6 Maintenance This page is intentionally left blank...
Page 218: ...A 2 Specifications This page is intentionally left blank...
Page 290: ...B 72 Installing the Operating System 4 Activate Windows The Windows activation is complete...

