9-18 Upgrading Your Server
9.
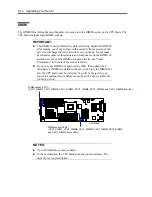
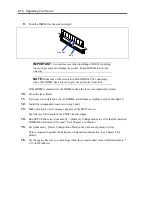
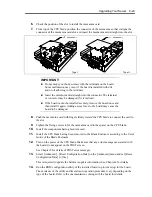
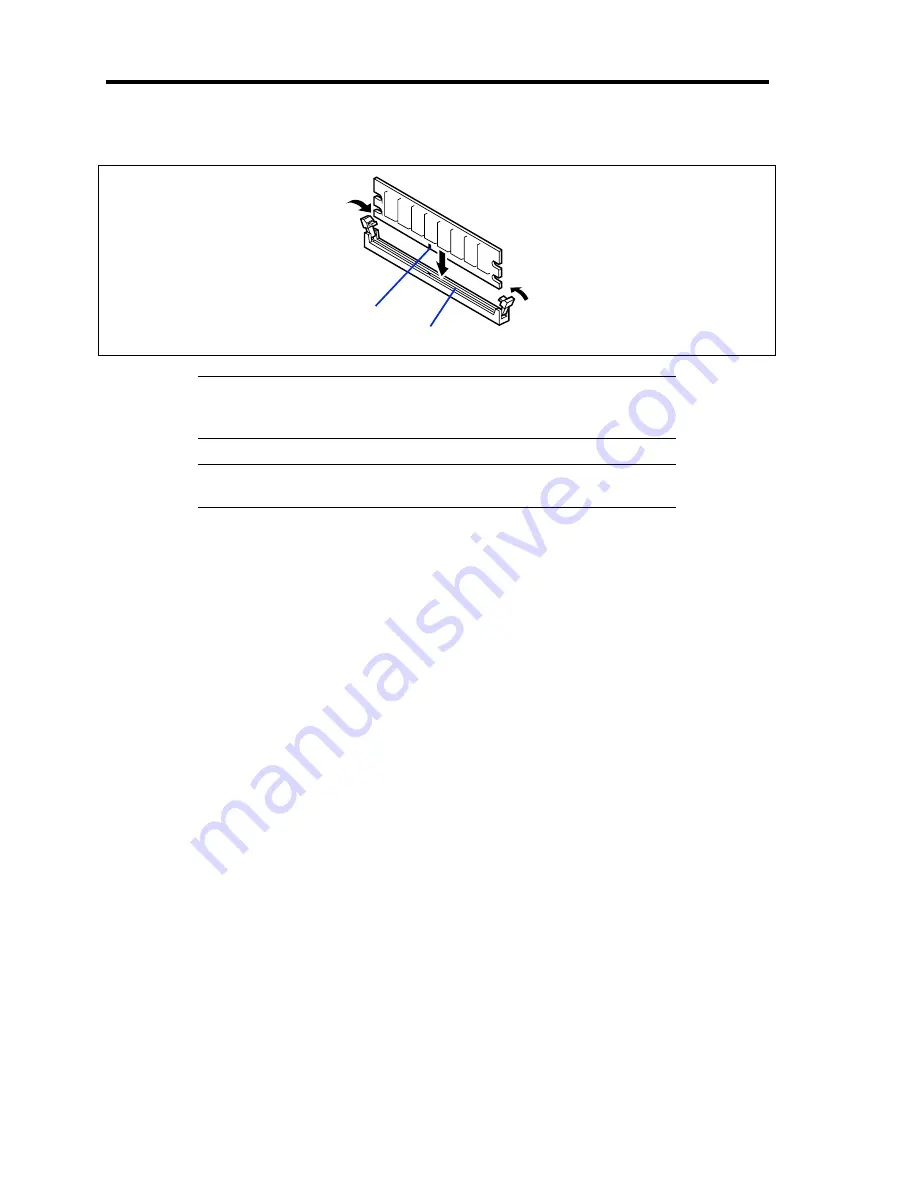
Push the DIMM into the socket straight.
IMPORTANT:
Use extreme care when installing a DIMM. Applying
too much pressure can damage the socket. Keyed DIMMs insert only
one way.
NOTE:
Make sure of the orientation of the DIMM. The connecting
side of the DIMM has a cut-out to prevent an incorrect insertion.
If the DIMM is inserted into the DIMM socket, the lever is automatically closed.
10.
Close the lever firmly.
11.
If you need to install two or more DIMMs, install them according to steps 8 through 10.
12.
Install the components removed in steps 1 and 2.
13.
Make sure that no error message appears on the POST screen.
See Chapter 8 for details of the POST error messages.
14.
Run SETUP and select [Advanced]
→
[Memory Configuration] to verify that the installed
DIMM shows the status "Normal". (See Chapter 4 or details.)
15.
Set [Advanced] – [Reset Configuration Data] in the [Advanced] menu to [Yes].
This is required to update the hardware configuration information. See Chapter 4 for
details.
16.
Set the paging file size to a value larger than the recommended value (installed memory *
1.5) (for Windows).
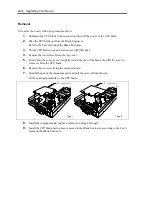
Key slot
Key
Summary of Contents for N8400-086F
Page 14: ...viii This page is intentionally left blank...
Page 44: ...2 20 General Description This page is intentionally left blank...
Page 152: ...6 24 Installing and Using Utilities This page is intentionally left blank...
Page 158: ...7 6 Maintenance This page is intentionally left blank...
Page 218: ...A 2 Specifications This page is intentionally left blank...
Page 290: ...B 72 Installing the Operating System 4 Activate Windows The Windows activation is complete...


