Upgrading Your System 4-39
Removing the System Board
13.
Carefully lift the system board out of the chassis and place it component-side up on a
nonconductive, static free surface.
14.
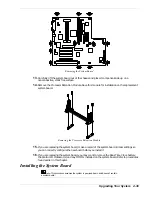
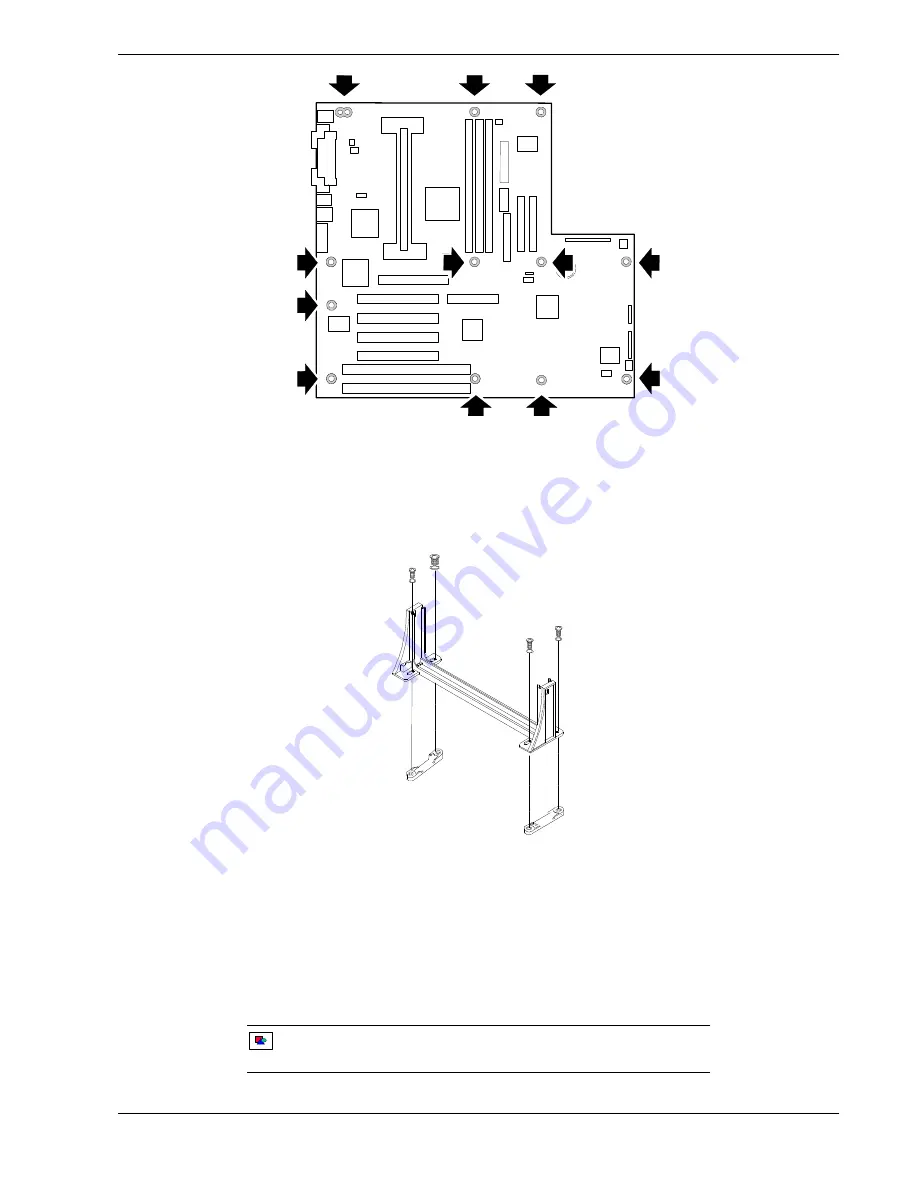
Remove the Processor Retention Module. Save this module for installation on the replacement
system board.
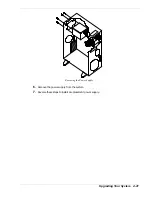
Removing the Processor Retention Module
15.
If you are replacing the system board, make a record of the system board jumper settings so
you can correctly configure the new board before you install it.
16.
If you are replacing the system board, you may want to remove the Real-Time Clock battery,
the Pentium II Processor(s) and any DIMMs installed on the system board. Refer to procedures
found earlier in this chapter.
Installing the System Board
Note:
This procedure assumes the system is powered down and does not contain
a system board.
Summary of Contents for EXPRESS 5800 ES1400 SERIES Online
Page 1: ...EXPRESS5800 ES1400 SERIES ONLINE SERVICE GUIDE...
Page 8: ...Using This Guide xv...
Page 21: ......
Page 33: ...2 12 Setting Up the System...
Page 60: ...Configuring Your System 3 27...
Page 130: ...Problem Solving 5 21...
Page 131: ......
Page 132: ......
Page 142: ...6 10 Illustrated Parts Breakdown...
Page 149: ...System Cabling A 7 WIDE SCSI CABLE 68 pins IDE CABLE 40 pins Standard System Cable Routing...
Page 160: ...System Setup Utility B 9 Adding and Removing ISA Cards Window...
Page 163: ...B 12 System Setup Utility System Resource Usage Window...

