4-22
Upgrading Your System
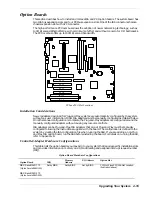
Removing an Option Board
Note:
Expansion slot covers must be installed on all vacant slots
to maintain the electromagnetic emissions characteristics of the
system and to assure proper cooling of the system components.
1.
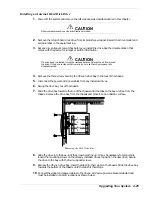
Power off the system and remove the left side panel as described earlier in this chapter.
2.
Disconnect any cables attached to the option board you are removing.
3.
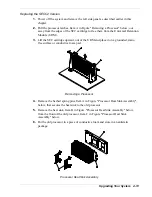
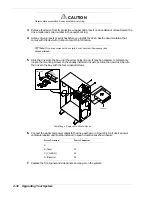
Remove and save the option board retaining bracket screw
4.
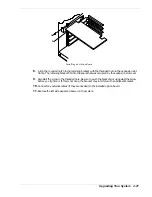
Hold the board at each end and carefully rock it back and forth until the edge connectors pull
free. Make sure that you do not scrape the board against other components.
5.
Remove the board from the expansion slot and place it in an antistatic wrapper. If you are
replacing a board, go to "Installing an Option Board" earlier in this chapter, otherwise
continue.
6.
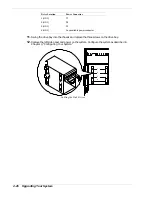
Install an expansion slot cover over the vacant slot using the previously removed screw.
7.
Replace the left side panel and power on the system.
8.
If you removed a non-Plug-and-Play ISA option board, run the SSU to configure the system as
described in the Appendix B.
Summary of Contents for EXPRESS 5800 ES1400 SERIES Online
Page 1: ...EXPRESS5800 ES1400 SERIES ONLINE SERVICE GUIDE...
Page 8: ...Using This Guide xv...
Page 21: ......
Page 33: ...2 12 Setting Up the System...
Page 60: ...Configuring Your System 3 27...
Page 130: ...Problem Solving 5 21...
Page 131: ......
Page 132: ......
Page 142: ...6 10 Illustrated Parts Breakdown...
Page 149: ...System Cabling A 7 WIDE SCSI CABLE 68 pins IDE CABLE 40 pins Standard System Cable Routing...
Page 160: ...System Setup Utility B 9 Adding and Removing ISA Cards Window...
Page 163: ...B 12 System Setup Utility System Resource Usage Window...

