USER MANUAL, RSS-1000-CVSI
7000-5970
Rev.
A
page
290
of
396
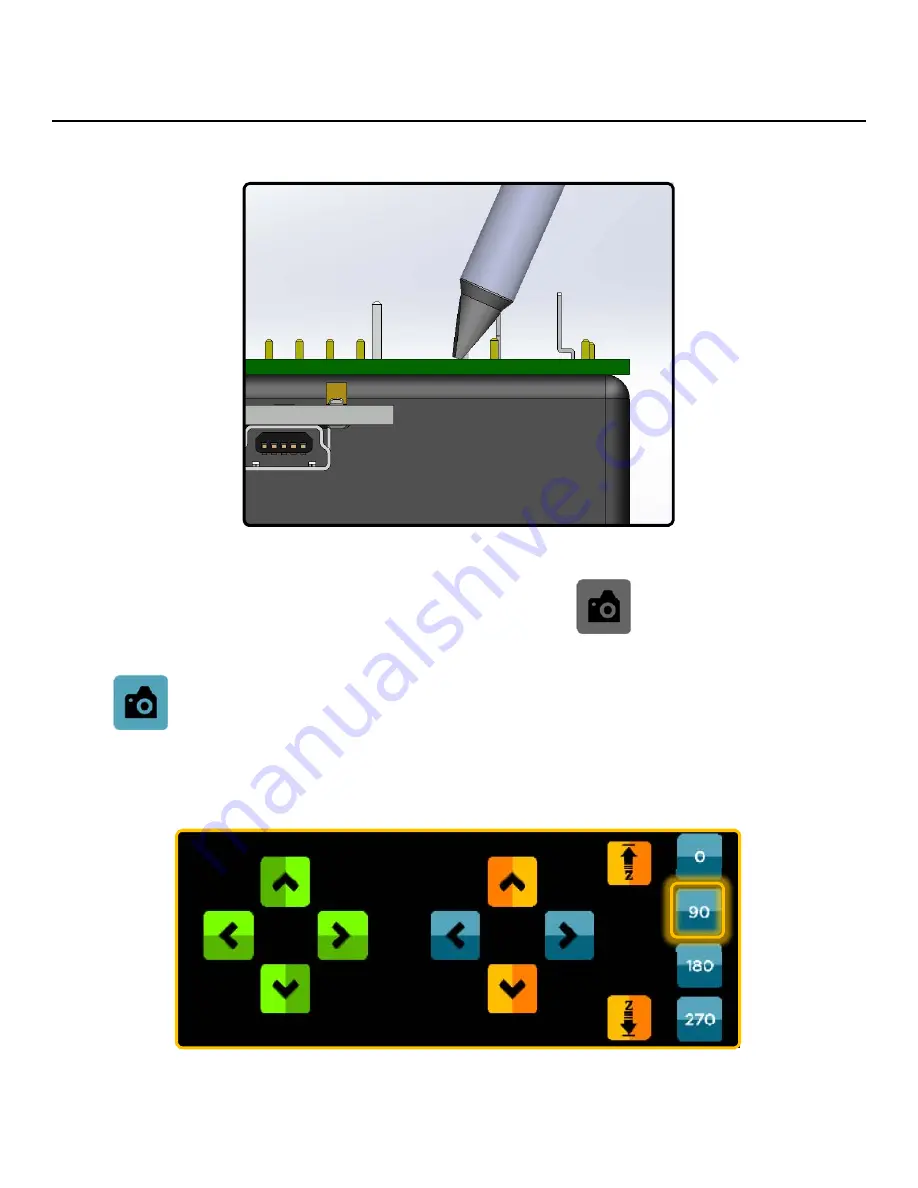
6. Use the Fine Adjustment jog controls to slowly jog end effector down until cartridge first contacts
PCBA substrate.
6.1. Record the Z-Axis value in the Global Coordinate Display on a piece of paper.
7. Tap the Camera Icon to enable the Computer Vision Camera
7.1. Note: The icon will illuminate blue when active and an image should appear in the workspace.
8. Use the jog controls to move to the desired location for screenshot.
8.1. If necessary, use the quick theta snaps to rotate the end effector 90° to clear any bracketry of
end effector from obscuring view.
Summary of Contents for RSS-1000-CVSI
Page 21: ...USER MANUAL RSS 1000 CVSI 7000 5970 Rev A page 21 of 396 ROBOT BASE CONNECTIONS N ...
Page 52: ...USER MANUAL RSS 1000 CVSI 7000 5970 Rev A page 52 of 396 2 Tap the Power Button ...
Page 55: ...USER MANUAL RSS 1000 CVSI 7000 5970 Rev A page 55 of 396 2 Tap the Power Button ...
Page 224: ...USER MANUAL RSS 1000 CVSI 7000 5970 Rev A page 224 of 396 5 5 Spiral 1 2 3 8 9 4 7 6 5 ...


