LaCie Ethernet Disk RAID
(Firmware version 1.4)
User Manual
page
Managing Your Ethernet Disk RAID
K
2
1
NIC 2: 000E0CBA0A58 NIC 1: 000E0CBA0A58
Serial Number 123456789
Client Backup and Recovery License Key
NHORT-KAGEL-RR2D2-CKING-0P3C0
LaCie Ltd. 345678U
5.1. Accessing the Web Manager
To access the Manager using the Console:
Start the Console and connect to the Ethernet Disk
RAID (see section
4.2. Starting the Console
).
Log in to the Manager (see section
5.2. Logging In
to the Manager
).
1.
2.
To access the Manager using a Web browser:
From any computer in your network, run Microsoft
Internet Explorer 6.0 or Firefox 1.06 or newer, en-
ter the following in the address bar, and then press
Enter
:
https://storage_system –
where “storage_system”
is the name or IP address of the Ethernet Disk
RAID.
When the login page appears, you can bookmark it
so that you can quickly and easily access it the next
time.
Log in to the Manager (see in section
5.2. Logging
In to the Manager
).
1.
2.
TeChNICAl NOTe:
You can use the system
name only if your computer is in the same sub-
net as the Ethernet Disk RAID, if you added the
Ethernet Disk RAID’s IP address and name to
your local hosts file, or if you manually registered
the name with a DNS server in your network.
5.1.1. Windows Users
■
5.1.2. Mac Users with DHCP Server
■
There are two methods of Accessing the Ethernet
Disk RAID Web Manager from a Mac connected to a
network with a DHCP server:
Method 1: IP Address
Open a Terminal window, type the command
arp –a
and press
return
. A list of IP addresses and MAC
addresses should appear.
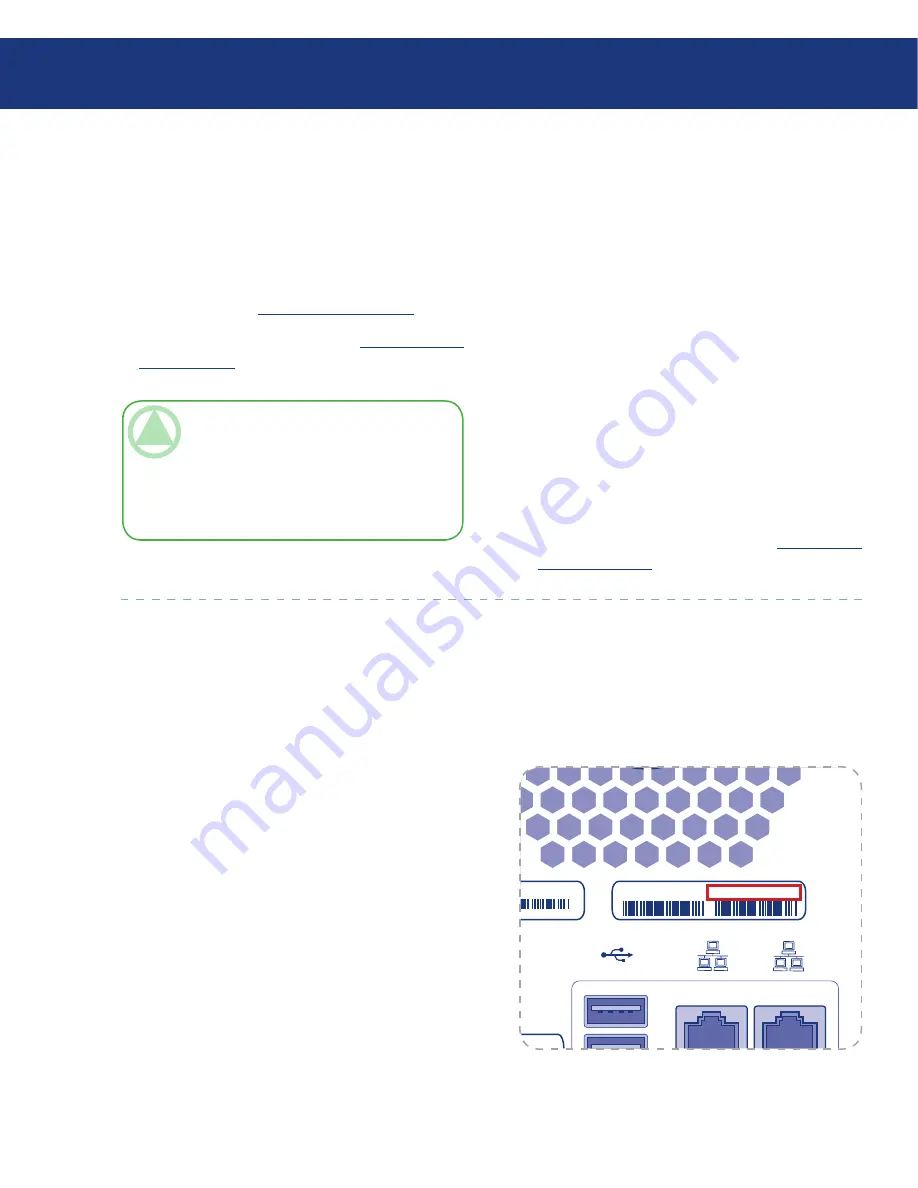
Find the 12-digit MAC address of the Ethernet Disk
RAID on the label on the back panel (Fig. 5.1.2.A)
Locate the MAC address in the list of addresses in
the Terminal window and the IP address correspond-
ing to the MAC address.
Open Safari. Enter the IP address you found in Step
2 in the URL field, e.g. “https://ip_address”, and
press
return
.
1.
2.
3.
Fig. 5.1.2.A


