LaCie Ethernet Disk RAID
(Firmware version 1.4)
User Manual
page 0
Protecting Local Disks
7.8.1. Enabling Remote Boot
■
To enable remote boot:
In the
Protected disk
list on any page, select your
system disk or partition. If you protected multiple
system disks or partitions, select the first system disk
or partition on your computer (typically Disk 0).
From the
Action
menu, click
Enable Remote Boot
.
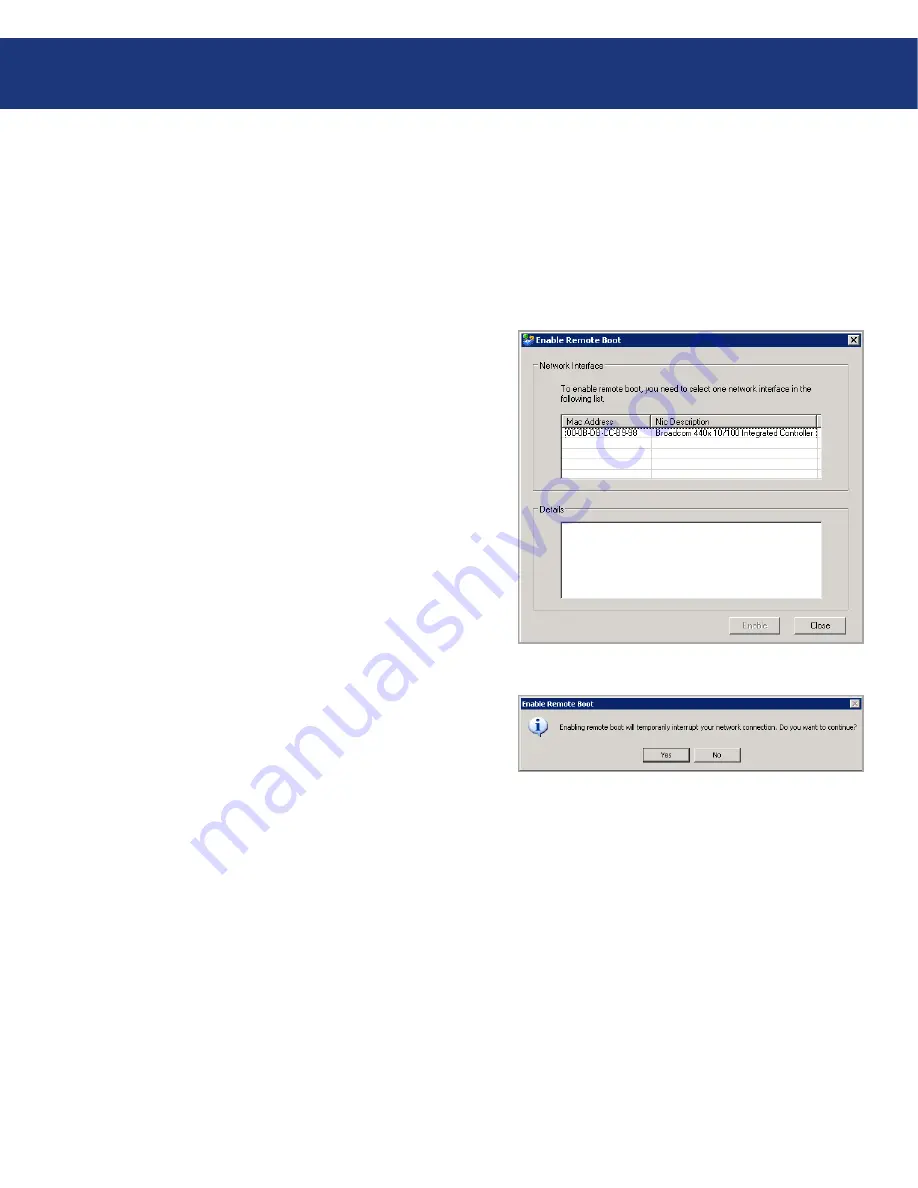
The
Enable Remote Boot
dialog box appears (see
Fig. 7.8.1.A.). This dialog box displays a list of all the
NICs on your computer.
From the list, select the NIC that you want to use
when remotely booting from the Ethernet Disk
RAID.
1.
2.
3.
Fig. 7.8.1.A
Click
Enable
. A message appears, advising you that
your network connection will be temporarily inter-
rupted.
Click
Yes
to allow the temporary network inter-
ruption. (Your network connection will be re-
stored immediately after this process is complete.)
On the
Enable Remote Boot
dialog box, the
Details
area shows the progress of the enabling process. If
any problems are encountered – for example, if the
selected disk or partition was not your system disk
– that portion of the process is marked as “Failed.”
You can click the plus sign next to the process de-
scription to expand it and display an error message
that explains exactly what happened.
4.
5.
Fig. 7.8.1.B


