70
1–1d: Insert, Cut, Copy, Current Step
Insert
When you press the Insert button, the step data that was
temporarily saved in the buffer by the Copy button or Cut
button
will be inserted at the “Current Step.” (If copy or cut
has not been executed, default data will be inserted.)
Cut
When you press the Cut button, the “Current Step” will be
cut, and its data will be saved temporarily in the buffer. If
you Insert immediately after you cut, the data will return
the state in which it was before you cut.
Copy
When you press the Copy button, the data of the “Current
Step” will be saved temporarily in the buffer.
Press the Insert button to insert the copied step into the
“Current Step.”
Current Step
[01...100]
Selects the step that will be inserted, cut or copied.
If you wish to playback from a step in the middle of the cue
list, select the desired step here, and press the SEQUENCER
[START/STOP] key.
For details on creating and editing a cue list, refer to OG
p.53.
▼
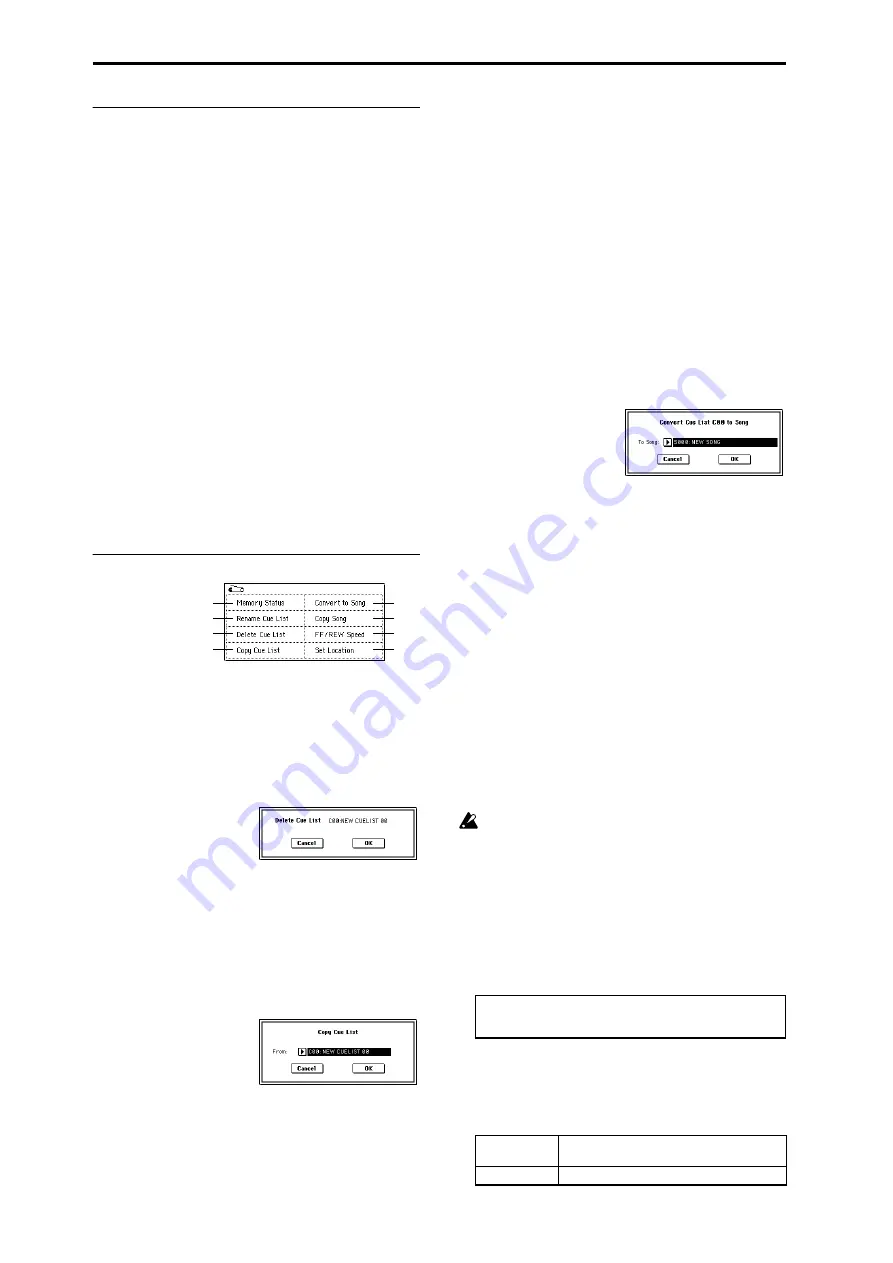
1–1: Page Menu Command
1–1A: Rename Cue List
This command renames the selected cue list. A name of up
to sixteen characters can be input. (
1–1B: Delete Cue List
This command deletes the currently selected cue list.
1
Select “Delete Cue List” to access the dialog box.
2
To execute the Delete Cue List command, press the OK
button
. To cancel, press the Cancel button. When you
execute this command, the data of the currently selected
cue list will be deleted.
1–1C: Copy Cue List
This command copies the settings of another cue list to the
currently selected cue list.
1
Select “Copy Cue List” to access the dialog box.
2
In “From,” specify the copy source cue list.
3
To execute the Copy Cue List command, press the OK
button
. To cancel, press the Cancel button.
When you execute, the setting data of the selected cue list
will be deleted, and replaced by the copy-source data.
1–1D: Convert to Song (Convert Cue List to Song)
This command converts a cue list consisting of multiple
songs to a single song. Although it is not possible to record
additional tracks into a cue list, you can convert the cue list
to a song, and then record solos etc. onto open tracks.
Also, it will be necessary to convert a cue list to a song if you
wish to write it to a media as SMF data. During the conver-
sion, the track and effect settings of the song specified for
“Step” 01 will be copied to the beginning of the resulting
song, and all track and effect settings of subsequent songs
will use the settings of the song for “Step” 01.
1
Select the cue list (C00–19) that you want to convert to a
song.
2
Select “Convert to Song” to access the dialog box.
3
In “To Song,” specify the conversion destination song
number.
If you select a new song, a confirmation dialog box will
appear.
Press the OK button to create a new song, into which the
cue list will be converted.
4
Press the OK button to execute the conversion, or press
the Cancel button to cancel without executing.
If you selected a song that already contains settings and
performance data, executing this command will erase the
data of that song and replace it with the data that was
converted from the cue list. Use this command with cau-
tion.
After executing this command, you can press the [COM-
PARE] key to return to the state prior to execution.
The “Convert to Song” command converts a cue list to a
song as described below.
• Song/Track parameter settings for “Step” 01
Song/Track parameters will use the settings of the
“Step” 01 song.
The MIDI channel of each track will be according to the
settings of the “Step” 01 song. If “Step” 02 and follow-
ing songs have different settings, it may not be possible
to convert the playback result of the cue list into a song.
As far as possible, try to keep the MIDI channel assign-
ments consistent between songs that you intend to use
as part of a play list that will be converted into a song.
The following track parameters will not be reflected in
the conversion. As with the MIDI channels, we recom-
mend that you keep these settings consistent between all
songs in the cue list.
• Converting Song/Track parameters into track events
Second and subsequent repeats of the “Step” 01 song,
and the settings of “Step” 02 and following songs will all
be converted into track events (musical data).
The following data will be converted.
0–1A
1–1A
1–1B
1–1C
1–1D
1–1E
0–1I
0–1J
SOLO ON/OFF, Status, MIDI Channel, Bank Select (When Sta-
tus = EX2), Force OSC Mode, OSC Select, Delay, Use Programs
Scale, MIDI Filter, Key Zone, Velocity Zone
Track1–16
Program Select, Pan, Volume, Portamento,
Detune, Bend Range
Master Track
Tempo, Meter
Summary of Contents for TRITON Extreme
Page 1: ...2 E ...
Page 11: ...xii ...
Page 111: ...100 9 5 Page Menu Command 0 1A 0 1I 0 1J Program 9 5A ...
Page 185: ...174 ...
Page 215: ...204 ...
Page 281: ...270 ...
Page 349: ...338 ...
Page 350: ...339 ...
Page 351: ...340 ...
Page 352: ...341 ...
Page 353: ...342 ...


