


Enhanced Utility Functions
5-28
JAN. 04 11:30
T
92%
-SET DOC. FACE UP-
5 BATCH TX
TX TIME =21:00
OK=YES (DEL=NO)
-SELECT REGIST.KEY-
* NOT REGISERED *
The machine starts scanning.
After completely scanning the document, the
machine enters the standby state for timer
transmission while showing the initial screen on
the Message Display.
NOTE:
After pressing the One Touch key in step 2 the machine operation differs
depending on the particular function registered in Program Dial, i.e.,
Broadcast, Timer TX, Mailbox TX, Polling RX, or Relay Initiate. For
details, see the relevant pages explaining the corresponding functions.
Using Batch TX
Overview of the BATCH TX function
You can program your single location one-touch keys to batch documents automatically.
By assigning a batch time to a programmed one-touch key, you can eliminate dialing the
same number several times a day. Your FAX unit calls the other unit at a preset time and
transmits all documents stored in memory during the same call.
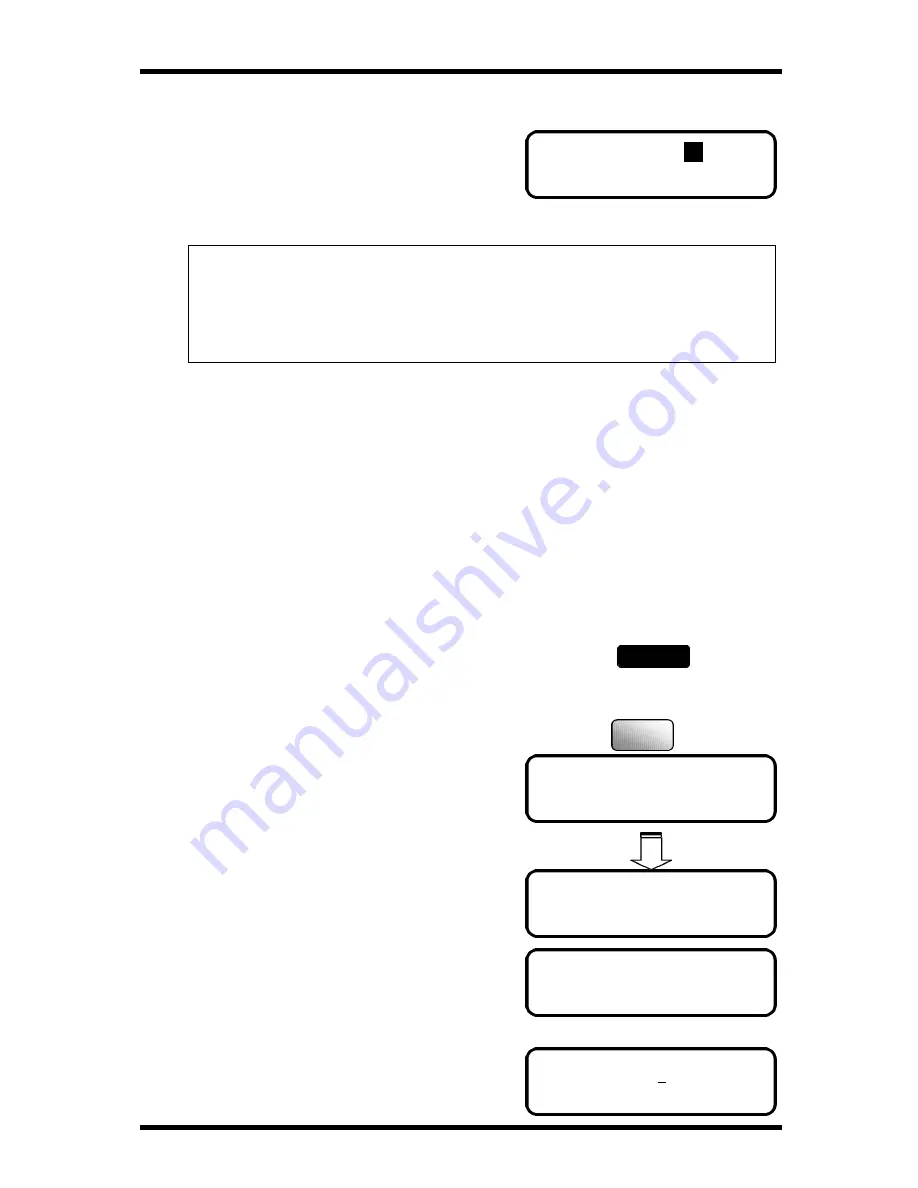
How to set up the BATCH TX
1.
Press the Utility key 3 times.
2.
Press ‘5’ from the Numeric keys. The following message
appears briefly to confirm your selection.
3.
Press the one-touch key you want to program.
Before using the Batch feature, you must set
the telephone number on the one-touch key,
otherwise, the display will appear the
message as shown.
4.
Enter the batch time using the Numeric keys,
then press the Yes key.
Utility
x 3
5
JKL
Summary of Contents for FK-116
Page 1: ...FK 116 F a x o p e r a t i o n User s Guide...
Page 11: ...1 About Your Machine...
Page 33: ...2 Basic FAX Operations...
Page 74: ...3 Enhanced FAX Operations...
Page 86: ...4 Utility Functions...
Page 115: ...5 Enhanced Utility Functions...
Page 138: ...Enhanced Utility Functions 5 23...
Page 145: ...6 How To Make Copies...
Page 169: ...7 Using The Confirm Utilities...
Page 174: ...8 Printing Reports...
Page 196: ...9 Troubleshooting...
Page 214: ...10 Specifications...


