


607 Series Face Recognition Terminal
User Manual
87
14.
Click OK to save the settings.
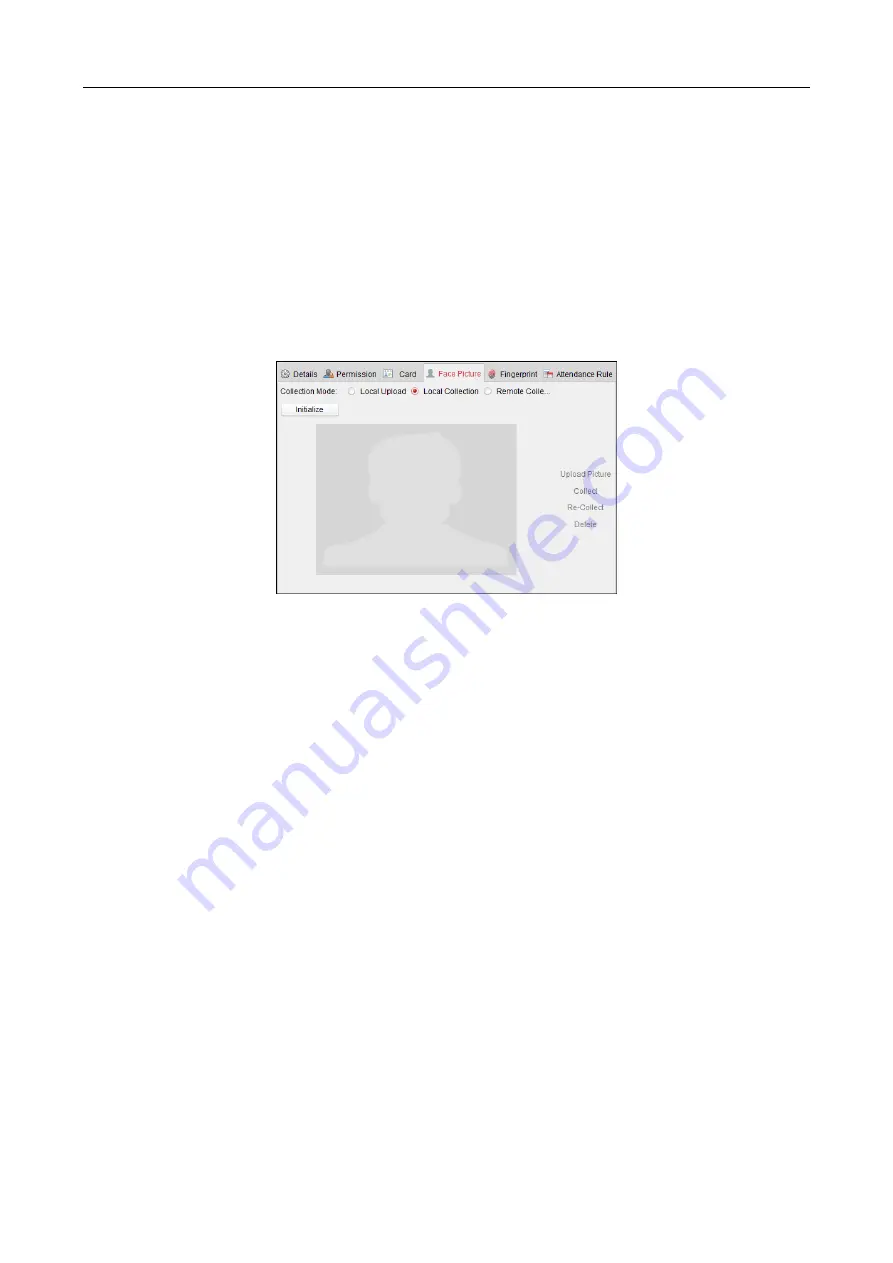
Adding Person (Face Picture)
You can collect the face picture in two ways: Local Collection and Remote Collection.
Local Upload: Upload local the face pictures from the local PC.
Local Collection: Collect the face picture via face picture scanner.
Remote Collection: Collect the face picture via the access control terminal.
Note:
The access control terminal should support face recognition function.
Steps:
1.
In the Add Person interface, click Face Picture tab.
2.
To upload the face picture from the local PC:
1)
Select Local Upload.
2)
Click Upload Picture and select a face picture from the local PC.
Note:
The uploaded picture should be in JPG format and the size should be less than 200K.
3)
(Optional) By default, the uploaded face picture should be verified by the device.
You can select a device from the drop-down list to verify the uploaded face picture. Only
after the face picture is verified, the face picture is adding completely.
3.
To get the face picture via face picture scanner:
1)
Select Local Collection.
2)
Connect the face picture scanner to the PC.
3)
Select a device type.
Note:
Currently, the face picture scanner of DS2CS5432B-S is supported.
4)
(Optional) You can click Initialize to initialize the face picture scanner.
4.
To get the face picture via access control terminal:
1)
Select Remote Collection.
2)
Click Select Device to select the access control terminal which supports face recognition
function.
5.
Click Collect to capture the face picture.
You can click Re-Collect the captured picture again.
You can click Delete to delete the captured picture.
6.
Click OK to save the settings.