


607 Series Face Recognition Terminal
User Manual
130
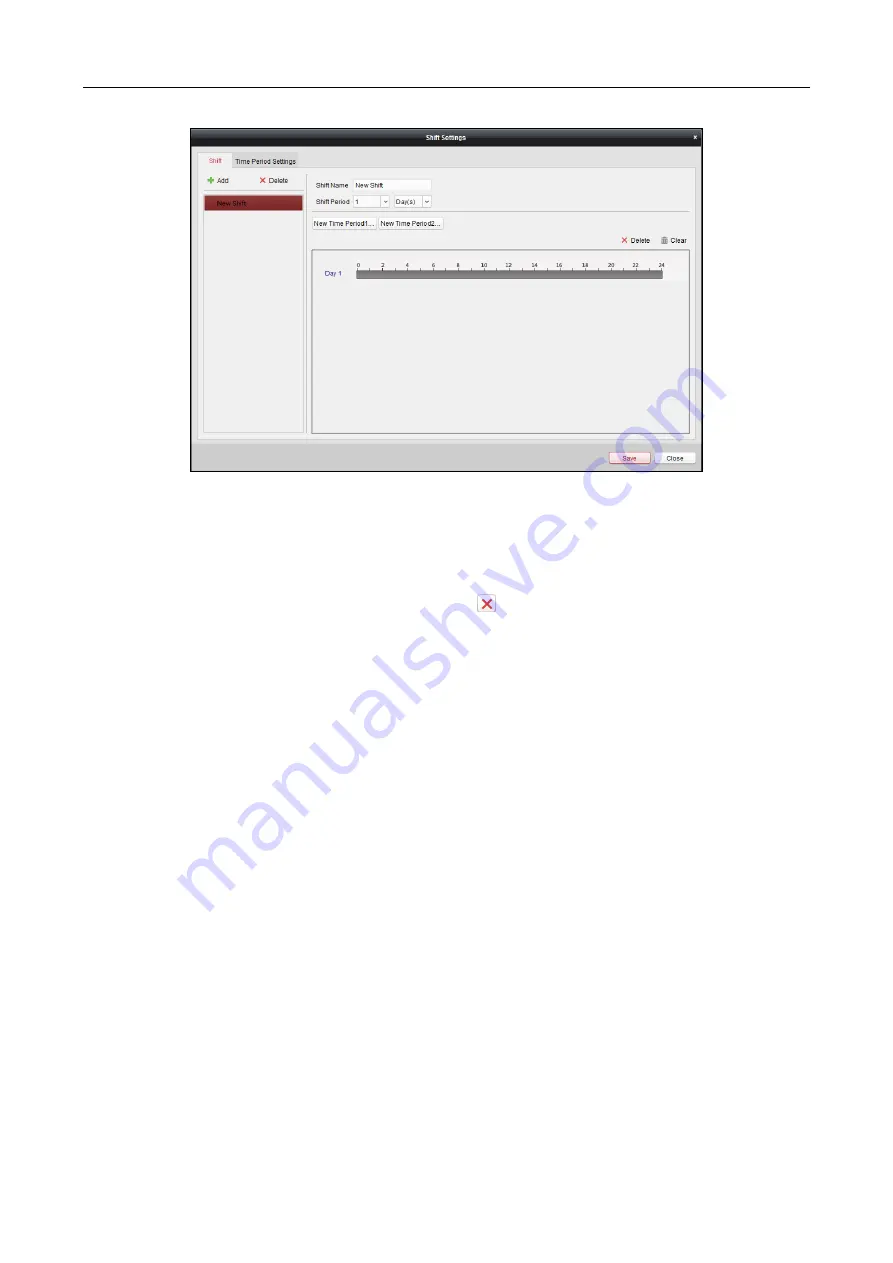
3.
Set the name for shift.
4.
Select the shift period from the drop-down list.
5.
Configure the shift period with the added time period.
1)
Select the time period.
2)
Click the time bar to apply the time period for the select day.
You can click the time period on the bar and click
or Delete to delete the period.
You can also click Clear to delete all days’ time period.
6.
Click Save to save the settings.
The added shift will display on the left panel of the dialog.
You can also click Delete on the left panel to delete the shift.
Shift Schedule Settings
Purpose:
After setting the shift, you can set department schedule, person schedule and temporary schedule.
Note:
The temporary schedule has higher priority than department schedule and person schedule.
Department Schedule
You can set the shift schedule for one department, and all the persons in the department will be
assigned with the shift schedule.
Note:
In Time and Attendance module, the department list is the same with the organization in
Access Control. For setting the organization in Access Control, refer to Chapter 7.4 Organization
Management.
Steps:
1.
Open the Shift Schedule Management interface and select the department on the left panel.
2.
Click Department Schedule to pop up Department Schedule dialog.