


607 Series Face Recognition Terminal
User Manual
133
5.
Configure the shift date with the added time period.
1)
Select the time period.
2)
Click the time bar to apply the time period for the select date.
You can click the time period on the bar and click
to delete the period.
You can also click Clear to delete all days’ time period.
6.
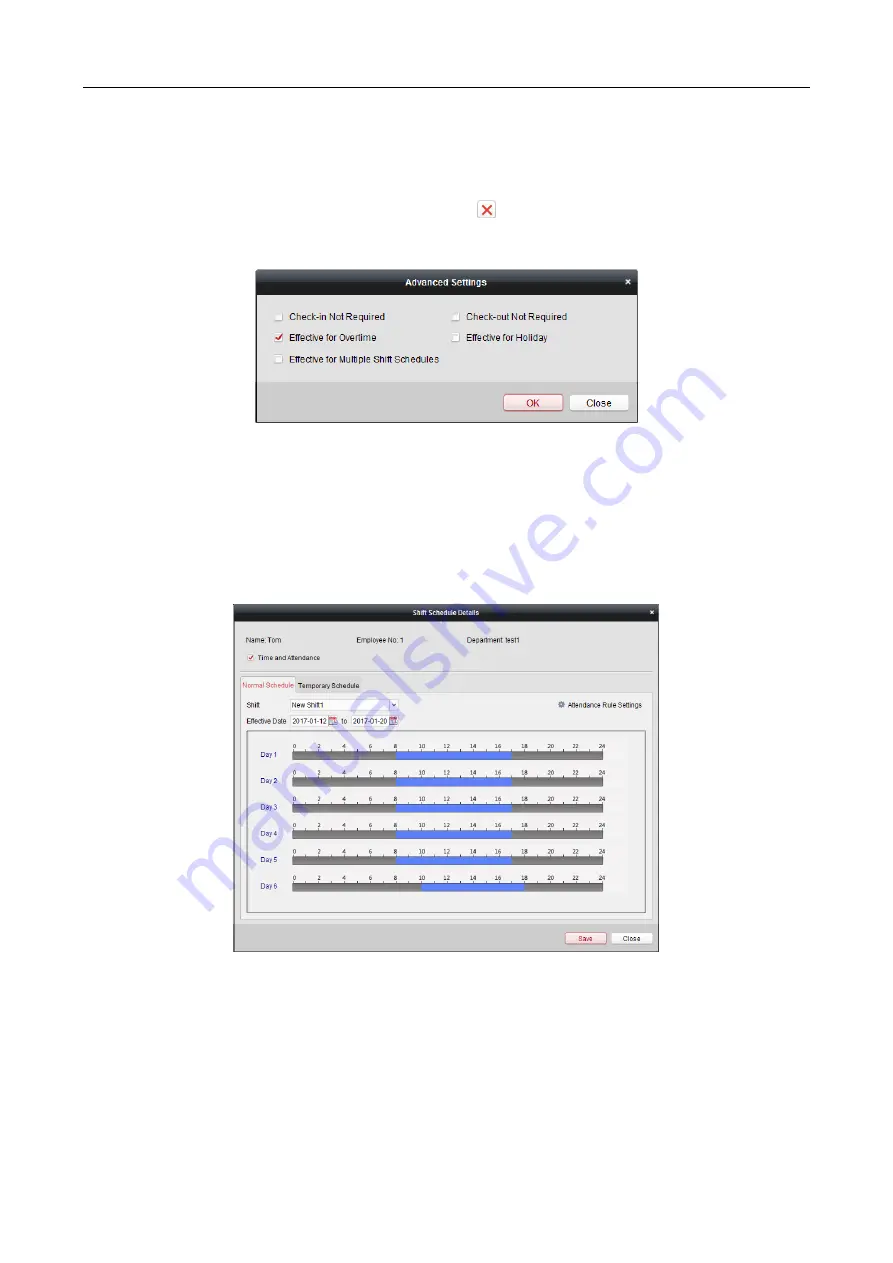
You can click Advanced Settings to advanced attendance rules for the temporary schedule.
7.
Click Add to save the settings.
Checking Shift Schedule Details
Steps:
1.
On the Shift Schedule Management interface, select the department on the left panel.
2.
Select the person(s) on the right panel.
3.
Click View to pop up Shift Schedule Details dialog.
You can check the shift schedule details.
4.
Click Normal Schedule tab.
You can check and edit the normal schedule details.
1)
Select the shift from the drop-down list.
2)
Click Attendance Rule Settings to pop up Attendance Rule Settings dialog.