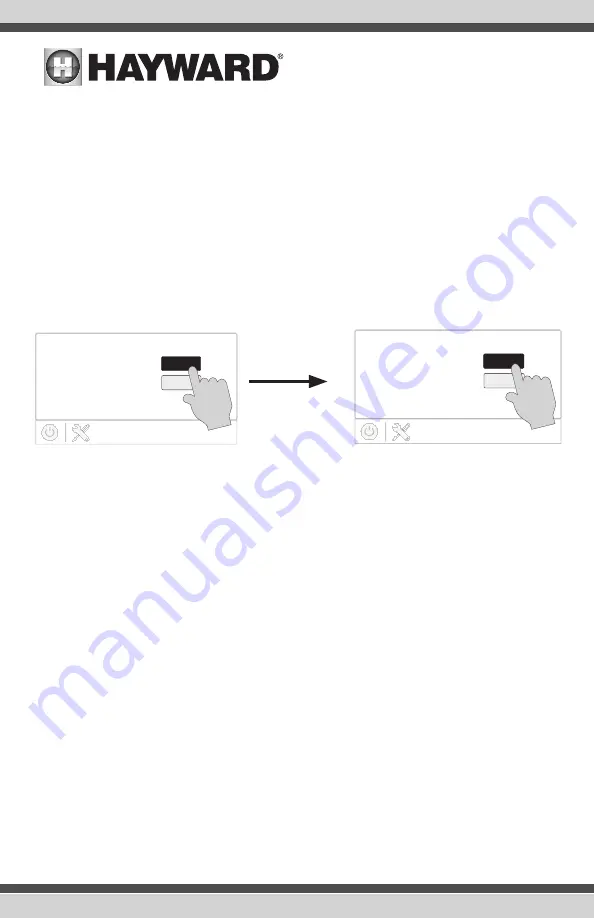
After being prompted to make a selection or answer a question, touch the Done button (if available)
and then the Advance button to go to the next screen. To go back to a previous screen, touch the
Back button. Many selections will require you to touch the Done button before allowing you to
advance. If a wrong selection has been made, touch the Delete button or Cancel. Some settings
can be made by sliding a bar left or right to decrease or increase a value. You may be required to
assign names to equipment. In this case, a keyboard will be displayed and you’ll be able to type the
desired name. After naming the equipment, save then advance. This method is repeated throughout
the Configuration Wizard.
Begin the Configuration Wizard
In the Configuration Wizard, select “New” to create a new Configuration file for the OmniPL. Once
underway, keep advancing until you have completed the Wizard. At the end of the Wizard, you’ll
have the opportunity to save your settings or exit without saving.
If additional pool or backyard equipment is added after initial configuration, or you’d like to make
a change to an existing configuration setting, re-enter the Configuration Wizard and select “Edit”.
The initial configuration settings will be retained and you’ll have an opportunity to make changes
or additions. Be sure to save your configuration when exiting. See page 49 for a Quick Edit Guide.
Configuration Wizard Guide
As you progress through the Configuration Wizard, refer to the following information to help answer
questions and make selections.
Would you like to set up a network connection now?
Select the type of connection you would
like to setup/modify or select “Not Now”. For external antenna connections, you must have a Hay-
ward HLWLAN connected to the OmniPL. “Wired” requires an ethernet connection to the router.
Wireless
-
From the Network Connections screen that follows, select the desired access point.
You will then be prompted to input the password for that access point. Once you input the
password and press the check mark to continue, a Network Diagnostic screen will appear and
the OmniPL will run through a series of checks to verify connection to the access point. When
the system is done running through the diagnostics, press the check mark to continue to the
next section of the Configuration Wizard.
Wired
- For a wired connection, run an Ethernet cable from the Control Pad to the router (page
23). After selecting “Wired”, the system will display the ip address and other network proper-
ties. Press the check mark and the OmniPL will verify the network connection. You can now exit
BACKYARD
configuration
Yes
No
Are you finished configuring
your system?
At the end of the Wizard, save your configuration by answering “Yes” to this screen.
BACKYARD
configuration
New
Edit
Create a New Configuration
or Edit an Existing One?
USE ONLY HAYWARD GENUINE REPLACEMENT PARTS
30
USE ONLY HAYWARD GENUINE REPLACEMENT PARTS


