125
4-1-3 Power supply settings
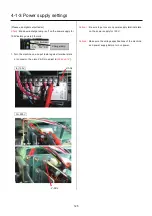
(Please use digital output tester)
Check
: Make sure charge lamp is off on the power supply for
100V before you start to work.
1.
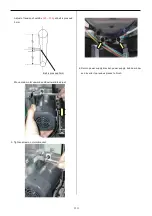
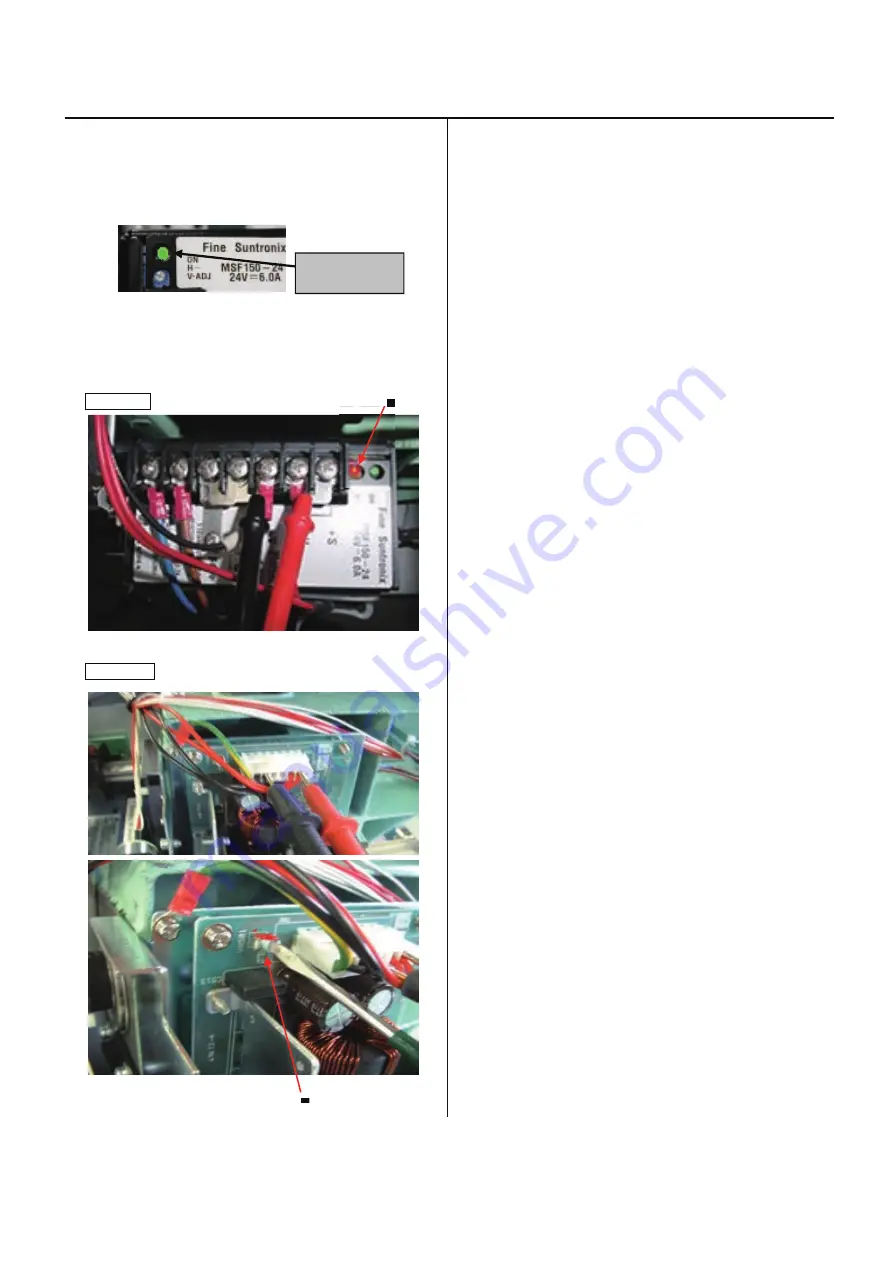
Turn the machine on and put tester against terminal plate
or connector, then turn V-ADJ to adjust to [
24.6V±0.1V
].
for 100V V-ADJ
For 200V
V-ADJ
Notice 1
: Be sure to put cover on power supply terminal plate
on the power supply for 100V.
Notice2
: Make sure the voltage specifications of the machine
and power supply before turn on power.
Charge lamp
Summary of Contents for HCS2-1201-30
Page 1: ...Maintenance Manual for Embroidery Machine HCS2 1201 30 Version 2 3 HappyJapan Inc...
Page 154: ...153 5 1 1 Electrical connection diagram except for Rev A...
Page 155: ...154 5 1 1 Electrical connection diagram except for Rev A...
Page 156: ...155 5 1 2 List of electrical connection diagrams except for Rev A...
Page 157: ...156 5 1 3 Electrical connection diagram for Rev A...
Page 158: ...157 5 1 3 Electrical connection diagram for Rev A...
Page 159: ...158 5 1 4 List of electrical connection diagrams for Rev A...
Page 160: ...159 5 2 1 Connection of inverter 100V Inverter set...
Page 161: ...160 5 2 2 Connection of inverter 200V Inverter set...
Page 165: ...160c HCD8116 TP switch board ass y 6 5 265 2 1 6 7 257...

