12
1
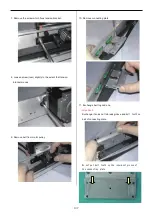
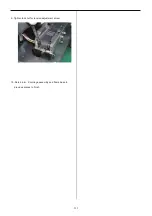
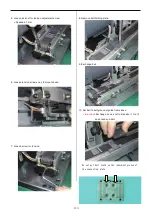
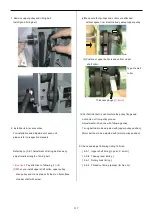
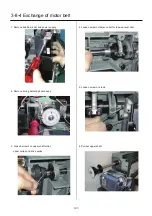
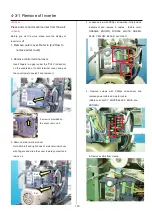
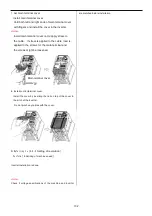
7. Remove drive pulley and motor belt.
Install good motor belt.
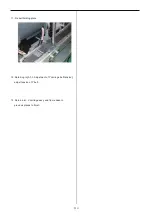
8. Install each parts in reverse order.
For installation and adjustment of each part,
please refer to respective manuals.
Referring to [3-8-3 Adjustment of motor belt tension],
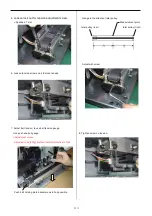
adjust tensile strength of motor belt.
<Important>
Pay attention to following (1) - (4).
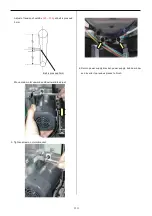
(1)When you install upper shaft collar, upper pulley,
drive pulley and crank, please fix them on flat surface
of upper shaft with screw.
(2)Make sure that pulleys and collars are attached
without space from machine body except upper pulley.
(3)Position of upper pulley is space from upper
shaft
collar.
Type of small
collar
Thickness gauge [
11.5mm
]
(4)Confirm that belt is not interfere the pulley flange and
not come out from pulley groove.
Adjustment will be done with following pulley.
Timing belt has to be adjusted with [upper pulley position].
Motor belt has to be adjusted with [motor pulley position].
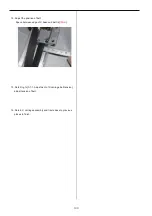
9. Check and adjust following timing to finish.
[ 4-2-1 Upper shaft timing (L point, C point) ]
[ 3-2-8 Take-up lever timing ]
[ 3-5-1 Rotary hook timing ]
[ 3-6-5 Thread cut timing (except (for Rev.A) )
Summary of Contents for HCS2-1201-30
Page 1: ...Maintenance Manual for Embroidery Machine HCS2 1201 30 Version 2 3 HappyJapan Inc...
Page 154: ...153 5 1 1 Electrical connection diagram except for Rev A...
Page 155: ...154 5 1 1 Electrical connection diagram except for Rev A...
Page 156: ...155 5 1 2 List of electrical connection diagrams except for Rev A...
Page 157: ...156 5 1 3 Electrical connection diagram for Rev A...
Page 158: ...157 5 1 3 Electrical connection diagram for Rev A...
Page 159: ...158 5 1 4 List of electrical connection diagrams for Rev A...
Page 160: ...159 5 2 1 Connection of inverter 100V Inverter set...
Page 161: ...160 5 2 2 Connection of inverter 200V Inverter set...
Page 165: ...160c HCD8116 TP switch board ass y 6 5 265 2 1 6 7 257...

