6
7
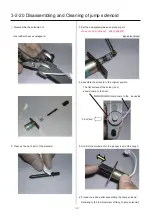
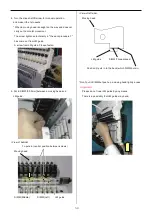
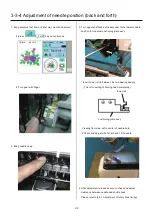
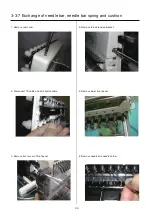
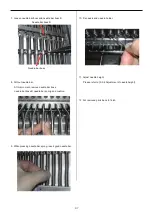
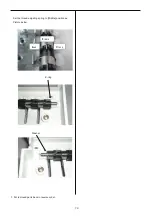
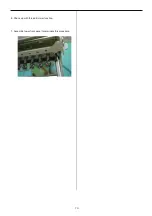
7. Loosen needle bar boss and needle bar boss B.
Needle bar boss B
Needle bar boss
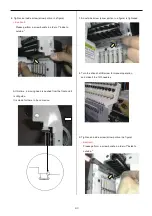
8. Pull out needle bar.
At this moment, remove needle bar boss,
needle bar bossB, needle bar spring and cushion.
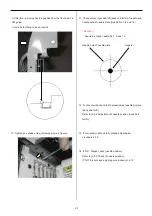
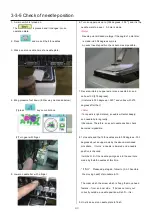
9. While pressing needle bar spring, insert good needle bar.
10. Fix needle and needle holder.
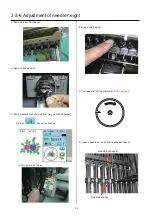
11. Adjust needle height.
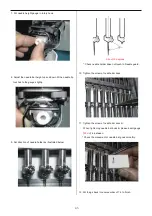
Please refer to [3-3-6 Adjustment of needle height].
12. Put removed parts back to finish.
Summary of Contents for HCS2-1201-30
Page 1: ...Maintenance Manual for Embroidery Machine HCS2 1201 30 Version 2 3 HappyJapan Inc...
Page 154: ...153 5 1 1 Electrical connection diagram except for Rev A...
Page 155: ...154 5 1 1 Electrical connection diagram except for Rev A...
Page 156: ...155 5 1 2 List of electrical connection diagrams except for Rev A...
Page 157: ...156 5 1 3 Electrical connection diagram for Rev A...
Page 158: ...157 5 1 3 Electrical connection diagram for Rev A...
Page 159: ...158 5 1 4 List of electrical connection diagrams for Rev A...
Page 160: ...159 5 2 1 Connection of inverter 100V Inverter set...
Page 161: ...160 5 2 2 Connection of inverter 200V Inverter set...
Page 165: ...160c HCD8116 TP switch board ass y 6 5 265 2 1 6 7 257...

