GE
D
IRECTION
5535208-100, R
EV
. 2
LOGIQ E9 S
ERVICE
M
ANUAL
7 - 4
Section 7-3 - Gathering Troubleshooting Data
7-3-3 Collecting a Screen Capture with Logs (cont’d)
NOTE:
For Application SW R3.x.x or later, the Service Directory is no longer located under the export
folder, it is located in d:\ root directory (d:\service).
NOTE:
Restart the application before resuming clinical scanning.
NOTE:
To save to a CD/DVD you MUST select CD/DVD Recordable as the destination device,
otherwise the data is written to the default Export/Service directory on the hard drive. The
Export/Service directory is only used for InSite ExC. It is not intended for images or report
storage use.
For CD/DVD; the system will automatically format if you insert an unformatted disk, gather logs and write
it out to the disk.
The subsequent file is compressed and time stamped. The screen capture is a bitmap which eliminates
the possibility of artifacts from compression.
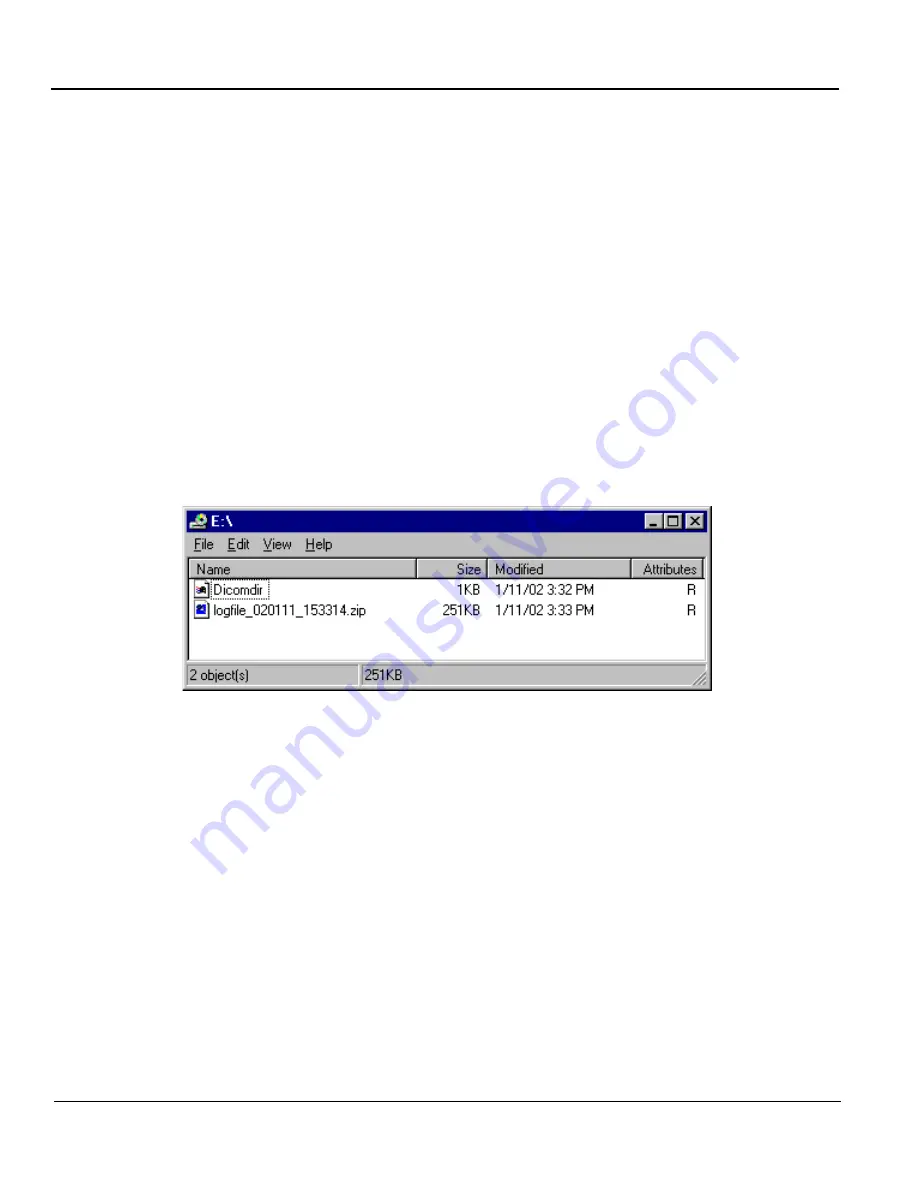
Double check the media that you made to ensure it contains at least two files. An example is shown in
Figure 7-2 "Example of Zipped Trouble Image and Logs File" on page 7-4
.
NOTE:
In R2.x.x or later, the name of the file includes the name of the system:
log_93448US9_090910_101235.ziplog_computerName_YYMMDD_HHMMSS.zip.
7-3-3-1
Marking Log files
If a customer is experiencing issues during operations, the event can be marked and logged by pressing
Alt+1 or Alt+2 when they occur. When Alt+1 or Alt+2 are pressed, a marker is placed in the log to aid
log analysis.
Figure 7-2 Example of Zipped Trouble Image and Logs File
Summary of Contents for 5205000
Page 1: ...10 20 14 GEHC_FRNT_CVR FM LOGIQ E9 SERVICE MANUAL Part Number 5535208 100 Revision Rev 2 ...
Page 2: ......
Page 21: ...GE DIRECTION 5535208 100 REV 2 LOGIQ E9 SERVICE MANUAL 19 ZH CN KO ...
Page 807: ......
Page 808: ......


