M6500 Series NE Configuration Manual
153
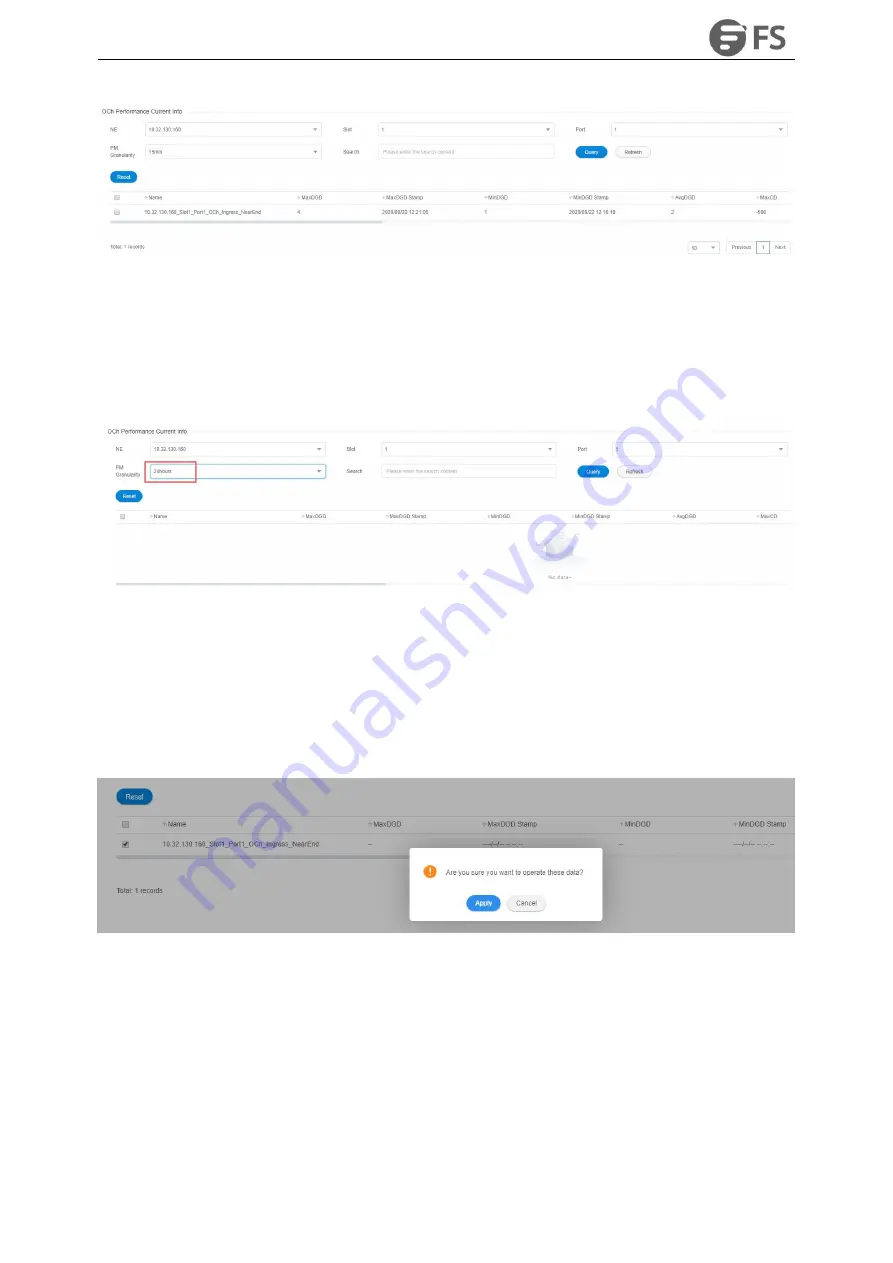
Figure9-22 15-Minute OCh Monitoring Data
WDM module is inserted into the monitoring port. OCh data and corresponding generation time stamp which
are currently read will be displayed. After the 24-hour performance monitoring port is enabled, the suspicious
interval marker should be untrustworthy. The running time counts from 0. After 86400 seconds, the suspicious
interval marker will become trustworthy and the running time counts again from 0. The last 24-hour data
automatically becomes the history data, as shown in the figure below:
Figure9-23 24-Hour OCh Monitoring Data
9.2.2.3. Reset OCh Monitoring Data
When the current OCh monitoring data needs to be reset and to restart the monitoring, the 15-minute and
24-hour operation steps are the same. Taking 15-minute operation as an example, you can click on Reset
behind each piece of monitoring record to perform resetting of a single piece of monitoring record, or you can
select the first box to do batch resetting, as shown in the figure below.
Figure9-24 Reset OCh Data
Then click on
Apply
button, as shown in the figure, it will show that the operation is successful. After that, click
on
Refresh
button to refresh the whole page. At this time, the suspicious interval marker will become from
untrustworthy to trustworthy and the running time counts again from 0. All the time stamps are updated to the
latest time to read the value, and other data will be updated to that read at the latest time.
Summary of Contents for M6500 Series
Page 12: ...M6500 Series NE Configuration Manual 11 Figure 1 3 Start NMS Server...
Page 109: ...M6500 Series NE Configuration Manual 108 Figure6 5 TP Multiplexing Configuration Step 2...
Page 113: ...M6500 Series NE Configuration Manual 112 Figure6 12 Set Line Side PM Overhead...
Page 116: ...M6500 Series NE Configuration Manual 115 Figure6 16 Configure Line Side Port TTI...
Page 117: ...M6500 Series NE Configuration Manual 116 Figure6 17 Configure Client Side Local End Port TTI...
Page 129: ...M6500 Series NE Configuration Manual 128 Figure7 10 Select Protection Mode...


