4-69
Setting Up the Pr
inting En
vironment
4
Printing from a Network Computer by Sharing the Printer on a Network
When using a print server, perform the following settings:
NOTE
Using this printer on your network requires that both the print server and clients should
be using Windows 98/Me or Windows 2000/XP/Server 2003/Vista.
Print Server Settings
This section describes the procedure assuming that the print server is running
Windows 2000/XP/Server 2003/Vista.
NOTE
•
If you configure the sharing function of the print server or clients that are running
Windows 98/Me, use the following procedure.
1.
Double-click [My Computer]
➞
[Control Panel]
➞
the [Network] icon.
2.
Display the [Configuration] sheet, then click [Add].
3.
Select the [Service] icon, then click [Add].
4.
Select [File and printer sharing for Microsoft Networks], then click [OK].
5.
Click [File and Print Sharing], make sure that [I want to be able to allow others to
print to my printer(s).] is selected, then click [OK].
6.
Display the [Access Control] sheet, select [Share-level access control] or
[User-level access control], and then click [OK] to restart Windows.
7.
After Windows restarts, from the [Start] menu, select [Settings]
➞
[Printers].
8.
Right-click the icon for this printer, then select [Sharing] from the pop-up menu.
9.
Select [Shared As]. Change [Share Name] if you want to, then enter [Comment]
and [Password] as needed.
10.
Click [OK].
•
The screen shots used in this section are from Windows XP Professional.
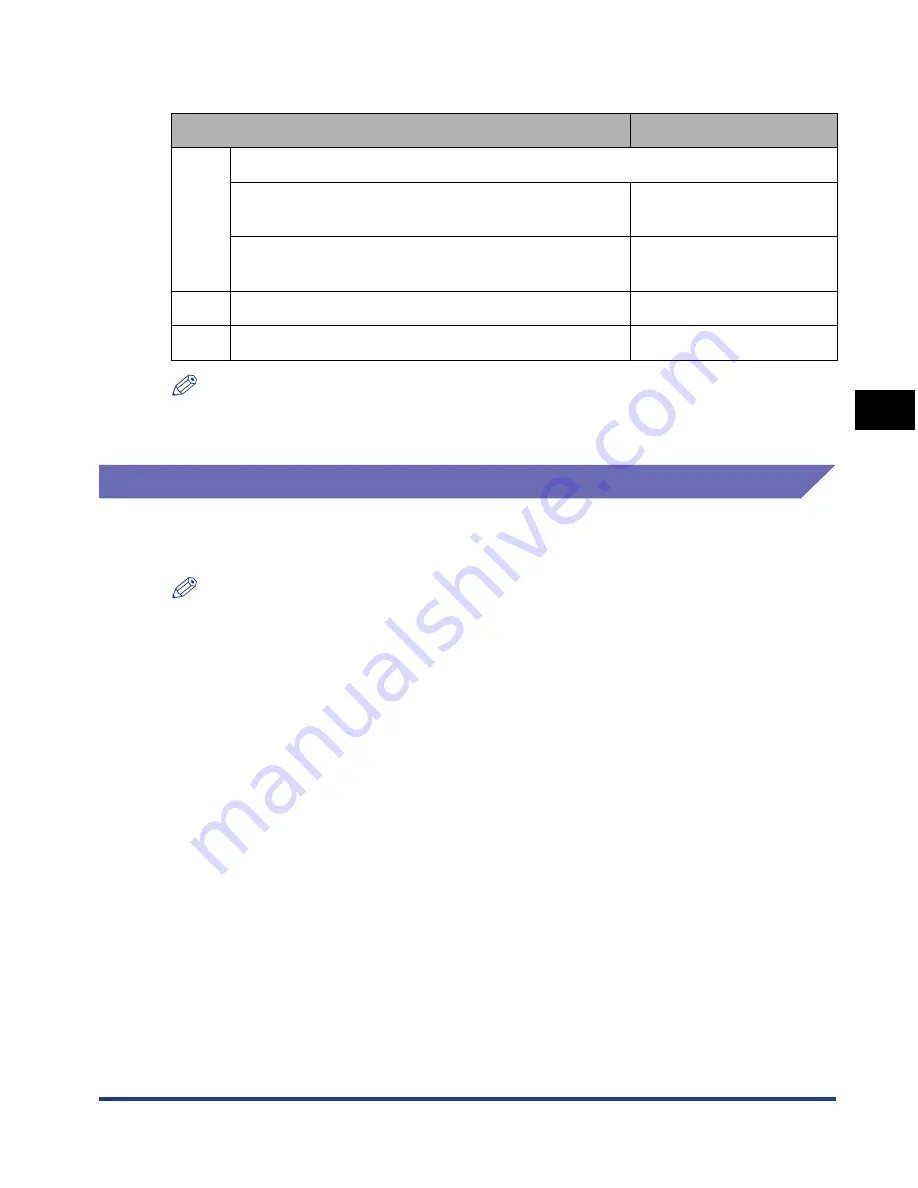
Setting
See
1
Install the printer driver on the print server
- When the printer and print server are connected by
the USB cable
See p. 4-4
- When the printer and print server are connected by
the LAN cable
See Network Guide
2
Print Server Settings
See p. 4-69
3
Installation on Clients
See p. 4-77
Summary of Contents for i-SENSYS LBP5300 Series
Page 2: ...LBP5300 Laser Printer User s Guide ...
Page 39: ...1 12 Before You Start 1 Optional Accessories ...
Page 140: ...3 65 2 sided Printing Loading and Outputting Paper 3 9 Click OK to start printing ...
Page 141: ...3 66 2 sided Printing Loading and Outputting Paper 3 ...
Page 335: ...5 102 Printing a Document 5 Printer Status Window ...
Page 381: ...6 46 Routine Maintenance 6 Handling the Printer ...
Page 403: ...7 22 Troubleshooting 7 Paper Jams 1 Turn the power of the printer OFF 2 Open the top cover ...
Page 470: ...9 7 Appendix 9 Dimensions of Each Part PAPER FEEDER PF 93 405 568 165 4 mm Front Surface ...


