


Recycle Bin
To protect your data from accidental deletion, you may configure your TeraStation to use a recycle bin instead of
deleting files immediately. The recycle bin will only work with SMB connections. To empty the recycle bin, click
File
Sharing
>
Folder Setup
>
Empty Recycle Bin
in Settings. The recycle bins in all shared folders will be deleted.
Notes:
• You can prevent guests and other users from emptying the trash by navigating to
File Sharing
>
SMB
>
Recycle Bin
Permissions
and select “Administrator only” for the “Recycle Bin Permissions” option.
• If you use macOS, select “Yes” for the “Exclude Mac OS temp files from recycle bin” option by navigating to
File
Sharing
>
SMB
. If this setting is changed, files in the recycle bin may be corrupted.
Read-Only Shares
By default, new shares are set with read and write access, but you may change the attribute to
Read Only
at
Attribute
.
Read-only shares and HFS Plus-formatted USB drives will have “(Read Only)” added to comments in File Explorer.
Note:
Configure read-only file attribute in Settings. Configuring them from within Windows is not supported and
may cause unexpected behavior.
Hidden Shares
If hidden shares are enabled, shared SMB folders will not be displayed in Network, and only certain users are allowed
to access them. To hide a shared SMB folder, follow the procedure below.
1
From Settings, navigate to
File Sharing
>
Folder Setup
and choose a shared folder or a USB drive to configure
hidden shares.
2
Select the “Hidden Share (SMB Only)” checkbox and click
OK
.
Notes:
• If protocols other than “SMB (Windows/Mac)” or “Backup” under “LAN Protocol Support” are enabled, the hidden
shares option will be grayed out and cannot be selected.
• Configure hidden share attribute in Settings. Configuring them from within Windows is not supported and may
cause unexpected behavior.
To access a hidden folder, open File Explorer in your computer and enter “\\TeraStation name\shared folder name$\”
into the address bar. For example, if the TeraStation name is “TSXXX001” and the shared folder name is “share”, enter
“\\TSXXX001\share$\” to open it.
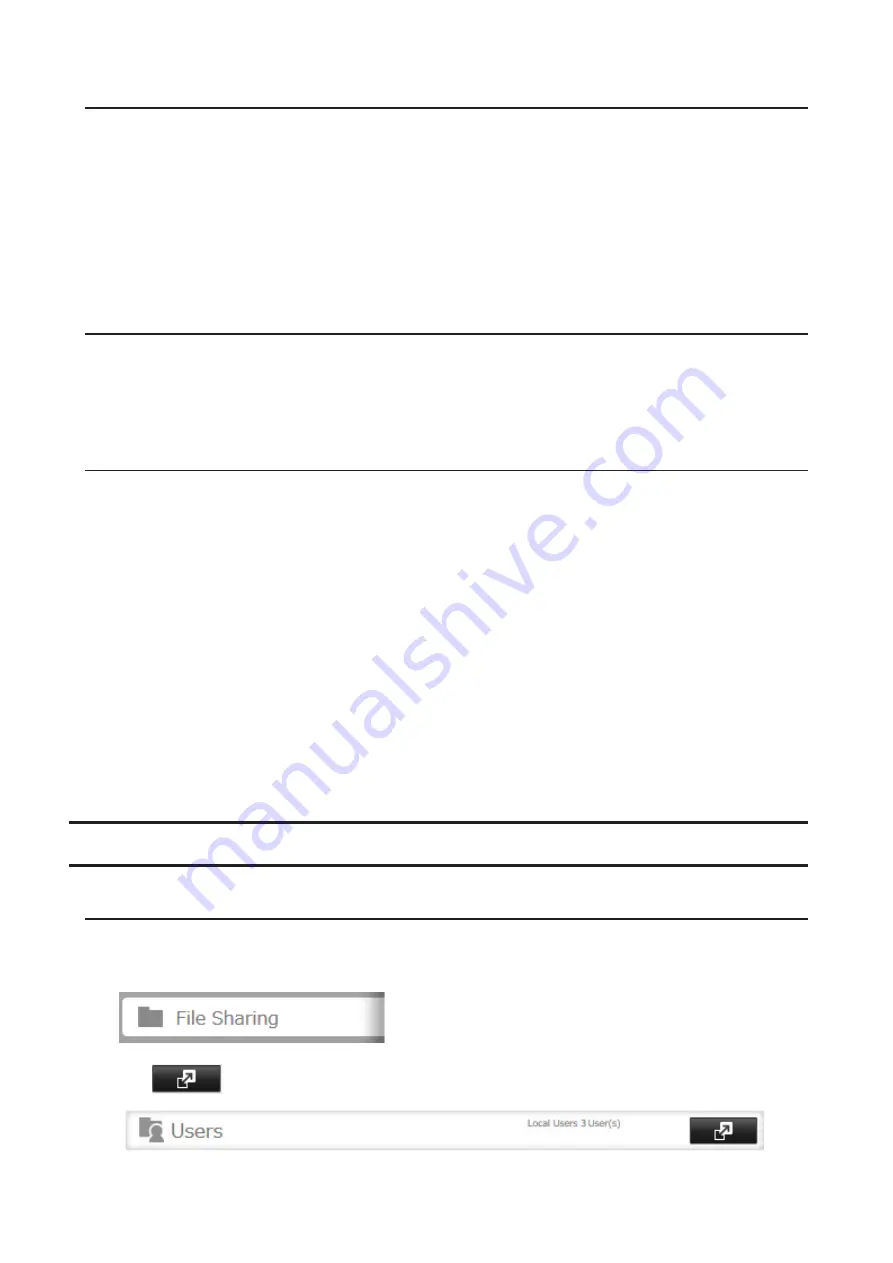
Configuring Users
Adding a User
Note:
The TeraStation can register a maximum 300 of users, which include the default users “admin” and “guest”.
1
From Settings, click
File Sharing
.
2
Click
to the right of “Users”.
24
Summary of Contents for terastation 3000
Page 23: ...4 Configure the desired settings then click OK 22...
Page 26: ...3 Click Create User 25...
Page 29: ...3 Click Add Group 28...
Page 109: ...6 Click Time Machine 108...
Page 110: ...7 Click Select Backup Disk 8 Select the shared folder and click Use Disk 109...
Page 134: ...4 Open the License tab then click Activate Free License To deactivate the license click 133...
Page 136: ...3 Click Next 4 Click Find Cameras 135...
Page 142: ...2 Select the search criteria on the left side of the search screen then click Search 141...
Page 143: ...3 The search results are displayed Click a thumbnail to start the media viewer 142...


