


4
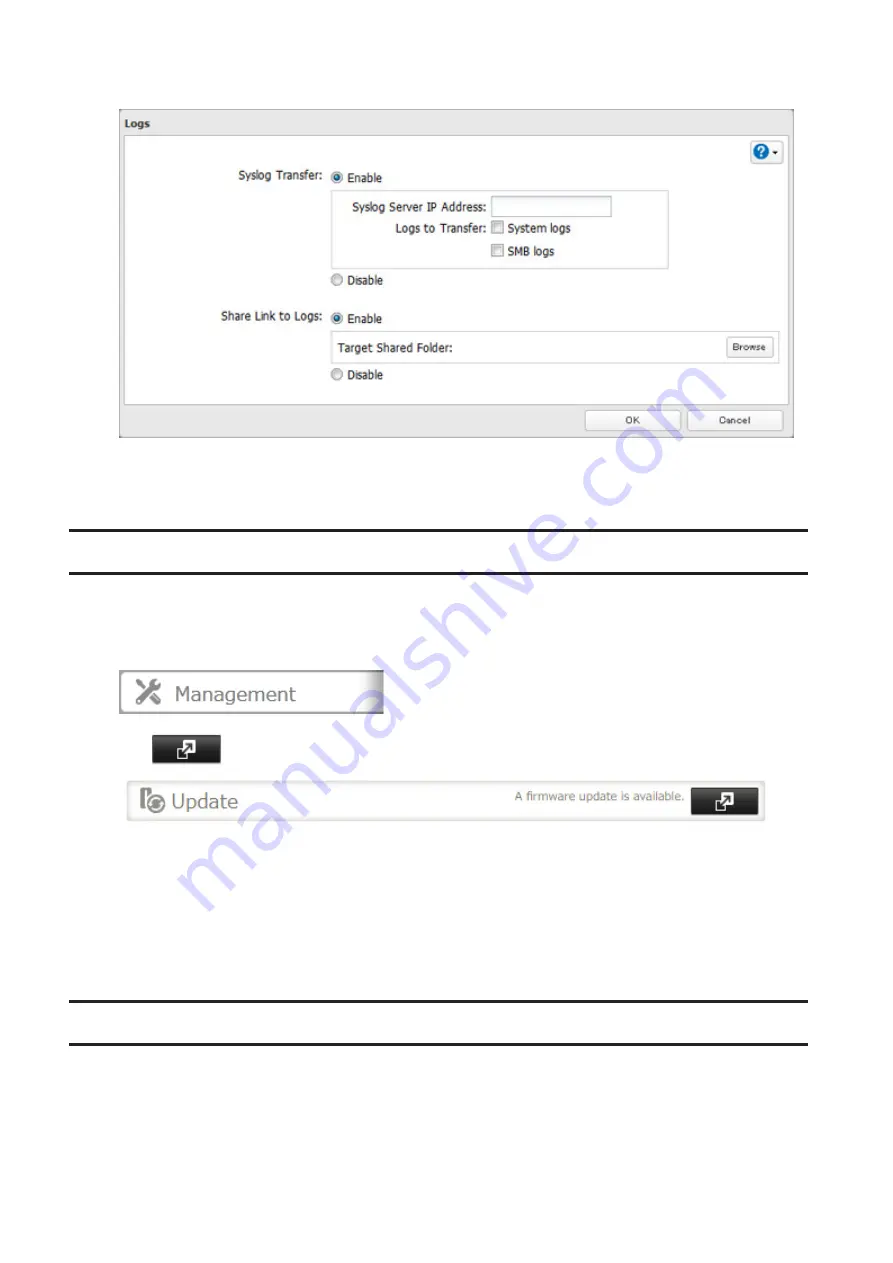
Enable “Share Link to Logs”.
5
Click
Browse
and select the shared folder where the link will be created in “Target Shared Folder”. Click
OK
.
Under the selected shared folder, a folder named “system_log” will now contain the logs.
Updating the Firmware
If new firmware is available, a message is displayed when the TeraStation boots. You can update the firmware
manually.
1
From Settings, click
Management
.
2
Click
to the right of “Update”.
3
Click
OK
.
4
Click
Install Update
.
5
The “Confirm Operation” screen will open. Enter the confirmation number, then click
OK
.
You can also download the latest firmware from the Buffalo website.
Name, Date, Time, and Language
Configure the TeraStation’s hostname, date, time, and language as shown below.
Note:
If the TeraStation is being used as an iSCSI drive, to change the settings, navigate to
Drives
>
iSCSI
in Settings
and move the iSCSI switch to the
off
position temporarily before changing settings.
202
Summary of Contents for terastation 3000
Page 23: ...4 Configure the desired settings then click OK 22...
Page 26: ...3 Click Create User 25...
Page 29: ...3 Click Add Group 28...
Page 109: ...6 Click Time Machine 108...
Page 110: ...7 Click Select Backup Disk 8 Select the shared folder and click Use Disk 109...
Page 134: ...4 Open the License tab then click Activate Free License To deactivate the license click 133...
Page 136: ...3 Click Next 4 Click Find Cameras 135...
Page 142: ...2 Select the search criteria on the left side of the search screen then click Search 141...
Page 143: ...3 The search results are displayed Click a thumbnail to start the media viewer 142...


