install - concepts - PixMaster - switcher - CG - clips - controls - team - appendix
Broadcast Pix
V5
7.20
7.20 Router Control
As an option any Broadcast Pix switcher can also provide control of the full line of AJA KUMO
SDI video routers, such as the 1604, 1616 and 3232, over a TCP/IP connection. This feature
is designed to integrate with house video routers to expand the amount of inputs and outputs
the system has access to. One video router is designed to attach to one Broadcast Pix
system. Any or all of the inputs and outputs can be used from the router. Control can be
through a control panel, the Multi-View or through a Macro.
Router outputs/destinations feed into Broadcast Pix inputs and the control allows the
attached Broadcast Pix input to be switched to any input available on the router, in
addition labels assigned to sources also can be viewed on the Multi-View as under monitor
displays. Router Control requires a System Option Code, see section A.2 for more
information. For more information on how to configure and operate the KUMO router please
refer to their manual.
7.20.1 Installing Router Control
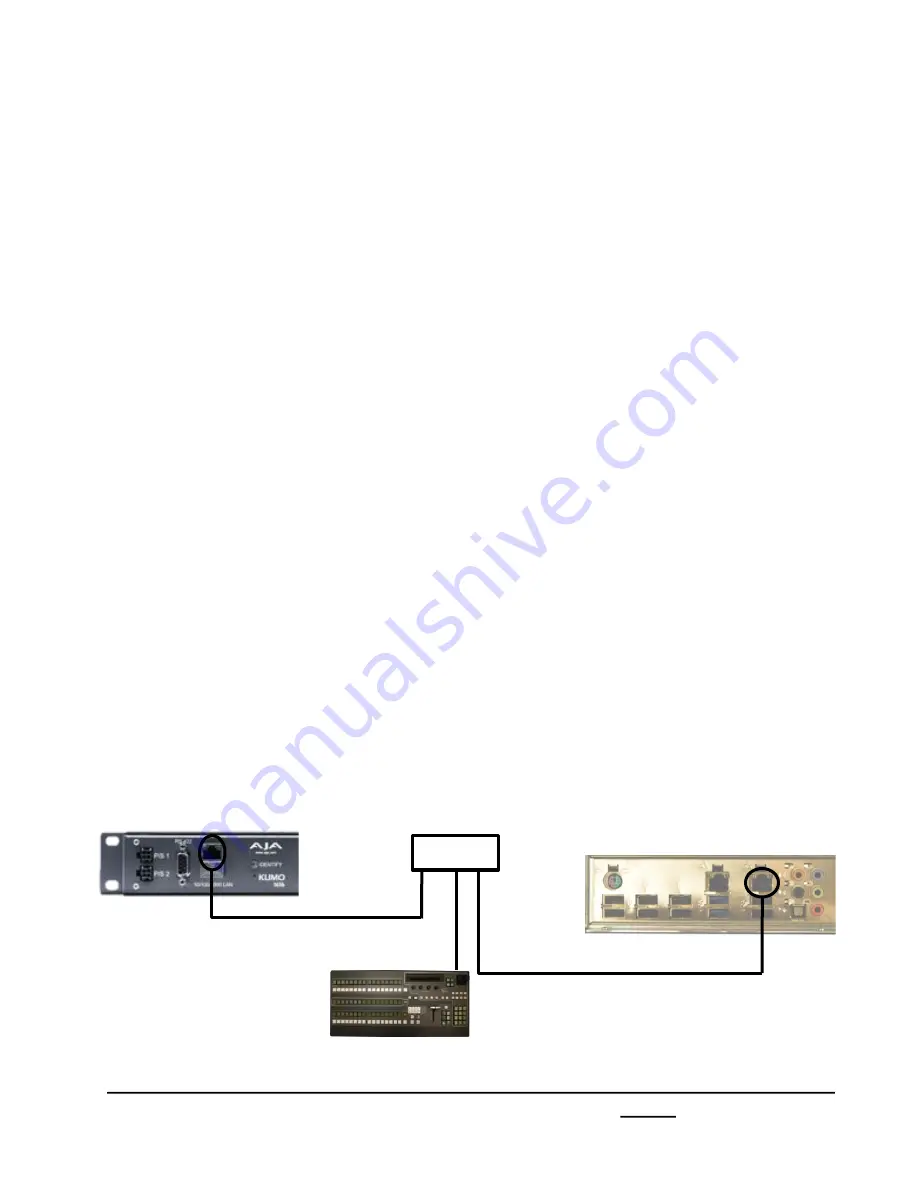
Control is through individual Cat5 – TCP/IP connections to each device.
The control can either be connected to the Broadcast Pix Control network card (with the
Server and panel) using a network hub or on the secondary network card with your
‘house’ network.
If connecting to the Broadcast Pix Control (NIC 2 on the Server as shown below), the
192.168.53.XXX subnet must be used. If using the other NIC card, it may be configured
with custom network settings.
To configure the router with a valid IP address you may use the Broadcast Pix Server to find
the IP address using UPnP service in Windows and double-clicking the KUMO in the
Network Device list. Please refer to the KUMO manual on how to change the default Static IP
address.
AJA KUMO Router
192.168.53.101
Broadcast Pix Server
192.168.53.250
Network Switch
(3) Straight Cat5 Network Cables
Broadcast Pix 1ME Control Panel
192.168.53.247


