128 The ESI-Manager user interface
Manual Energy Storage Inverter ESI-S
−
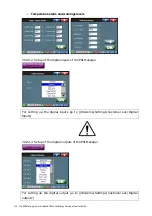
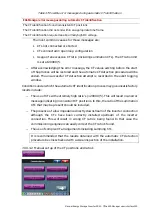
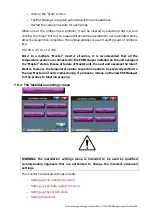
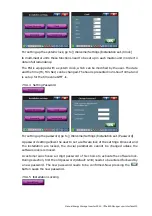
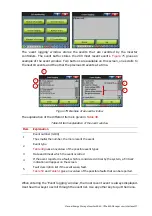
Setting up the inverter mode for the main settings. After selecting the desired
value, press
to go to the next step.
−
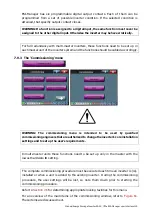
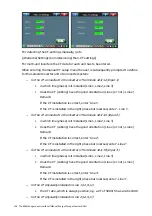
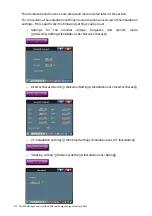
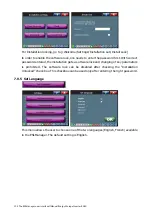
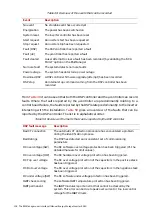
Setting up the harmonic selection table for the main settings. After entering the
desired values (cf.
Section 7.9.2.1
), press
repeatedly until the next step is
displayed.
−
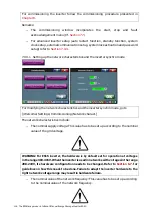
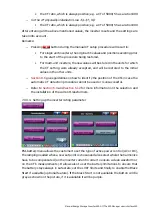
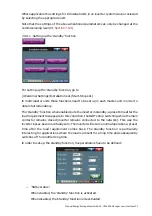
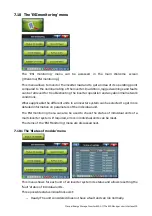
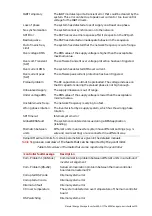
Setting up the reactive power requirements including balancing for the main
settings. After selecting the desired values, press
to go to the next step.
−
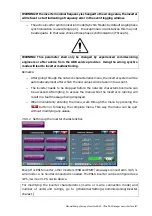
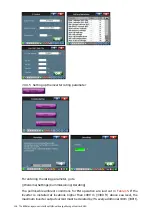
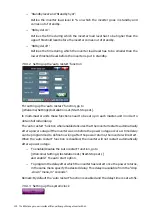
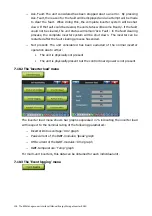
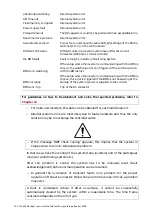
After entering the data, the main settings can be copied on to the auxiliary
settings (if desired) by pressing
. Pressing any other key will omit this step.
−
The set-up ends by displaying the main commissioning menu.
Remarks:
−
Refer to
Section 7.9.2.1
for more explanation on the main and auxiliary inverter
settings, the inverter mode, the harmonics selection table and reactive power
setup possibilities.
−
A more complete user set up process can be done at the customer settings level
(cf.
−
In order to interrupt the set up process, press
repeatedly until the stop
message appears. It should be noted that any parameters entered before the
procedure is stopped, will have been recorded in the inverter’s memory. Re-enter
the user set up to change the values again if desired.
7.9.3.7 Commissioning of temperature probes
For commissioning the temperature probe(s), go to
[/Welcome/Settings/Commissioning/T Commissioning]
User can connect up to eight temperature probes in a daisy chain to the ESI-Manager.
Each probe needs to be commissioned as following procedures before it can be used.
Each probe has to be recognized one by one:
−
Connect the probe to the temperature probe input (one probe only)
−
Click on a row to assign a probe number

