Operations
69
© 2006 Vision Engraving Systems
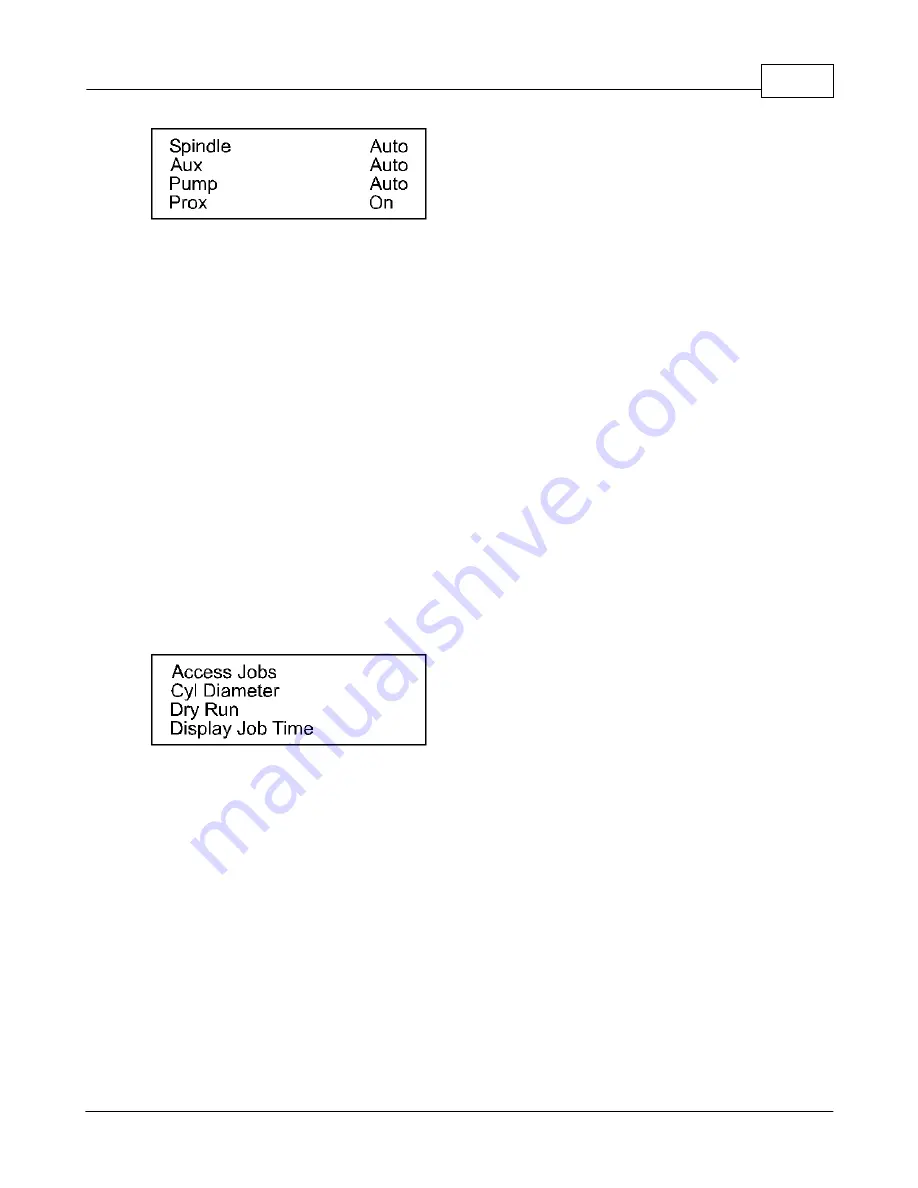
Pressing the Y down arrow will move the cursor to Aux. This typically controls a vacuum
chip removal system for engraving into plastic materials. Pressing the Enter button on the
pendant will toggle the Aux between Auto and Off. When the vacuum is required while
engraving, this should be set to Auto. When the vacuum is not required, this should be set
to Off. Press the Exit button to return to the main menu.
Pressing the Y down arrow again will move the cursor to Pump. This can only be set in
rotary mode. Pressing the Enter button on the pendant will toggle the Pump between Auto
and Off. When water is required while engraving glass, this should be set to Auto. When
the water is not required, this should be set to Off. Press the Exit button to return to the
main menu.
Pressing the Y down arrow again will move the cursor to Prox. The proximity sensor allows
the spindle to sense the surface you are engraving. This feature works when engraving
with a nose cone or diamond drag only; it is not designed for non-nose cone engraving or
burnishing. Pressing the Enter button on the pendant will toggle the Prox between On and
Off. When the Prox is required while engraving, this should be set to On. When the Prox is
not required, this should be set to Off. Press the Exit button to return to the main menu.
Access Jobs
Pressing the Y down arrow again will display the screen below.
The cursor will flash on Access Jobs. The Access Jobs feature is used to re-engrave jobs
that have been previously been sent to the Vision machine to be engraved or routed. Press
Enter with the cursor on Access Jobs and it will show a list of jobs that are stored on your
PC’s hard drive. Use the Y jog up and down buttons to scroll through the list of jobs on your
PC’s hard drive. Press Start when you have selected the job you would like to engrave.
Hint:
From the main LCD menu, pressing the Shift button and then the Start button will open
the Access Jobs menu.
Cyl Diameter
This menu item is only used when engraving round objects. Move the cursor to the Cyl
Diameter using the Y up and down jog buttons and press Enter. Using the number pad on
the Vision pendant, enter the diameter of the round item to be engraved. This number will be
in inches or in millimeters depending on how the controller is configured. Once the diameter
has been entered, press the Enter button on the pendant. Press the Exit button to return to
Содержание MaxPro
Страница 5: ...Chapter I ...
Страница 11: ...Chapter II ...
Страница 23: ...Configuration 19 2006 Vision Engraving Systems 3 Click on the IP Address tab ...
Страница 60: ......
Страница 61: ...Chapter III ...
Страница 100: ...Vision MaxPro 96 2006 Vision Engraving Systems Mounting the item to be engraved ...
Страница 114: ...Vision MaxPro 110 2006 Vision Engraving Systems Select Finish The Plate Size screen will appear ...
Страница 137: ...Operations 133 2006 Vision Engraving Systems If No is clicked the program returns to the Flat plate dimension screen ...
Страница 179: ...Operations 175 2006 Vision Engraving Systems The Plot screen below will appear ...
Страница 182: ......
Страница 183: ...Chapter IV ...
Страница 191: ...Chapter V ...
Страница 202: ...Vision MaxPro 198 2006 Vision Engraving Systems W Windows 2000 15 Windows 98 18 Windows XP 12 ...
Страница 203: ......


