Operations
141
© 2006 Vision Engraving Systems
installed fonts will be displayed in this group. You may select another group to pick from by
changing the group name in the pull down menu under “Source Group” in the dialog. To
add fonts to the group, just scroll through the left column and highlight (click) on the fonts to
add. You can select more than one by pressing the Shift key to select a block of font names
or the control key to select more than one specific font. Click on the Add-> button to move
the selected fonts into the new group displayed in the right hand column. You can also
remove unneeded fonts for a group by highlighting the font name in the right hand column
and clicking the “Remove” button.
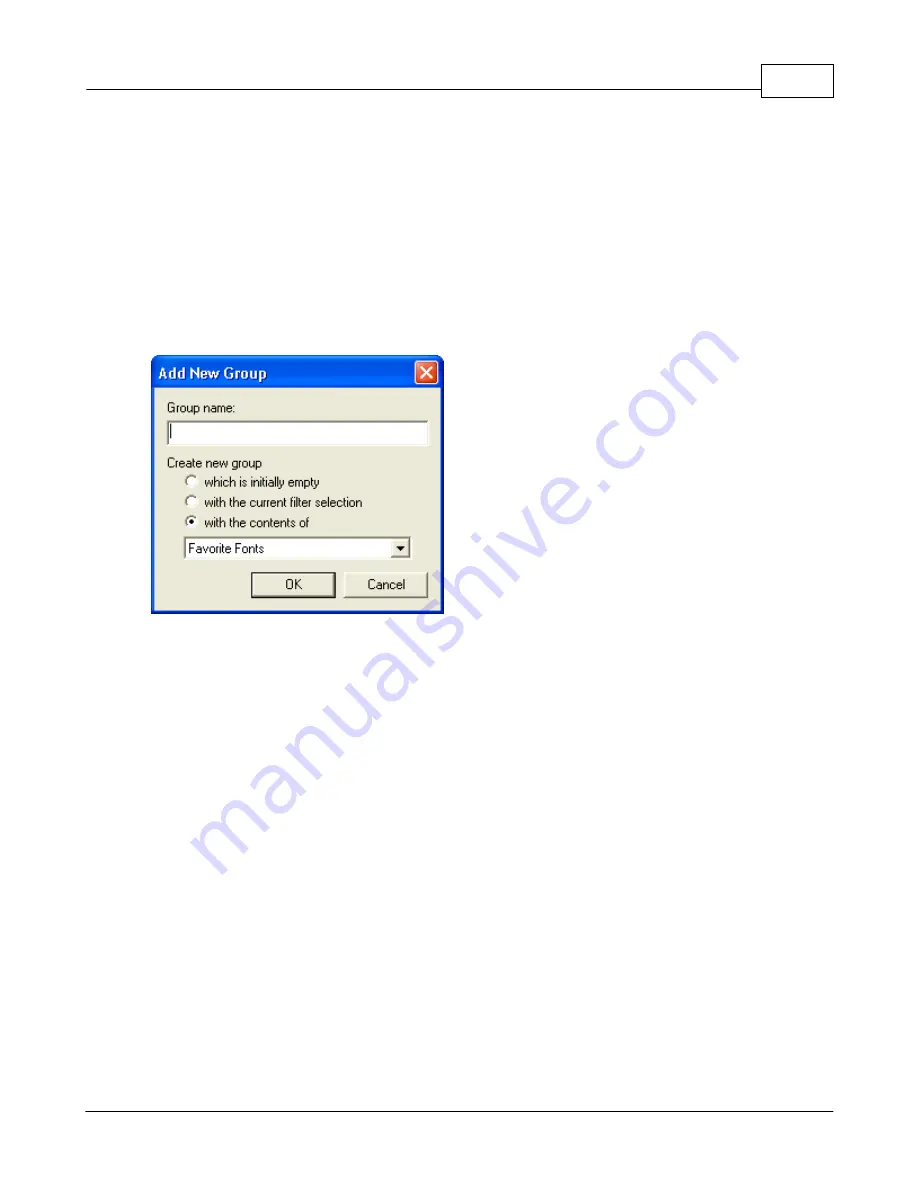
You can also create a new group in much the same way. With the Font Detective dialog
displayed, click on the “Options” button and select “Add Group” from the menu. You will see
the Add New Group dialog:
Normally you would type in the desired name of the new group and select the “which is
initially empty” option in the dialog. This will create an empty group, which you can then add
the desired fonts to as discussed above.
Keep in mind that when you create a new group or add new fonts to an existing group, the
changes do not appear in the font list until you exit and restart Vision Pro. You do not have
to shut down the PC, only the Vision Pro software to see the new fonts displayed.
In Vision Pro, fonts much be installed before they can be used by the software. Vision Pro
maintains an index of the location of all fonts the software can use. This index means you
do not have to be concerned where in your PC the fonts are located. You do not have to
remember long path names when selecting fonts. Vision Pro can use almost any TrueType
font, VEF fonts (specific format used by Vision Pro), WFN fonts, FNT engraving fonts, FT9
engraving fonts, CFF engraving fonts and Adobe Type 1 fonts if Adobe Type Manager is
installed. All fonts will appear in the menu with a symbol next to the font name indicating the
font format.
To install fonts in Vision Pro, enter text mode and
right click
the Select Font icon. You will
then see a dialog similar to the following:
Содержание MaxPro
Страница 5: ...Chapter I ...
Страница 11: ...Chapter II ...
Страница 23: ...Configuration 19 2006 Vision Engraving Systems 3 Click on the IP Address tab ...
Страница 60: ......
Страница 61: ...Chapter III ...
Страница 100: ...Vision MaxPro 96 2006 Vision Engraving Systems Mounting the item to be engraved ...
Страница 114: ...Vision MaxPro 110 2006 Vision Engraving Systems Select Finish The Plate Size screen will appear ...
Страница 137: ...Operations 133 2006 Vision Engraving Systems If No is clicked the program returns to the Flat plate dimension screen ...
Страница 179: ...Operations 175 2006 Vision Engraving Systems The Plot screen below will appear ...
Страница 182: ......
Страница 183: ...Chapter IV ...
Страница 191: ...Chapter V ...
Страница 202: ...Vision MaxPro 198 2006 Vision Engraving Systems W Windows 2000 15 Windows 98 18 Windows XP 12 ...
Страница 203: ......


