Chapter 3: DSM V6000 Hardware Appliance
Configuring a V6000 Appliance
DSM Installation and Configuration Guide
Copyright 2009 - 2020 Thales Group. All rights reserved.
51
o
Baud Rate: 9600
o
Parity: None
o
Data bits: 8
o
Stop bits: 1
Optionally you can connect a laptop to the DSM ETH0 using a standard network cable (cat-5). We recommended that
you use the console serial interface to perform initial network configuration because, if you are logged onto the
appliance through the Ethernet interface, the connection will drop when you change the Ethernet interface IP address.
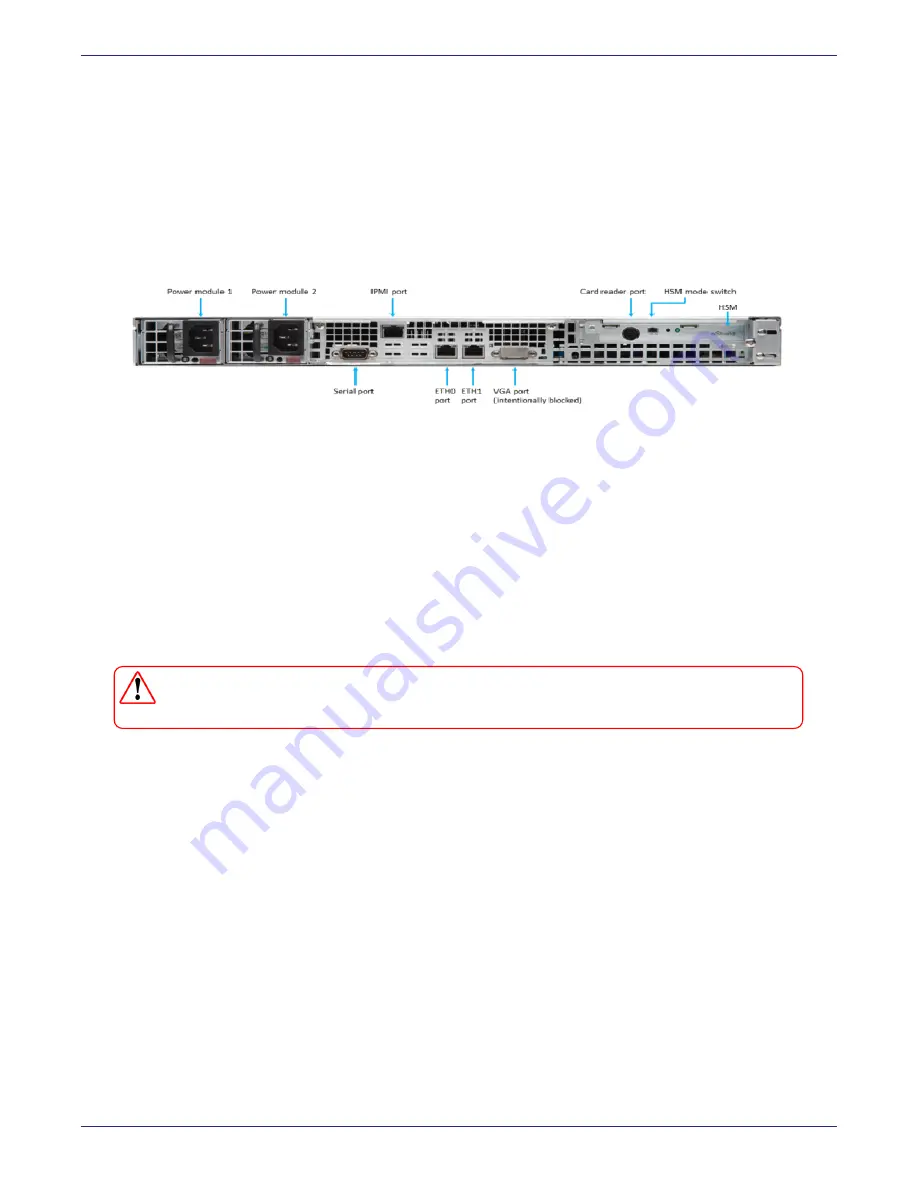
Figure 3-2: V6000 DSM ports
Access the DSM Command Line Interface (CLI)
1. Manually set the IP address for the laptop to 192.168.10.2 (or higher) with a default mask of 255.255.255.0
2. SSH to 192.168.10.1
3. Log in with the default login and password:
Login: cliadmin
Password: cliadmin123
4. The license agreement is displayed, type ‘
y
’ to accept and press
Enter
.
5. When prompted, type in a new password and press
Enter
. Reconfirm your password.
WARNING
Do not lose this password.
After connecting your laptop to the DSM, use the DSM Command Line Interface (CLI) to configure the DSM (see the
first few steps in
"Access the DSM Command Line Interface (CLI)" above
). CLI commands are grouped into the
following categories or
submenus
. Enter “?” on the CLI command line to lists the categories:
0036:dsm$ ?
network
Networking configuration
system
System configuration
hsm
HSM configuration
maintenance System maintenance utilities
ha
HA configuration
ipmi
IPMI configuration
user
User configuration
exit
Exit
To enter a submenu, enter a name or just the first few letters of the name. To display the commands for that submenu,
enter a ‘?’. For example, the submenu
maintenance
is used to provide maintenance utilities:
0037:dsm$
maintenance
0038:maintenance$ ?
config
Save/load configuration file
showver Show the installed VTS version


