4-6
Chapter 4
Operation of Optional Items
Chapter 4
Sending Pictures from the Document Scanner
6
Select [SEND].
The scanned document is sent to the remote party.
While it is being sent, the menu disappears.
Notes
• The document will only be sent if the remote party’s screen displays
the MAIN, GRAPH, or QUICK menu or if no menu is displayed at
all.
• If the SEND icon is not displayed, select something other than [FAR
END] from [INPUT] in the GRAPH menu.
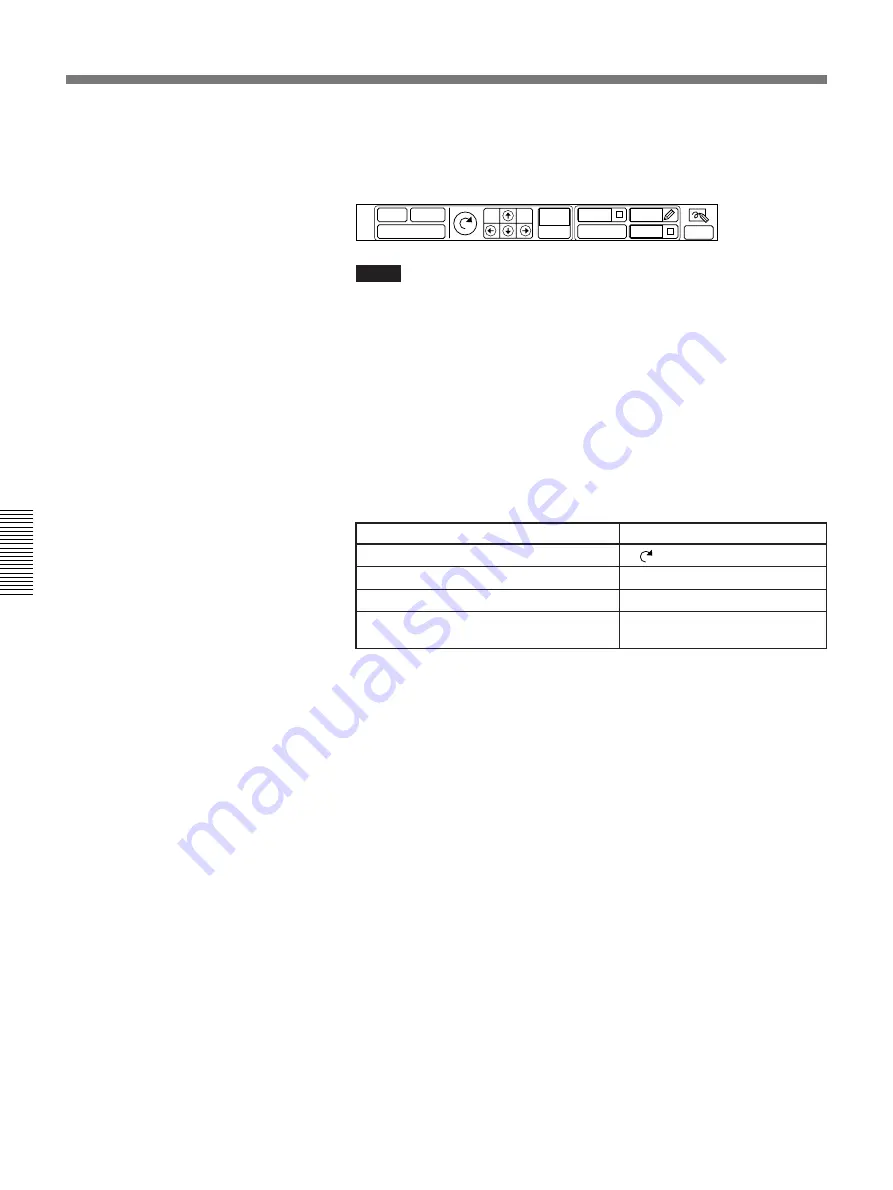
To put away the DRAW (document) menu
, select [MENU
OFF].
To bring back the DRAW menu, select [MENU ON].
7
Adjust the image.
To
Select
Rotate the image 90° clockwise.
[
]
Move the image.
[
>
][
?
][
.
][
/
]
Magnify the image
[2
×
] (2 times) or [4
×
] (4 times)
Cancel the magnified image and reset to
[1
×
]
the original size
• If the document is scanned lengthwise and the image is rotated and
magnified, some of the image may not fit into the TV monitor screen.
If this happens, use the [
>
][
?
][
.
][
/
] buttons to scroll the image
to the part you want to see.
You can also add freehand drawings to a transmitted picture, using the
PCS-T500 Drawing Tablet (not supplied).
For details, see “Drawing on Transmitted Pictures” on page 4-21.
8
Once the picture has been adjusted properly, select [EXIT].
When the picture is sent,
the same picture is also stored in MEMO of
the local and remote systems.
• If no more free memo space is left, a “MEMORY IS FULL” message
appears at the top of the screen. If you still want to enter the document,
select [READ] from the GRAPH menu and erase any unneeded
messages.
• You can use a printer (not supplied) to print out the picture.
For details, see “Printing Pictures Taken by a Document Scanner,” on page 4-
24.
EXIT
COLOR
TOOL
CLEAR
ZOOM
4X
P in P
MENU OFF
WIDTH
Содержание PCS-5100
Страница 8: ...Features 8 Features ...


