IMAGE PROTECT MODE
(PREVENTING ACCIDENTAL ERASURE)
By using the image protect mode, you can prevent accidental erasure of the important data that
you wish to keep. The protect mode can be applied to a still image, to single images of a
sequential shot, to a video clip, or to an audio recording.
1
Display the data that you want to protect.
œ
To display a still image: See “PLAYING BACK STILL
IMAGES” on page 92.
œ
To display a sequential shot: See “PLAYING BACK
SEQUENTIAL SHOTS” on page 95.
œ
To display a video clip: See “PLAYING BACK VIDEO
CLIPS” on page 97.
œ
To display an audio recording: See “LISTENING TO
AUDIO RECORDINGS” on page 100.
2
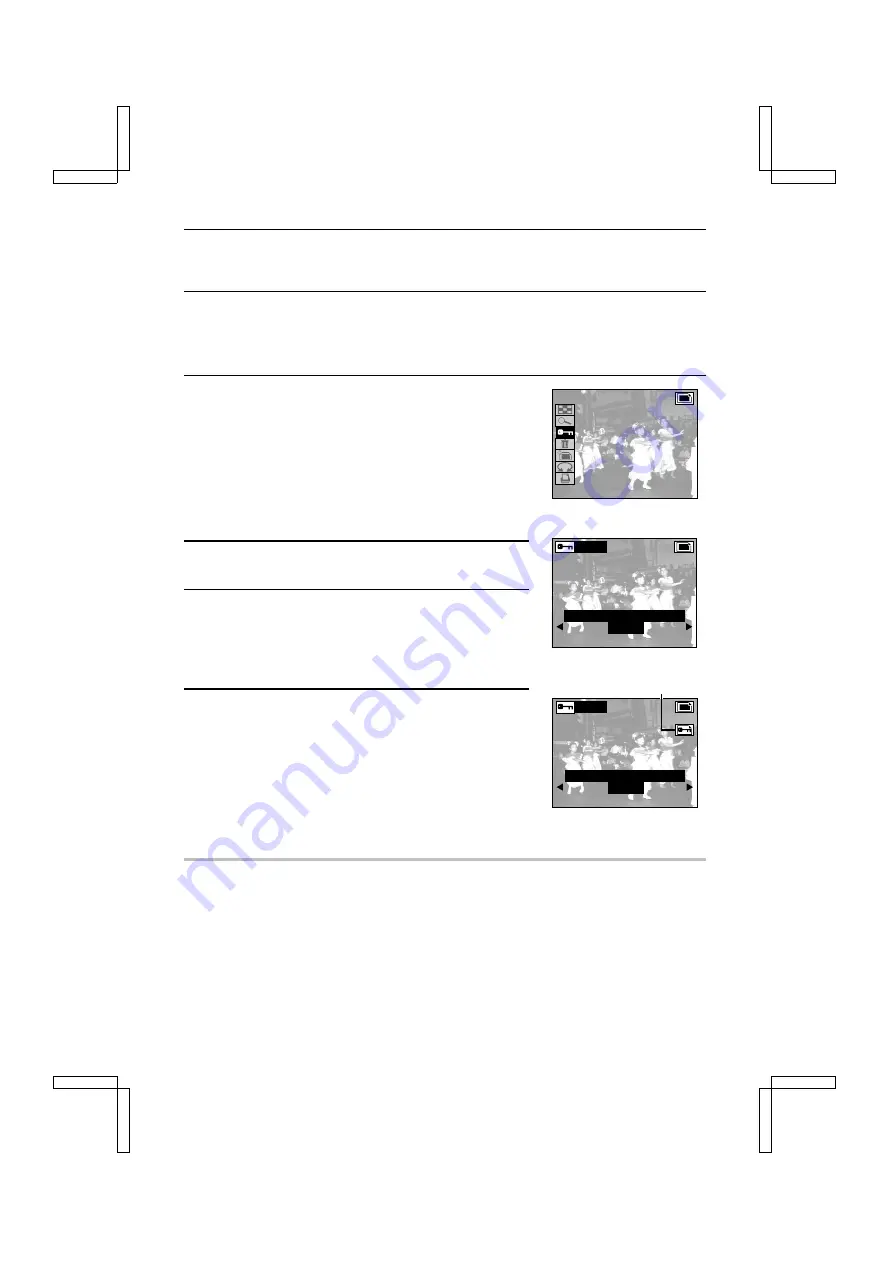
Press the MODE button to display the Playback Setting
Screen.
3
Select the protect mode icon
É
, and press the SET
button.
œ
“LOCK?” appears.
œ
If the protect mode has already been set for the data,
then “UNLOCK?” appears.
4
Select “YES” and press the SET button.
œ
The protect mode is set for the data.
œ
The protect indicator is displayed for the data.
œ
To set the protect mode for other data of the same type,
press
d
or
c
, or turn the jog dial, to display the desired
data and perform this step again.
œ
To return to the Playback Setting Screen, press the
MODE button, or select “EXIT” and press the SET button.
NOTE
œ
Even if the protect mode is set for certain data files, they will be erased if the card is reformatted
(see page 126).
To cancel the protect mode for an image
œ
Display the desired data and repeat steps 2 to 4 above. The protect indicator will disappear and
the protect mode is cancelled.
Ex.: Still Image Playback Setting Screen
PROTECT
L O C K ?
Y E S
E X I T
Protect indicator
PROTECT
U N L O C K ?
Y E S
E X I T
SX212/EX, /E, /U (VPC-MZ1EX, VPC-MZ1E, VPC-MZ1 GB) Fri. July, 06/2001
English
118


