• When you use the bypass tray, it is recommended to load the paper in orientation.
• Certain types of paper might not be detected properly when placed on the bypass tray. If this
happens, remove the paper and place it on the bypass tray again.
• You do not need to pull the extender out if the banner sheet guide tray is installed.
• When loading thick paper, thin paper, transparencies, or translucent paper, specify the paper size
and the paper type.
• Letterhead paper must be loaded in a specific orientation. For details, see page 185 "Loading
Orientation-fixed Paper or Two-sided Paper".
• You can load envelopes into the bypass tray. Envelopes must be loaded in a specific orientation.
For details, see page 205 "Envelopes".
• Specify the sizes of paper that are not automatically detected. For details about the sizes that can
be detected automatically, see page 189 "Recommended Paper Sizes and Types". For details
about how to specify sizes, see "Copying from the Bypass Tray", Copy/ Document Server.
• When copying from the bypass tray, see "Copying from the Bypass Tray", Copy/ Document
Server.
• To load paper whose horizontal length is longer than 487.7 mm (19.20 inches), the multi bypass
banner sheet tray or banner sheet guide tray is needed. For details about how to load paper in the
multi bypass banner sheet tray, see page 174 "Loading paper into the multi bypass banner sheet
tray".
• To load paper on the banner sheet guide tray, load it over the joint line of the bypass tray and the
banner sheet guide tray.
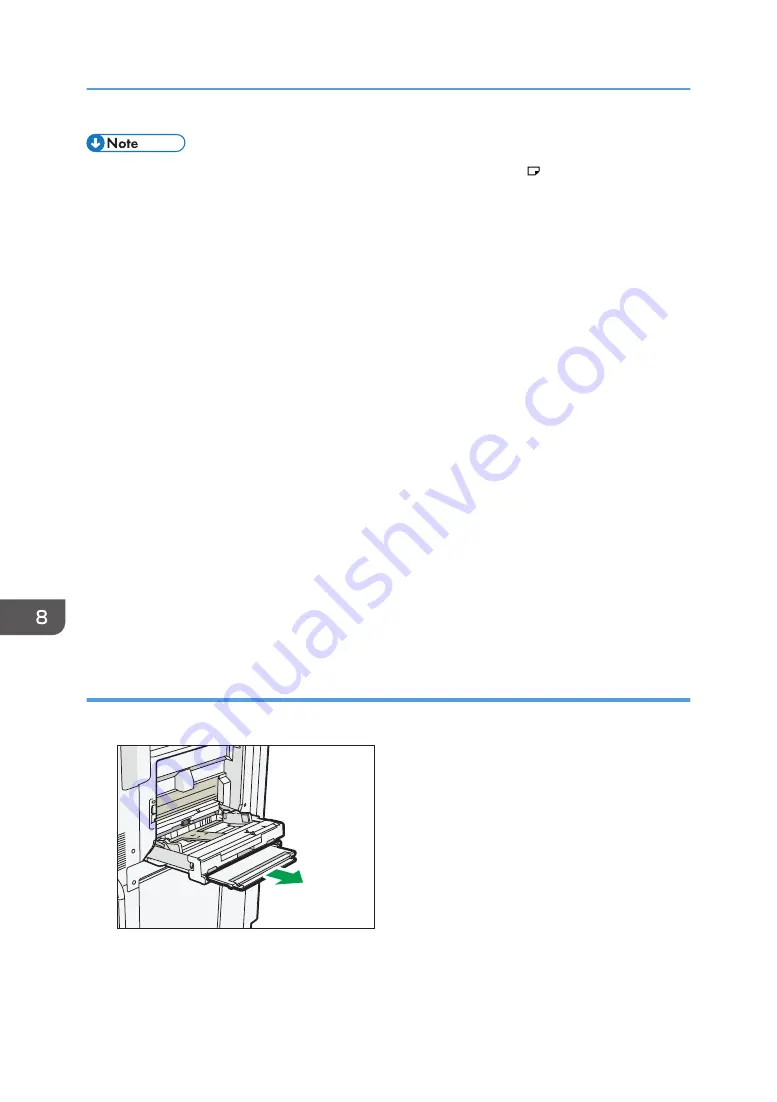
Loading paper into the multi bypass banner sheet tray
1.
Pull out the multi bypass banner sheet tray.
DRB181
2.
After pulling out the multi bypass banner sheet tray, lift it until it clicks.
Raise the multi bypass banner sheet tray until it is at an angle of about 60 degrees with the floor.
8. Adding Paper and Toner
174
Содержание Pro C5200s
Страница 2: ......
Страница 12: ...10 ...
Страница 94: ...2 Getting Started 92 ...
Страница 99: ...2 Select the paper size 3 Place the originals and then press the Start key Auto Reduce Enlarge 97 ...
Страница 119: ...2 Enter the number of copy sets with the number keys 3 Press Continue Copying starts again Sort 117 ...
Страница 157: ...3 Press OK Specifying Scan Settings 155 ...
Страница 158: ...5 Scan 156 ...
Страница 162: ...6 Document Server 160 ...
Страница 240: ...For details about Function Compatibility see Function Compatibility Troubleshooting 9 Troubleshooting 238 ...
Страница 286: ...9 Troubleshooting 284 ...
Страница 296: ...MEMO 294 ...
Страница 297: ...MEMO 295 ...
Страница 298: ...MEMO 296 EN GB EN US D260 7012 ...
Страница 299: ... 2016 ...
Страница 300: ...D260 7012 US EN GB EN ...


