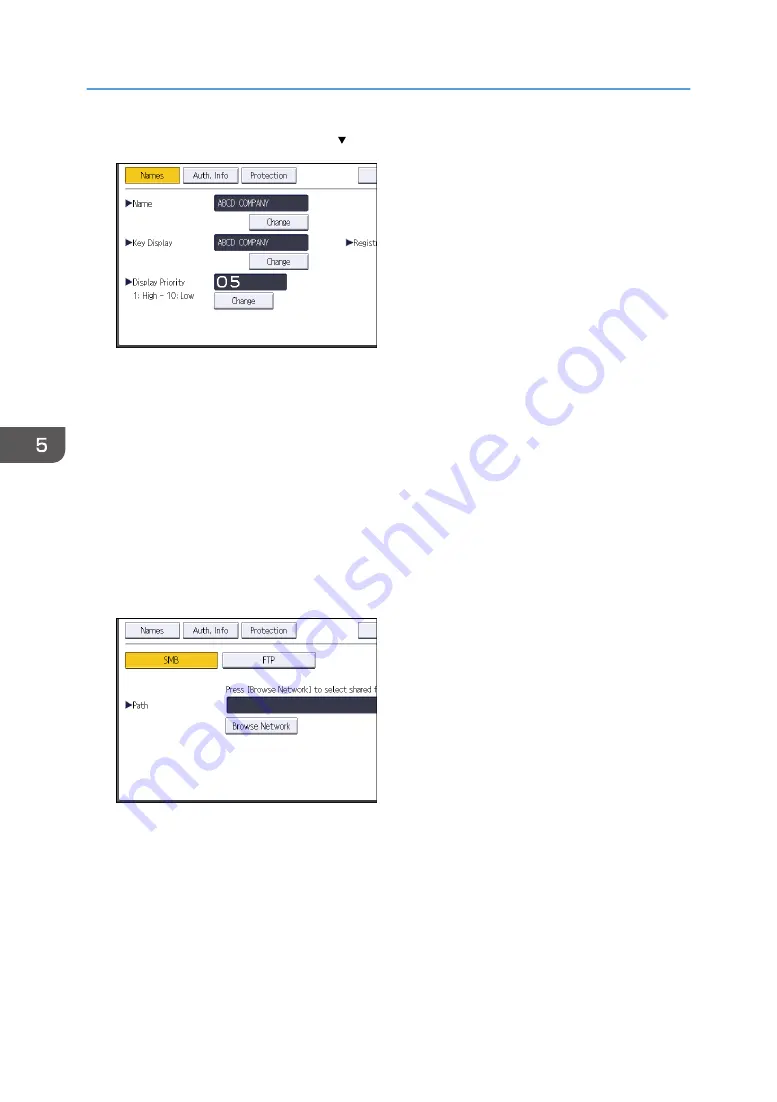
8.
Press [Auth. Info], and then press [ Next].
9.
Press [Specify Other Auth. Info] on the right side of "Folder Authentication".
When [Do not Specify] is selected, the SMB User Name and SMB Password that you have
specified in "Default User Name / Password (Send)" of File Transfer settings are applied.
10.
Press [Change] under "Login User Name".
11.
Enter the login user name of the destination computer, and then press [OK].
12.
Press [Change] under "Login Password".
13.
Enter the password of the destination computer, and then press [OK].
14.
Enter the password again to confirm, and then press [OK].
15.
Press [Folder].
16.
Check that [SMB] is selected.
17.
Press [Change] or [Browse Network], and then specify the folder.
To specify a folder, you can either enter the path manually or locate the folder by browsing the
network.
For details about how to specify the path manually, see page 139 "Locating the SMB folder
manually".
For details about how to specify the path using Browse Network, see page 139 "Locating the
SMB folder using Browse Network".
18.
Press [Connection Test] to check the path is set correctly.
5. Scan
138
Содержание Pro C5200s
Страница 2: ......
Страница 12: ...10 ...
Страница 94: ...2 Getting Started 92 ...
Страница 99: ...2 Select the paper size 3 Place the originals and then press the Start key Auto Reduce Enlarge 97 ...
Страница 119: ...2 Enter the number of copy sets with the number keys 3 Press Continue Copying starts again Sort 117 ...
Страница 157: ...3 Press OK Specifying Scan Settings 155 ...
Страница 158: ...5 Scan 156 ...
Страница 162: ...6 Document Server 160 ...
Страница 240: ...For details about Function Compatibility see Function Compatibility Troubleshooting 9 Troubleshooting 238 ...
Страница 286: ...9 Troubleshooting 284 ...
Страница 296: ...MEMO 294 ...
Страница 297: ...MEMO 295 ...
Страница 298: ...MEMO 296 EN GB EN US D260 7012 ...
Страница 299: ... 2016 ...
Страница 300: ...D260 7012 US EN GB EN ...


