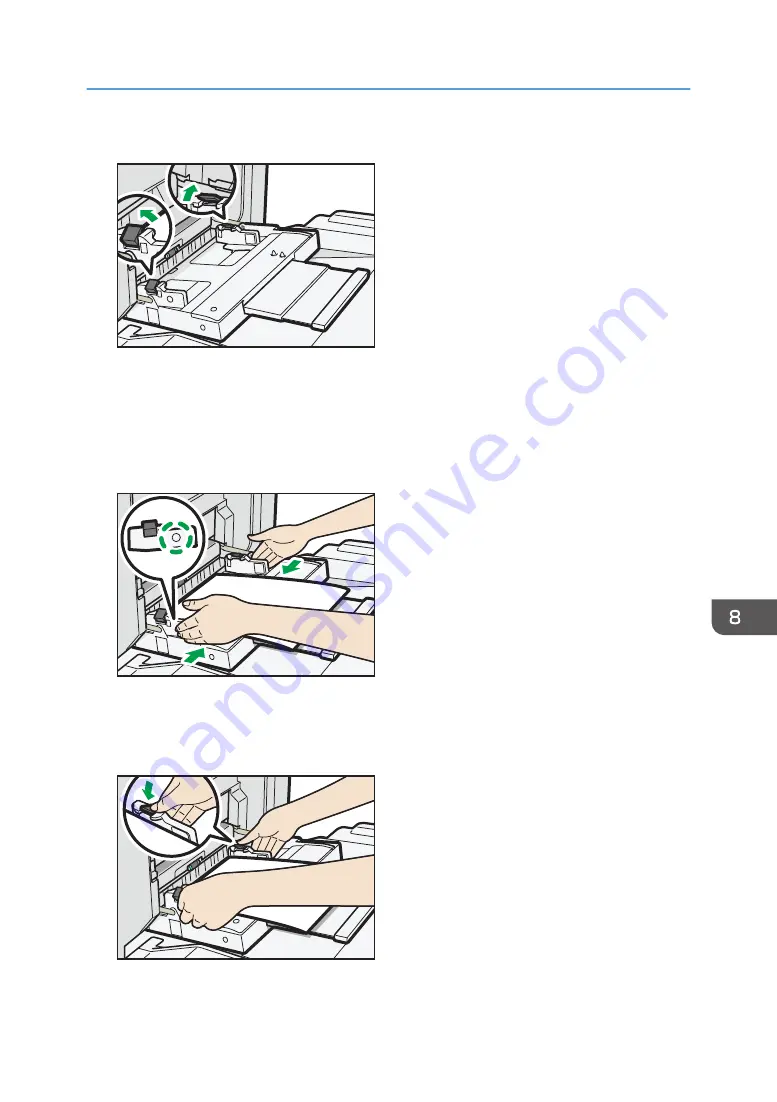
3.
Release the locks on both of the paper guides.
DRB154
4.
Insert the paper print side up as far as it will go into the machine.
5.
Put your fingers on the dimples on the front and rear paper guides and align the paper
guides to the paper size.
If the guides are not flush against the paper, images might be skewed or paper misfeeds might
occur.
DRB169
6.
While holding the paper guides with your hands, lock both of the paper guides again.
Make sure that the total of the gaps between the paper and the front and rear paper guides does
not exceed 0.75 mm (0.03 inches).
DRB158
Loading Paper
173
Содержание Pro C5200s
Страница 2: ......
Страница 12: ...10 ...
Страница 94: ...2 Getting Started 92 ...
Страница 99: ...2 Select the paper size 3 Place the originals and then press the Start key Auto Reduce Enlarge 97 ...
Страница 119: ...2 Enter the number of copy sets with the number keys 3 Press Continue Copying starts again Sort 117 ...
Страница 157: ...3 Press OK Specifying Scan Settings 155 ...
Страница 158: ...5 Scan 156 ...
Страница 162: ...6 Document Server 160 ...
Страница 240: ...For details about Function Compatibility see Function Compatibility Troubleshooting 9 Troubleshooting 238 ...
Страница 286: ...9 Troubleshooting 284 ...
Страница 296: ...MEMO 294 ...
Страница 297: ...MEMO 295 ...
Страница 298: ...MEMO 296 EN GB EN US D260 7012 ...
Страница 299: ... 2016 ...
Страница 300: ...D260 7012 US EN GB EN ...


