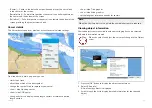
• start to follow the route from the selected waypoints by selecting
[Follow
from here]
.
6.3 Tracks
Tracks are used to record where you have been. Tracks are made up of track
points that are created at regular time or distance intervals.
You can store up to 15 tracks on your display, each track can contain up
to 10,000 points.
Tracks can be converted into routes so that they can be followed.
Tracks can be imported and exported from the display. For more information,
refer to:
p.63 — User data import and export
Creating a track
You can record your vessel’s voyage using Tracks. Once a Track is saved
it can be converted to a route so that the same passage may be followed
again at a later date.
With the Chart app displayed:
1. If required, press the
[Back]
button to enter motion mode.
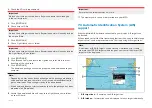
2. Press the
[OK]
button.
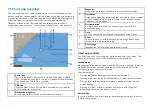
The boat details pop-over menu is displayed.
3. Select
[Start track]
.
Your vessel’s voyage will now be recorded.
4. When your voyage is complete, select
[Stop track]
from the boat details
pop-over menu.
You can also start a new track recording at anytime from the Routes & Tracks
menu: accessible from the homescreen:
[Homescreen > Route & Tracks]
and
from the Chart app menu:
[Menu > Routes & Tracks]
.
Converting a track to a route
From the
[Routes & Tracks]
menu, accessible from the home-
screen
[Homescreen > Routes & Tracks ]
and the Chart app:
[Menu > Routes
& Tracks]
.
1. Select the
[Tracks]
tab..
2. Select the track that you want to convert.
3. Select
[Create route from track]
from the pop-over menu.
4. Select
[OK]
to return to the tracks menu, or.
5. Select
[Edit]
to view the route plan.
Track management
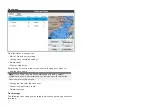
Tracks are managed using the tracks menu.
The
[Routes & Tracks]
menu can be accessed from the Homescreen and
from the Chart app:
[Homescreen > Routes & Tracks]
, or
[Chart app > Menu
> Routes & Tracks ]
.
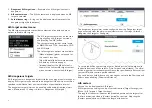
When the routes and tracks menu is opened the routes menu is displayed by
default. Select the
[Tracks]
tab to display the tracks menu.
61


