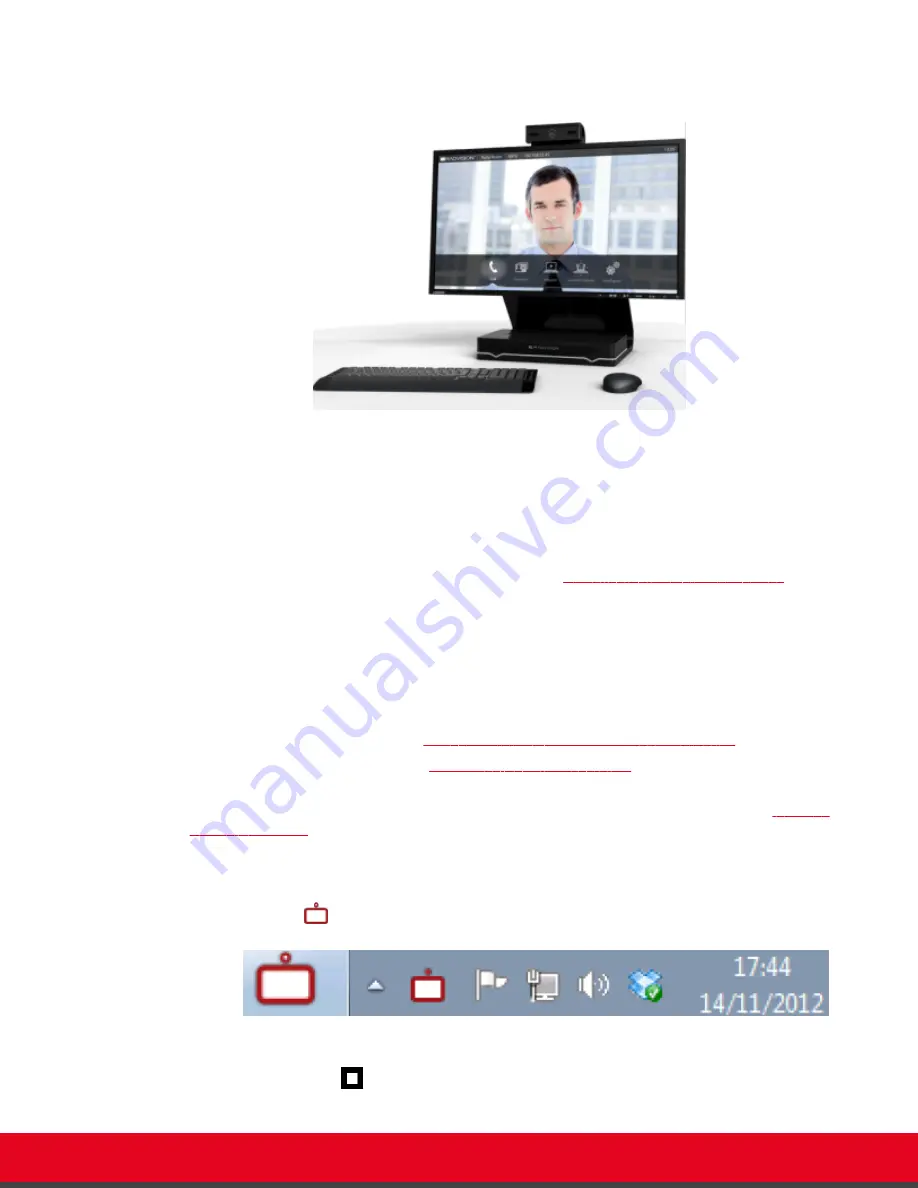
This allows you to seamlessly switch between your computer screen and the system menus.
Figure 15: Controlling your Scopia XT Executive with your computer
Follow the tips in this section when getting started with Scopia XT Control. You navigate through the
menus as you would with the XT Remote Control Unit, except using your keyboard and mouse.
For some commonly used tasks, such as sharing content during a call, there are shortcuts to performing
these tasks with Scopia XT Control. Detailed instructions are provided in those sections when they are
different from the XT Remote Control Unit.
You can still use the XT Remote Control Unit at any time (see
Using the XT Remote Control Unit
page 20 for details).
Before you begin
To access the endpoint's main menu using your keyboard and mouse, you must first perform the
following procedures:
1.
Connect your computer to the Scopia XT Executive to use the Scopia XT Executive as your
computer's monitor, as described in
Connecting a Computer to the Scopia XT Series
2.
Perform the initial setup described in
Performing Basic Configuration
The last step in the quick setup wizard is installing the Scopia XT Control utility, which allows you to
use your keyboard and mouse to access and navigate the system menus, as described in
on page 38.
Procedure
1. Select the
Scopia XT Control icon that appears in your taskbar:
The endpoint menus appear and you can now control it using your keyboard and mouse,
indicated by the
cursor:
User Guide for Scopia XT Executive Version 3.2
Getting Started | 25


