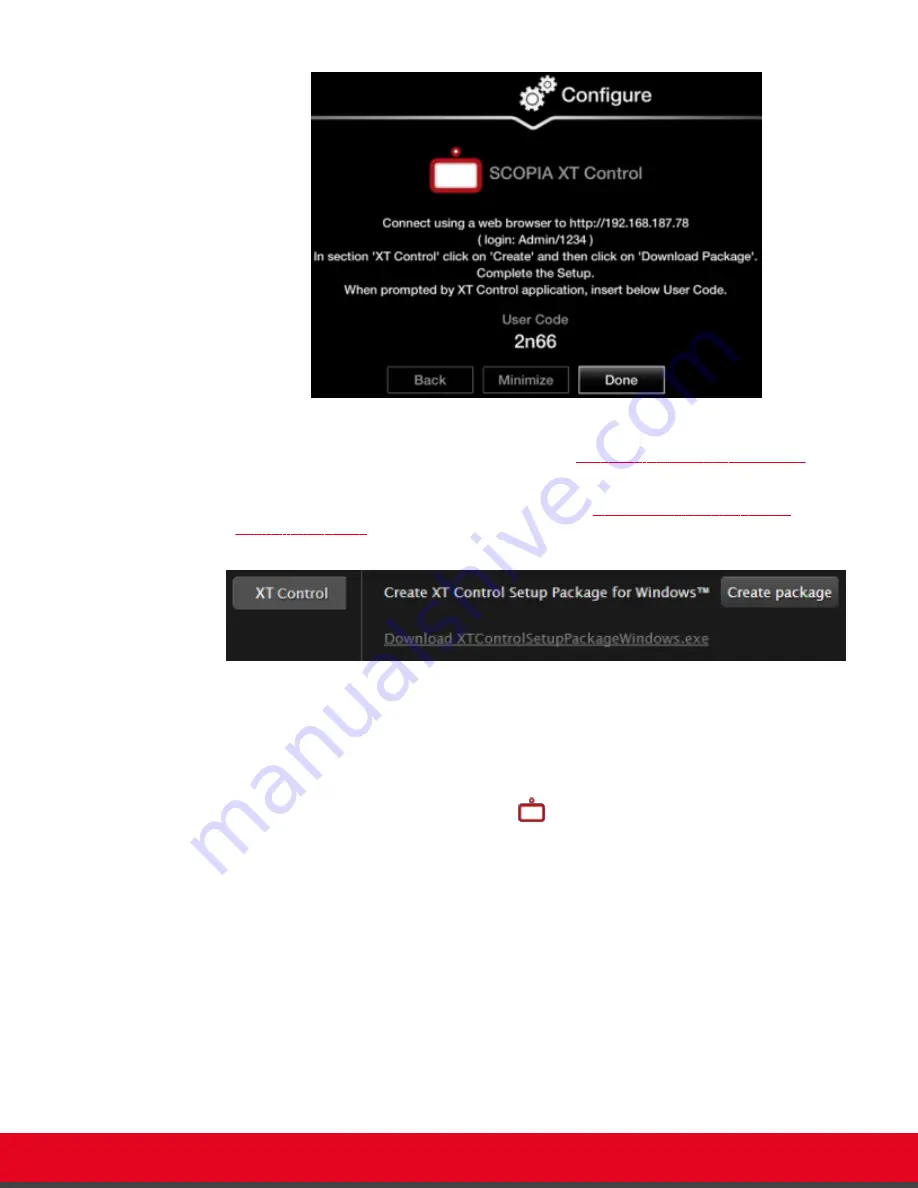
Figure 23: Installing Scopia XT Control
2. Access the XT Series web interface, as described in
Accessing XT Series Web Interface
page 18.
3. Find
XT Control
in the
Home
page and select
Create
(
Figure 24: Installing Scopia XT
Figure 24: Installing Scopia XT Control for Windows
A setup package for Windows/Mac is created.
4. For Mac users only:
a. Copy the setup package to a folder on your computer.
b.
Launch the application by selecting the
Scopia XT Control icon.
5. For Windows users only, select and run the setup package:
The installation wizard opens.
a. Select
Next
.
b. Verify that Scopia XT Control is selected in the components list and select
Next
.
c. Select the installation folder and click
Next
.
d. Select or create a folder in the Start menu to place a shortcut for Scopia XT Control, and
select
Install
.
e. Select
Finish
.
Scopia XT Control automatically connects to the Scopia XT Executive.
User Guide for Scopia XT Executive Version 3.2
Getting Started | 39


