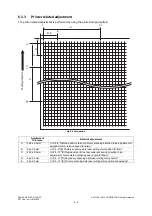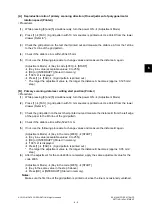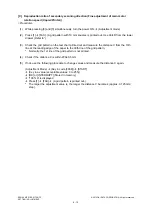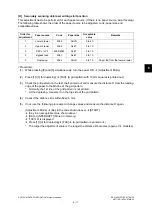
6
© 2012 OKI DATA CORPORATION All rights reserved
ES9160 MFP / ES9170 MFP
SETTING / ADJUSTMENT
6 - 21
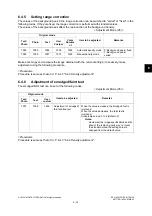
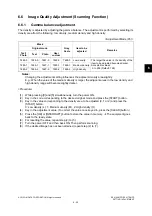
[H] Bottom margin
<Procedure>
(1)
While pressing [0] and [5] simultaneously, turn the power ON.
(Adjustment Mode)
(2)
Open the original cover or RADF.
(3)
Press [FAX] -> [START] to make a copy at the mode of A3/LD, 100%, Text/Photo and the lower
drawer (Refer to *).
(4)
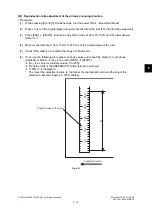
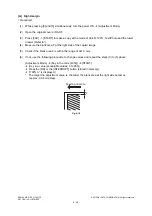
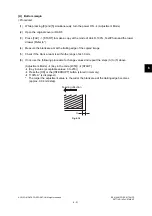
Measure the blank area G at the trailing edge of the copied image.
(5)
Check if the blank area G is within the range of 2±1.0 mm.
(6)
If not, use the following procedure to change values and repeat the steps (3) to (5) above.
(Adjustment Mode)
(Key in the code [4053])
[START]
(Key in value (acceptable values: 0 to 255))
Press the [OK] or the [INTERRUPT] button (stored in memory).
(“100% A” is displayed.)
*
The larger the adjustment value is, the wider the blank area at the trailing edge becomes
(approx. 0.04 mm/step).
Fig.6-19
G
Feeding direction
Содержание ES9160
Страница 12: ......
Страница 24: ...ES9160 MFP ES9170 MFP 2012 OKI DATA CORPORATION All rights reserved FEATURES 1 2...
Страница 114: ...ES9160 MFP ES9170 MFP 2012 OKI DATA CORPORATION All rights reserved OUTLINE OF THE MACHINE 3 76...
Страница 252: ...ES9160 MFP ES9170 MFP 2012 OKI DATA CORPORATION All rights reserved DISASSEMBLY AND REPLACEMENT 4 138...
Страница 308: ...ES9160 MFP ES9170 MFP 2012 OKI DATA CORPORATION All rights reserved SELF DIAGNOSIS MODES 5 56...
Страница 832: ...ES9160 MFP ES9170 MFP 2012 OKI DATA CORPORATION All rights reserved REMOTE SERVICE 10 38...
Страница 916: ...ES9160 MFP ES9170 MFP 2012 OKI DATA CORPORATION All rights reserved BACKUP FUNCTION 12 8 4 Turn the power OFF...
Страница 920: ...ES9160 MFP ES9170 MFP 2012 OKI DATA CORPORATION All rights reserved BACKUP FUNCTION 12 12...
Страница 922: ...ES9160 MFP ES9170 MFP 2012 OKI DATA CORPORATION All rights reserved WIRE HARNESS CONNECTION DIAGRAMS 13 2...
Страница 1086: ......
Страница 1087: ......

