ES9160 MFP / ES9170 MFP
© 2012 OKI DATA CORPORATION All rights reserved
SETTING / ADJUSTMENT
6 - 2
6.2
Adjustment of Auto-Toner Sensor
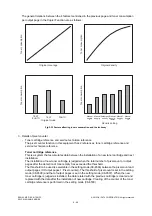
When the developer material is replaced, adjust the auto-toner sensor in the following procedure.
<Procedure> (Adjustment Mode (05-2000))
(1)
Install the process unit into the equipment.
(2)
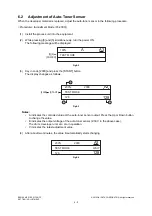
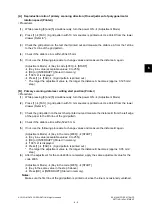
While pressing [0] and [5] simultaneously, turn the power ON.
The following message will be displayed.
Fig.6-2
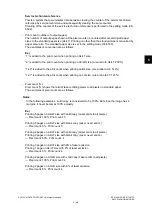
(3)
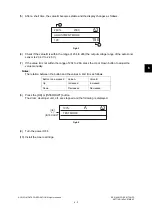
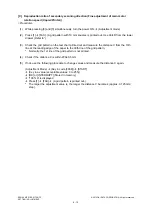
Key in code [2000] and press the [START] button.
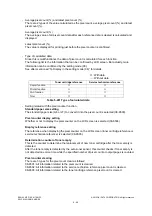
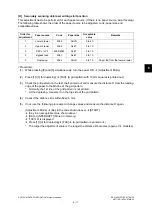
The display changes as follows.
Fig.6-3
Notes:
•
A indicates the controlled value of the auto-toner sensor output. Press the Up or Down button
to change the value.
•
B indicates the output voltage of the auto-toner sensor (2.30 V in the above case).
The drum, developer unit, etc. are in operation.
•
C indicates the latest adjustment value.
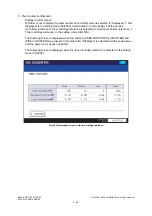
(4)
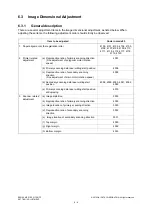
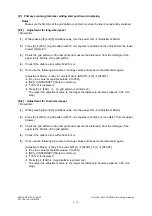
After about two minutes, the value B automatically starts changing.
Fig.6-4
[0][5]
[POWER]
100%
TEST MODE
A3
A
[2000]
[START]
230%
128
2000
TEST MODE
A3
128
A
B
C
230%
128
2000
TEST MODE
WAIT
A3
128
Содержание ES9160
Страница 12: ......
Страница 24: ...ES9160 MFP ES9170 MFP 2012 OKI DATA CORPORATION All rights reserved FEATURES 1 2...
Страница 114: ...ES9160 MFP ES9170 MFP 2012 OKI DATA CORPORATION All rights reserved OUTLINE OF THE MACHINE 3 76...
Страница 252: ...ES9160 MFP ES9170 MFP 2012 OKI DATA CORPORATION All rights reserved DISASSEMBLY AND REPLACEMENT 4 138...
Страница 308: ...ES9160 MFP ES9170 MFP 2012 OKI DATA CORPORATION All rights reserved SELF DIAGNOSIS MODES 5 56...
Страница 832: ...ES9160 MFP ES9170 MFP 2012 OKI DATA CORPORATION All rights reserved REMOTE SERVICE 10 38...
Страница 916: ...ES9160 MFP ES9170 MFP 2012 OKI DATA CORPORATION All rights reserved BACKUP FUNCTION 12 8 4 Turn the power OFF...
Страница 920: ...ES9160 MFP ES9170 MFP 2012 OKI DATA CORPORATION All rights reserved BACKUP FUNCTION 12 12...
Страница 922: ...ES9160 MFP ES9170 MFP 2012 OKI DATA CORPORATION All rights reserved WIRE HARNESS CONNECTION DIAGRAMS 13 2...
Страница 1086: ......
Страница 1087: ......

