ES9160 MFP / ES9170 MFP
© 2012 OKI DATA CORPORATION All rights reserved
DISASSEMBLY AND REPLACEMENT
4 - 28
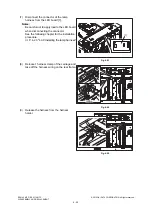
(6)
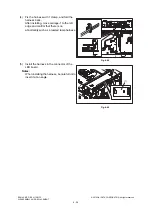
Remove 1 screw and raise the laser optical
unit to take it off.
Notes:
When removing and installing the laser
optical unit, be careful not to deform the leaf
spring.
Fig. 4-74
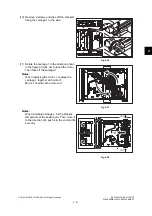
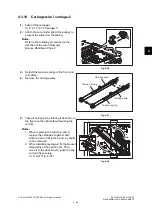
(7)
Release the catch of the leaf spring and then
remove it from the laser optical unit.
Fig. 4-75
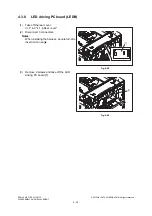
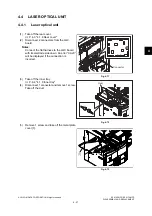
Notes:
1. Do not leave fingerprints or stain on the
slit glass of the laser optical unit.
2. Pay close attention not to make an impact
or vibration on the laser optical unit
because it is a precise apparatus.
3. Place the removed laser optical unit so as
not to load on the polygonal motor.
4. Do not disassemble the laser optical unit
in the field because it is precisely
adjusted and very sensitive to dust and
stain.
5. Hold the laser optical unit vertically. Do
not press the top of the unit where the
polygonal motor is installed with your
hands or other things.
Fig. 4-76
Laser optical unit
Leaf spring
Leaf spring
Laser optical unit
Slit glass
Содержание ES9160
Страница 12: ......
Страница 24: ...ES9160 MFP ES9170 MFP 2012 OKI DATA CORPORATION All rights reserved FEATURES 1 2...
Страница 114: ...ES9160 MFP ES9170 MFP 2012 OKI DATA CORPORATION All rights reserved OUTLINE OF THE MACHINE 3 76...
Страница 252: ...ES9160 MFP ES9170 MFP 2012 OKI DATA CORPORATION All rights reserved DISASSEMBLY AND REPLACEMENT 4 138...
Страница 308: ...ES9160 MFP ES9170 MFP 2012 OKI DATA CORPORATION All rights reserved SELF DIAGNOSIS MODES 5 56...
Страница 832: ...ES9160 MFP ES9170 MFP 2012 OKI DATA CORPORATION All rights reserved REMOTE SERVICE 10 38...
Страница 916: ...ES9160 MFP ES9170 MFP 2012 OKI DATA CORPORATION All rights reserved BACKUP FUNCTION 12 8 4 Turn the power OFF...
Страница 920: ...ES9160 MFP ES9170 MFP 2012 OKI DATA CORPORATION All rights reserved BACKUP FUNCTION 12 12...
Страница 922: ...ES9160 MFP ES9170 MFP 2012 OKI DATA CORPORATION All rights reserved WIRE HARNESS CONNECTION DIAGRAMS 13 2...
Страница 1086: ......
Страница 1087: ......


