4
© 2012 OKI DATA CORPORATION All rights reserved
ES9160 MFP / ES9170 MFP
DISASSEMBLY AND REPLACEMENT
4 - 81
4.9.7
Fuser center / Fuser front thermostat (THMO1/THMO2)
Notes:
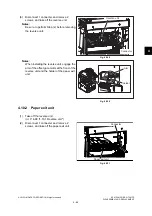
When installing the thermistors, check the
length of the harness first and distinguish the
installation positions of the side thermistor
and edge thermistor by the length of each
harness.
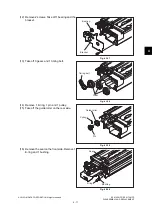
Fig. 4-227
(1)
Take off the fuser roller unit
(
P. 4-76 "4.9.2 Fuser roller unit / Pressure
(2)
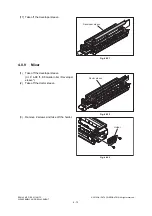
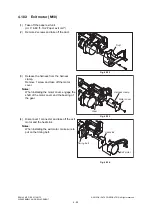
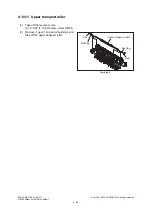
Place the fuser roller unit [1] upside down.
(3)
Remove 2 screws, and then take off the
harness cover [2].
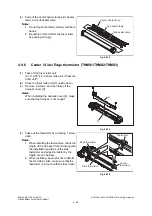
Notes:
When installing the harness cover [2], make
sure that the harness is not caught.
Fig. 4-228
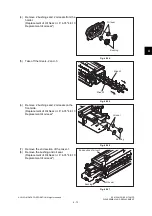
(4)
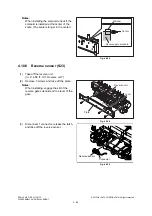
Remove 2 screws, and then take off the
fuser front thermostat [1].
Fig. 4-229
Center thermistor
Side thermistor
Edge thermistor
[2]
[1]
[1]
Содержание ES9160
Страница 12: ......
Страница 24: ...ES9160 MFP ES9170 MFP 2012 OKI DATA CORPORATION All rights reserved FEATURES 1 2...
Страница 114: ...ES9160 MFP ES9170 MFP 2012 OKI DATA CORPORATION All rights reserved OUTLINE OF THE MACHINE 3 76...
Страница 252: ...ES9160 MFP ES9170 MFP 2012 OKI DATA CORPORATION All rights reserved DISASSEMBLY AND REPLACEMENT 4 138...
Страница 308: ...ES9160 MFP ES9170 MFP 2012 OKI DATA CORPORATION All rights reserved SELF DIAGNOSIS MODES 5 56...
Страница 832: ...ES9160 MFP ES9170 MFP 2012 OKI DATA CORPORATION All rights reserved REMOTE SERVICE 10 38...
Страница 916: ...ES9160 MFP ES9170 MFP 2012 OKI DATA CORPORATION All rights reserved BACKUP FUNCTION 12 8 4 Turn the power OFF...
Страница 920: ...ES9160 MFP ES9170 MFP 2012 OKI DATA CORPORATION All rights reserved BACKUP FUNCTION 12 12...
Страница 922: ...ES9160 MFP ES9170 MFP 2012 OKI DATA CORPORATION All rights reserved WIRE HARNESS CONNECTION DIAGRAMS 13 2...
Страница 1086: ......
Страница 1087: ......

