


Chapter 3: Using the Web Interface
147
Scheduling an Action
An action can be regularly performed at a preset time interval instead of being triggered by a specific event. For example,
you can make the PDU report the reading or state of a specific sensor regularly by scheduling the "Send Sensor Report"
action.
When scheduling an action, make sure you have a minimum of 1-minute buffer between this action's creation and first
execution time. Otherwise, the scheduled action will NOT be performed at the specified time when the buffer time is too
short. For example, if you want an action to be performed at 11:00 am, you should finish scheduling it at 10:59 am or
earlier.
If the needed action is not available yet, create it first. See
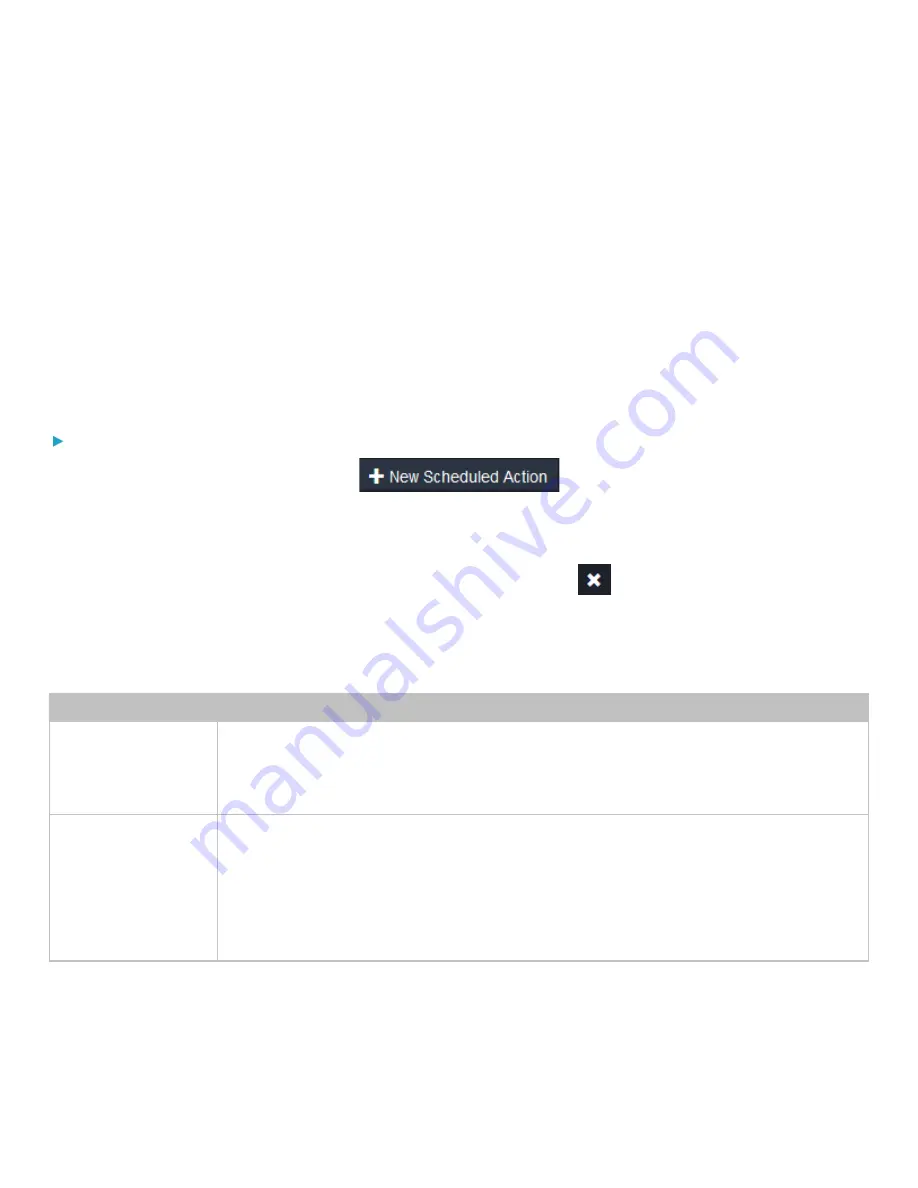
To schedule an action:
1.
Choose Device Settings > Event Rules >
.
2.
To select any action(s), select them one by one from the Available Actions list.
3.
To select all available actions, click Select All.
4.
To remove any action(s) from the Selected Actions field, click that action's
.
5.
To remove all actions, click Deselect All.
6.
Select the desired frequency in the Execution Time field, and then specify the time interval or a specific date and time
in the field(s) that appear.
Execution time
Frequency settings
Minutes
Click the Frequency field to select an option.
The frequency ranges from every minute, every 5 minutes, every 10 minutes and so on until
every 30 minutes.
Hourly
Type a value in the Minute field, which is set to either of the following:
•
The Minute field is set to 0 (zero). Then the action is performed at 1:00 am, 2:00 am, 3:00 am
and so on.
•
The Minute field is set to a non-zero value. For example, if it is set to 30, then the action is
performed at 1:30 am, 2:30 am, 3:30 am and so on.


