Chapter 3: Using the Web Interface
118
4.
Select the method for setting the date and time.
Customize the date and time
•
Select User Specified Time.
•
Type values in the Date field using the yyyy-mm-dd format, or click
to select a date.
Use arrows to switch between months.
Click on a calendar day (0-31) to select the specific day.
Click the Today button to select the current date.
Click the Clear button to remove any existing date entry in the Date field.
Click Close to close the calendar and return to the Date field.
•
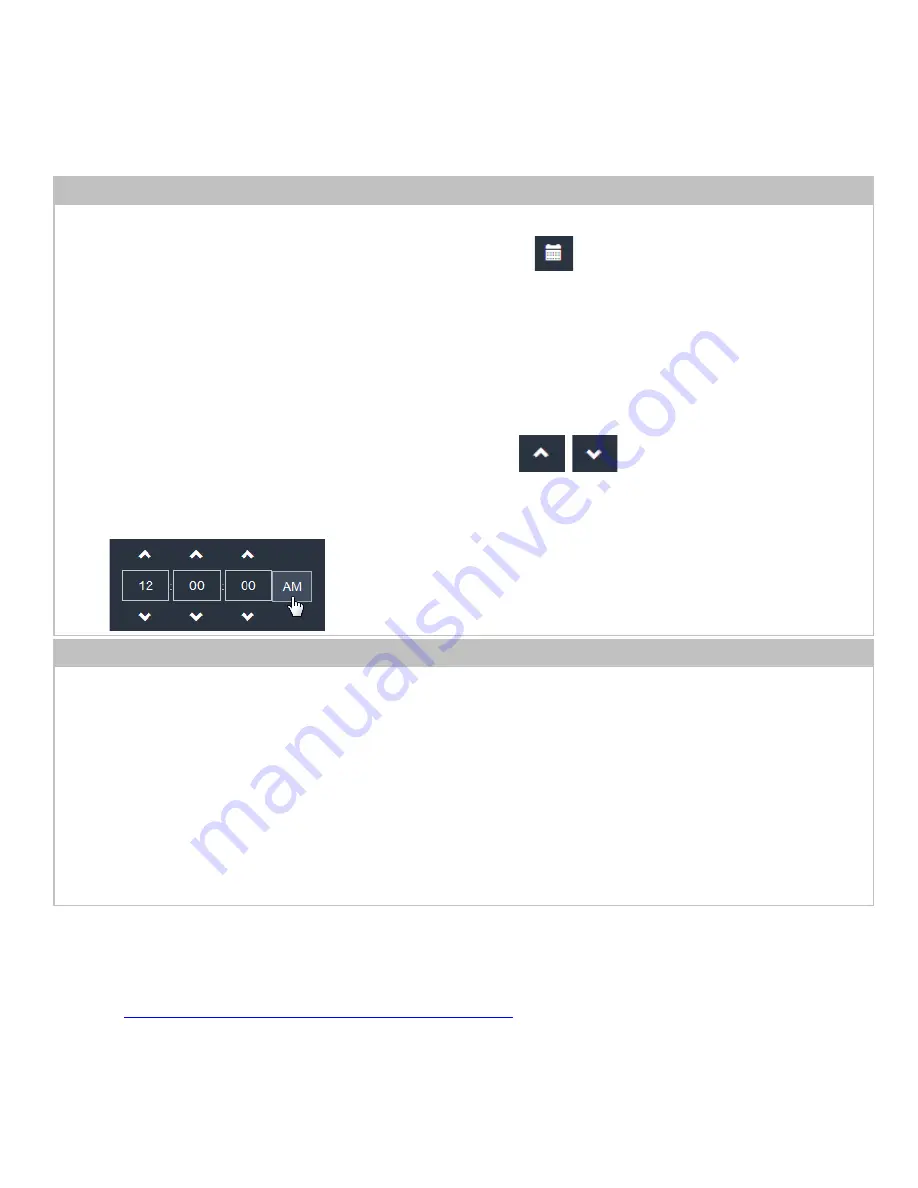
Type values in the Time field using the hh:mm:ss format, or click
to adjust values.
The time is measured in 12-hour format so you must correctly specify AM or PM by clicking the AM or PM
button.
Use the NTP server
•
Select "Synchronize with NTP Server."
•
There are two ways to assign the NTP servers:
To use the DHCP-assigned NTP servers, DO NOT enter any NTP servers for the First and Second NTP
Server.
DHCP-assigned NTP servers are available only when either IPv4 or IPv6 DHCP is enabled.
To use the manually specified NTP servers, specify the primary NTP server in the First Time Server field. A
secondary NTP server is optional.
Click Check NTP Servers to verify the validity and accessibility of the manually specified NTP servers.
5.
Click Save.
The PDU follows the NTP server sanity check per the IETF RFC. If your PDU has problems synchronizing with a Windows
NTP server, refer to
Windows NTP Server Synchronization Solution
in the PDU With RackLink Advanced User
www.middleatlantic.com/resources/power-downloads.aspx


